跳转到主内容
加入维修社区 - 创建账户

Tapwave T2907US Zodiac 2 Touchscreen/Display Replacement

你所需要的

    1. Tapwave T2907US Zodiac 2 Touchscreen/Display Replacement, Back Cover: 步骤 1 中的图像 1,1
      • Remove the four Torx T5 screws from the back panel.

      询问修复机器人

      添加评论

    2. Tapwave T2907US Zodiac 2 Touchscreen/Display Replacement: 步骤 2 中的图像 1,1
      • Wedge a spudger in between the front and back panel.

      • Apply leverage downwards to the spudger in order to remove the back panel.

      询问修复机器人

      添加评论

    1. Tapwave T2907US Zodiac 2 Touchscreen/Display Replacement, Battery: 步骤 3 中的图像 1,1
      • Slide the battery out from under the brown wire-tape.

      • Be careful of the wires still connected to the other end of the battery. Do not pull or damage may occur.

      询问修复机器人

      添加评论

    2. Tapwave T2907US Zodiac 2 Touchscreen/Display Replacement: 步骤 4 中的图像 1,1
      在这个步骤中使用的工具:
      Tweezers
      $4.99
      • Slowly pull the white plug from its receptor. Grasp its sides firmly with a pair of tweezers and gently wiggle from side to side.

      询问修复机器人

      添加评论

    1. Tapwave T2907US Zodiac 2 Touchscreen/Display Replacement, Motherboard: 步骤 5 中的图像 1,1
      • Unscrew the 2 Philips #00 screws on each end of the motherboard.

      询问修复机器人

      添加评论

    2. Tapwave T2907US Zodiac 2 Touchscreen/Display Replacement: 步骤 6 中的图像 1,1
      在这个步骤中使用的工具:
      Tweezers
      $4.99
      • Pull off the black memory card slot piece with tweezers.

      询问修复机器人

      添加评论

    3. Tapwave T2907US Zodiac 2 Touchscreen/Display Replacement: 步骤 7 中的图像 1,1
      • Unscrew the 2 Philips #00 screws on each side of the charging port.

      询问修复机器人

      添加评论

    4. Tapwave T2907US Zodiac 2 Touchscreen/Display Replacement: 步骤 8 中的图像 1,2 Tapwave T2907US Zodiac 2 Touchscreen/Display Replacement: 步骤 8 中的图像 2,2
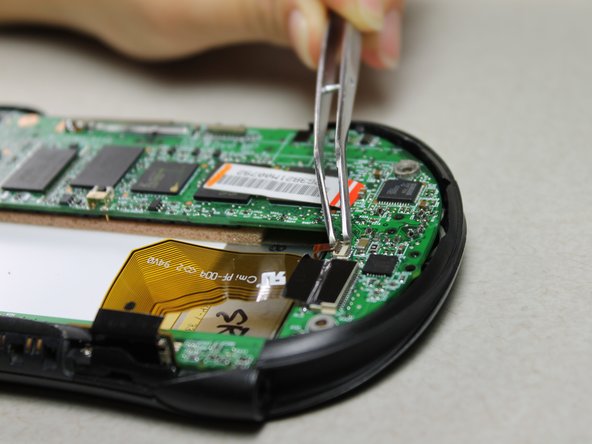
      • Disconnect 2 brown wire-tape ends from each end of the motherboard. Gently pull straight out with tweezers.

      询问修复机器人

      添加评论

    5. Tapwave T2907US Zodiac 2 Touchscreen/Display Replacement: 步骤 9 中的图像 1,1
      • Pull the motherboard and screen component diagonally up and left away from the auxiliary port entrance to remove.

      • Glue connecting the auxiliary port to the casing may make it difficult to remove. Gently apply force as needed.

      询问修复机器人

      添加评论

    6. Tapwave T2907US Zodiac 2 Touchscreen/Display Replacement: 步骤 10 中的图像 1,1
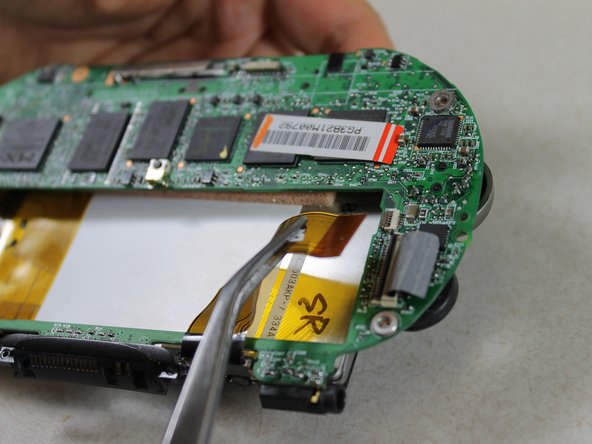
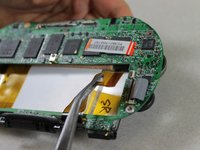
      • Disconnect the 2 brown wire-tape ends from the left side of the battery slot on the motherboard using tweezers.

      询问修复机器人

      添加评论

    7. Tapwave T2907US Zodiac 2 Touchscreen/Display Replacement: 步骤 11 中的图像 1,3 Tapwave T2907US Zodiac 2 Touchscreen/Display Replacement: 步骤 11 中的图像 2,3 Tapwave T2907US Zodiac 2 Touchscreen/Display Replacement: 步骤 11 中的图像 3,3
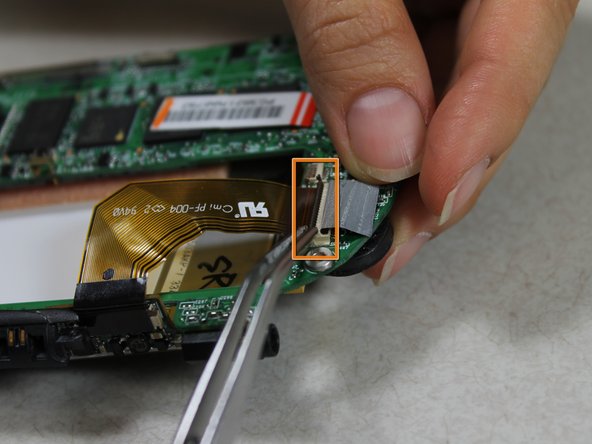
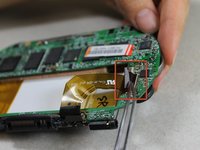
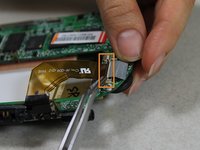
      • Disconnect the large brown wire-tape from the motherboard.

      • Peel the black tape back from the wire-tape using tweezers.

      • Lift the black, hinged, plastic lock with tweezers to release the wire-tape.

      • The screen and motherboard components can now be separated from each other.

      询问修复机器人

      添加评论

    1. Tapwave T2907US Zodiac 2 Touchscreen/Display Replacement, Touchscreen/Display: 步骤 12 中的图像 1,1
      • Unscrew the 2 Philips #00 screws from the bottom edge of the screen component.

      询问修复机器人

      添加评论

    2. Tapwave T2907US Zodiac 2 Touchscreen/Display Replacement: 步骤 13 中的图像 1,1
      • Take off the brown wire-tape from the small circuit board component.

      • Lift up so that the black plastic hinge piece swings open and the tape can be removed.

      询问修复机器人

      添加评论

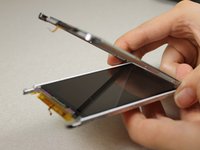
    3. Tapwave T2907US Zodiac 2 Touchscreen/Display Replacement: 步骤 14 中的图像 1,3 Tapwave T2907US Zodiac 2 Touchscreen/Display Replacement: 步骤 14 中的图像 2,3 Tapwave T2907US Zodiac 2 Touchscreen/Display Replacement: 步骤 14 中的图像 3,3
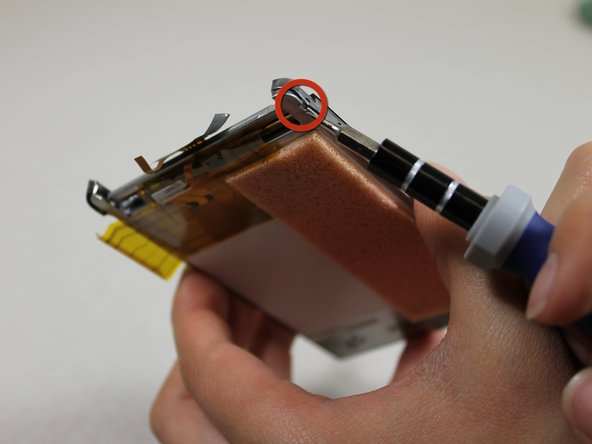
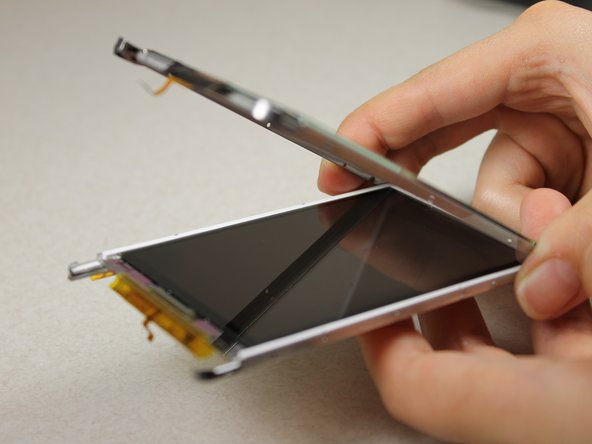
      • Warning: If you are too rough with the screwdriver, you can permanently damage the display.

      • Use a Slot SL1.5 screwdriver to pry the touchscreen shell from the display component using the 4 slots around the entire component

      询问修复机器人

      添加评论

结论

To reassemble your device, follow these instructions in reverse order.

取消:我没有完成这个指南。

团队

Cal Poly, Team 10-33, Amido Winter 2012 Cal Poly, Team 10-33, Amido Winter 2012 的会员

CPSU-AMIDO-W12S10G33

4 名成员

创作了34篇指南

0指南评论

添加评论

浏览统计数据:

过去 24 小时: 1

过去 7 天: 16

过去 30 天: 61

总计 1,464