简介
In these instructions one will learn how to remove and replace the plastic screen for a kick drum.
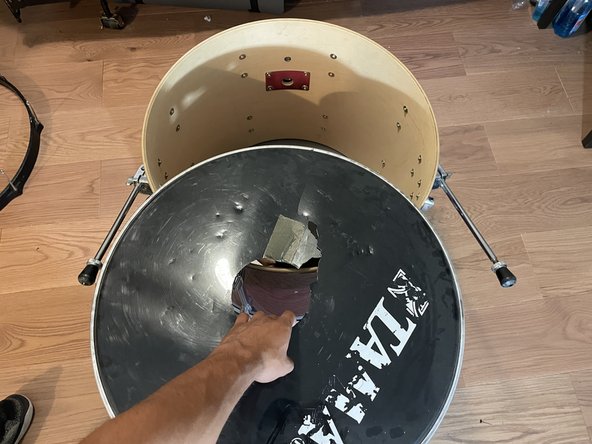
In the demonstration below, the side being replaced is the one that has a microphone port, but these instructions are useful for either side of the kick drum. In this model, the bass drum is a Tama and has a diameter of 22 inches (the port hole cover is also 22 inches).
你所需要的
-
-
Remove any attachments of the kick drum.
-
This includes symbols, toms, and kick pedal.
-
-
-
-
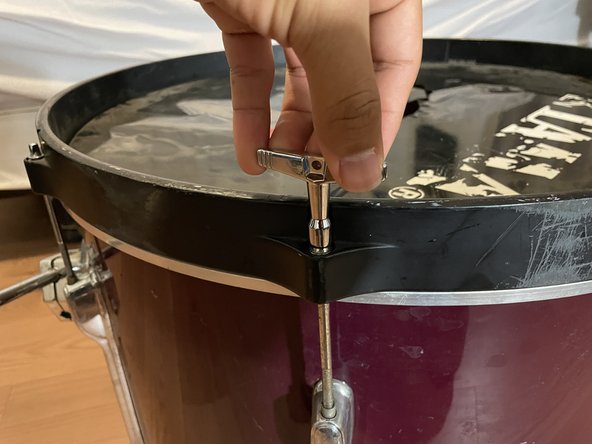
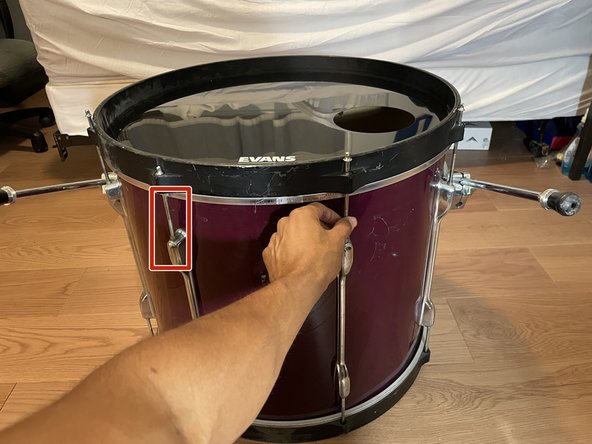
Finger tighten the bolts in a clockwise motion. Do this to all of the remaining bolts that are loose.
-
Evenly tighten the bolts with the same amount of pressure.
-
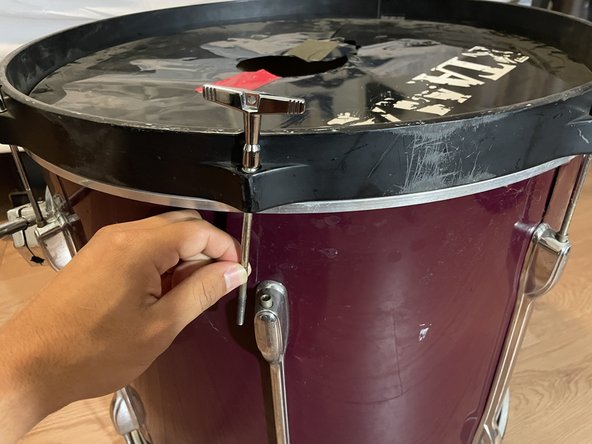
For an easier experience, tighten the bolts underneath the rim rather than above the rim. See the red box location in the pictures for clarification.
-


To reassemble your device, follow these instructions in reverse order.
To reassemble your device, follow these instructions in reverse order.

团队

CSU Los Angeles, Team 31-31, Harris Spring 2022 CSU Los Angeles, Team 31-31, Harris Spring 2022 的会员
CSULA-HARRIS-S22S31G31
1 名成员
创作了1篇指南