跳转到主内容
TI-36X Pro Button Replacement

TI-36X Pro Button Replacement

Robert Sekerak

Robert Sekerak5 其他贡献者

最后更新于 May 7, 2024

20分钟
中等

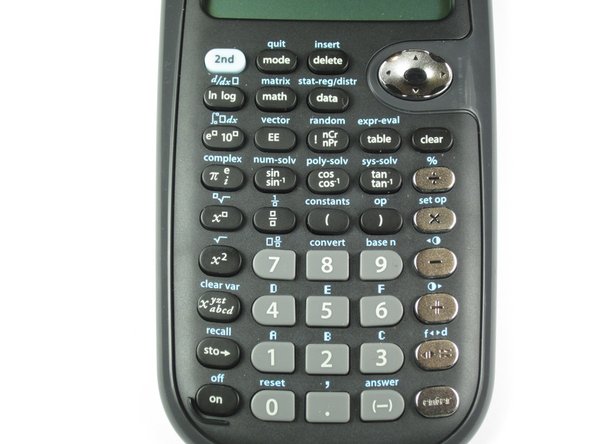
For this guide you will remove all of the internal components in order to replace the buttons.

你所需要的

配件

工具

查看更多...

当你通过这些链接购买商品时,iFixit 会赚取佣金。
  1. TI-36X Pro Button Replacement, Back Cover: 步骤 1 中的图像 1,2 TI-36X Pro Button Replacement, Back Cover: 步骤 1 中的图像 2,2
    • Remove the calculator's protective cover.

    • Place the calculator face down.

  2. TI-36X Pro Button Replacement: 步骤 2 中的图像 1,2 TI-36X Pro Button Replacement: 步骤 2 中的图像 2,2
    • Using a Phillips #1 screwdriver, remove the six 6mm screws from the back of the case and place them to the side.

    • Start from the notches on the top edge and use your fingers or a prying tool to carefully pry the back cover from the calculator.

  3. TI-36X Pro Button Replacement, Battery: 步骤 3 中的图像 1,2 TI-36X Pro Button Replacement, Battery: 步骤 3 中的图像 2,2
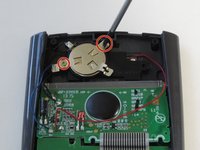
    • Use a Phillips #00 screwdriver to remove the two 7.5 mm screws holding the battery cover to the case.

    • Remove the battery cover without disconnecting either end of the blue wire.

    • Use your finger to move the battery cover to the side.

  4. TI-36X Pro Button Replacement: 步骤 4 中的图像 1,1
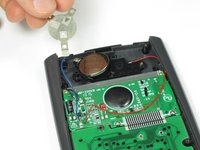
    • Use the flat side of a spudger to remove the battery by lifting the bottom edge.

    • When inserting a new battery, check the polarity (+ or -) and insert the new battery with the + side on top.

  5. TI-36X Pro Button Replacement, Button: 步骤 5 中的图像 1,1
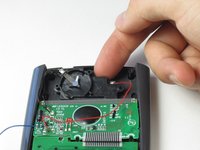
    • After removing the battery, use a Phillips #00 screwdriver to take out the 4.5mm screw directly to the right of the solar panel.

    • Do not disconnect any wires or you will need to solder them back on.

  6. TI-36X Pro Button Replacement: 步骤 6 中的图像 1,1
    • Next, use a Phillips #00 screwdriver to remove the two screws located on each side of the striped ribbon between the two green circuit boards.

  7. TI-36X Pro Button Replacement: 步骤 7 中的图像 1,1
    • Be careful not to scratch the gold lines on the circuit board since it may damage the circuit.

    • Carefully chisel off the 11 circular pieces that connect the lower circuit board to the calculator.

    • When reassembling the calculator, glue the lower circuit board back in place by dabbing glue into the holes that you chiseled.

  8. TI-36X Pro Button Replacement: 步骤 8 中的图像 1,3 TI-36X Pro Button Replacement: 步骤 8 中的图像 2,3 TI-36X Pro Button Replacement: 步骤 8 中的图像 3,3
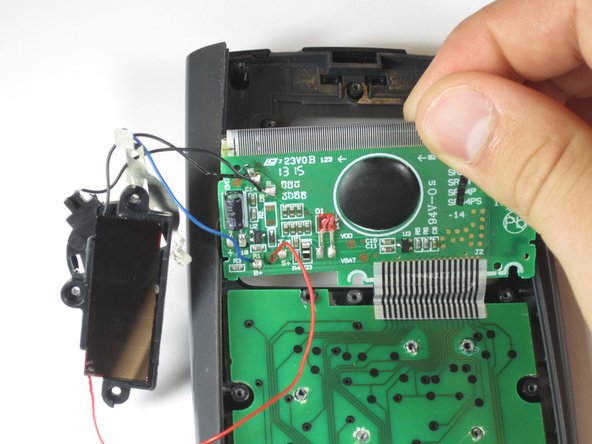
    • When removing the parts from the calculator be careful not to break any wires or ribbons. The solar panel, screen, and lower circuit board should remain connected throughout this guide.

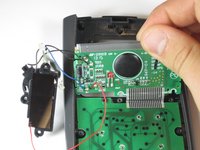
    • Lift the top edge of the solar panel with a finger and slide it away from the circuit board to disconnect it from the calculator.

    • Carefully pry the screen out of the calculator with a prying tool or spudger.

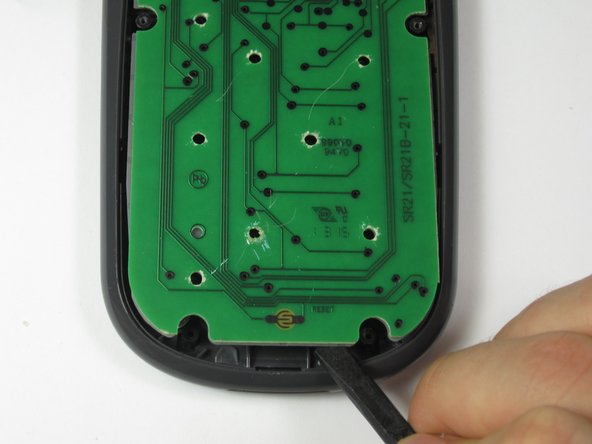
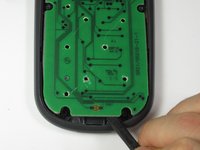
    • Pry the lower circuit board from the calculator by inserting a prying tool between the base of the calculator and the circuit board.

  9. TI-36X Pro Button Replacement: 步骤 9 中的图像 1,1
    • Grab one of the top corners of the gray rubber button pad and peel it off of the buttons.

    • If you turn the calculator over, all of the buttons will fall out.

  10. TI-36X Pro Button Replacement: 步骤 10 中的图像 1,2 TI-36X Pro Button Replacement: 步骤 10 中的图像 2,2
    在这个步骤中使用的工具:
    Tweezers
    $4.99
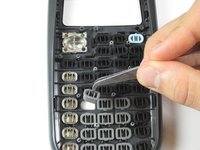
    • Locate the button that needs replacement and lift it out of the calculator with tweezers.

    • If the buttons do fall out, use the second picture to put them back properly.

结论

To reassemble your device, follow these instructions in reverse order.

3等其他人完成本指南。

Robert Sekerak

于04/25/14注册

664 声望

创作了4篇指南

团队

Cal Poly, Team 11-52, Amido Spring 2014 Cal Poly, Team 11-52, Amido Spring 2014 的会员

CPSU-AMIDO-S14S11G52

4 名成员

创作了10篇指南

0指南评论

添加评论

浏览统计数据:

过去 24 小时: 3

过去 7 天: 5

过去 30 天: 38

总计 2,514