跳转到主内容
加入维修社区 - 创建账户

TGL 57-1022 Disassembly

你所需要的

  1. TGL 57-1022 Disassembly, TGL 57-1022 Disassembly: 步骤 1 中的图像 1,1
    • Unscrew the black end cap

  2. TGL 57-1022 Disassembly: 步骤 2 中的图像 1,3 TGL 57-1022 Disassembly: 步骤 2 中的图像 2,3 TGL 57-1022 Disassembly: 步骤 2 中的图像 3,3
    • Untie the cord securing the cap of the plug.

    • Use the screwdriver to push the circlip out of it's slot and remove the outer ring assembly

  3. TGL 57-1022 Disassembly: 步骤 3 中的图像 1,2 TGL 57-1022 Disassembly: 步骤 3 中的图像 2,2
    • Using your thumb prise out the rubber ring from the top of the plug.

    • If the ring does not release you can use a screwdriver to gently push it out.

    • The retaining ring should now be visible, note the four slots in the ring.

  4. TGL 57-1022 Disassembly: 步骤 4 中的图像 1,2 TGL 57-1022 Disassembly: 步骤 4 中的图像 2,2
    • Using the long nose pliers remove the retaining ring by unscrewing it counter-clockwise from the inner assembly.

  5. TGL 57-1022 Disassembly: 步骤 5 中的图像 1,2 TGL 57-1022 Disassembly: 步骤 5 中的图像 2,2
    • Push the cable into the inner assembly until the connector is fully exposed from the assembly.

    • From the plug end, gently push the cable out to expose the two metal rings and rubber water-proofing ring.

  6. TGL 57-1022 Disassembly: 步骤 6 中的图像 1,2 TGL 57-1022 Disassembly: 步骤 6 中的图像 2,2
    • Using the screwdriver release the clip securing the cable to the plug housing.

    • Unscrew the leads from the plug terminals.

结论

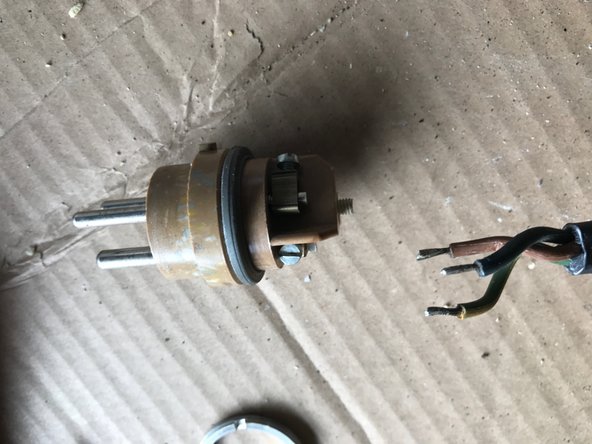
To reassemble your device, follow these instructions in reverse order. When placing back the grey rubber ring on top gently push it in, you can use the screwdriver to gently! ease it back in.

另外一个人完成了本指南。

Sander van Vliet

于01/22/17注册

131 声望

撰写一个指南

0指南评论

添加评论

浏览统计数据:

过去 24 小时: 0

过去 7 天: 2

过去 30 天: 5

总计 197