跳转到主内容

Surface Studio Motherboard Replacement

你所需要的

  1. Surface Studio Motherboard Replacement, Motherboard: 步骤 1 中的图像 1,3 Surface Studio Motherboard Replacement, Motherboard: 步骤 1 中的图像 2,3 Surface Studio Motherboard Replacement, Motherboard: 步骤 1 中的图像 3,3
    • Lay the Surface face down on a padded surface

    • Be careful not to scratch the screen when laying it face down

    • Remove the four rubber feet at each corner concealing the Torx screws

    • Remove the four Torx screws under the rubber feet.

    • Two screws on the upper corners are longer than two screws on the lower corners.

    • Attach suction cups to the bottom cover and then pull on the suction cups to free the bottom cover.

  2. Surface Studio Motherboard Replacement: 步骤 2 中的图像 1,2 Surface Studio Motherboard Replacement: 步骤 2 中的图像 2,2
    • Remove five torx screws holding the two fans to the midframe

    • Remove the two fans

    • The fan connectors are behind the midframe and not yet accessible. Let the fans hang loosely until you can access the connectors.

    • Four large torx screws and four small torx screws hold the midframe to the upper frame.

    • Remove four large torx screws holding the midframe

    • Remove four small torx screws holding the midframe

  3. Surface Studio Motherboard Replacement: 步骤 3 中的图像 1,1
    • Slowly remove the midframe

    • Be careful: the speaker on the midframe is still attached to the motherboard

    • Detach the connectors for the two fans and the speaker

  4. Surface Studio Motherboard Replacement: 步骤 4 中的图像 1,3 Surface Studio Motherboard Replacement: 步骤 4 中的图像 2,3 Surface Studio Motherboard Replacement: 步骤 4 中的图像 3,3
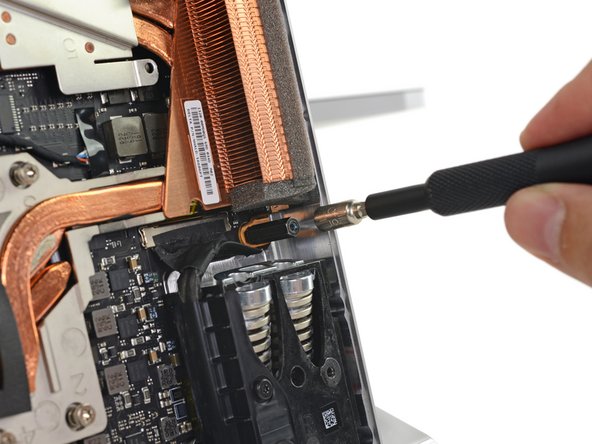
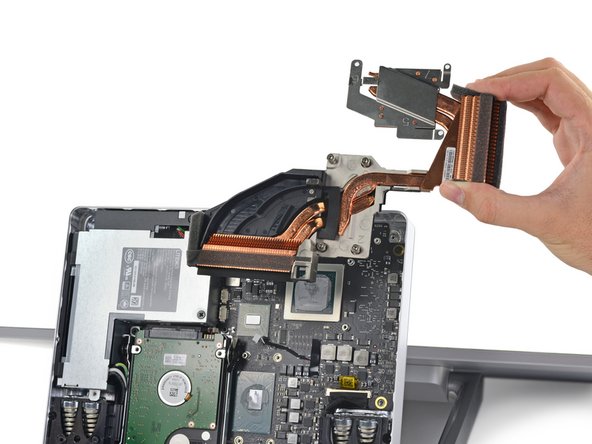
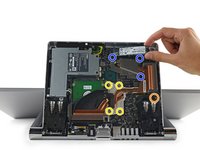
    • Remove four spring loaded torx screw labeled 1 to 4

    • Remove four torx screw labeled 5 to 7

    • Remove 5mm hex mounting post

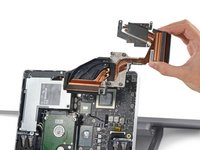
    • Use a spudger to remove the heatsink assembly from the motherboard

  5. Surface Studio Motherboard Replacement: 步骤 5 中的图像 1,2 Surface Studio Motherboard Replacement: 步骤 5 中的图像 2,2
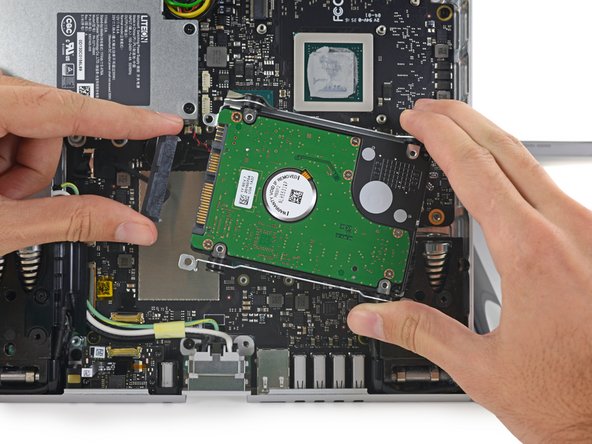
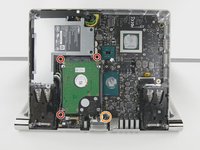
    • Remove three torx screws holding the hard drive brackets

    • Remove 5mm hex mounting post

    • Remove the hard drive and disconnect the SATA/SATA power cable

  6. Surface Studio Motherboard Replacement: 步骤 6 中的图像 1,3 Surface Studio Motherboard Replacement: 步骤 6 中的图像 2,3 Surface Studio Motherboard Replacement: 步骤 6 中的图像 3,3
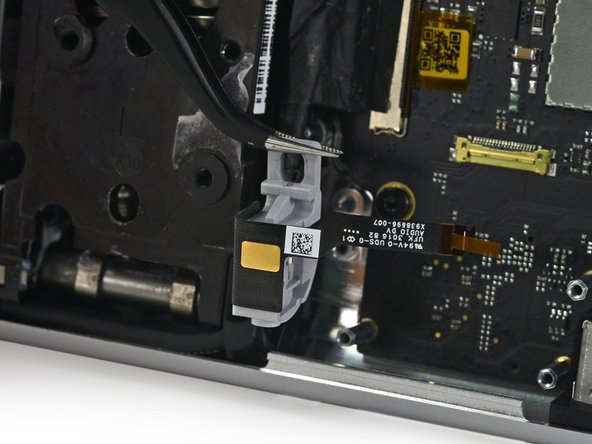
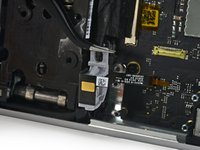
    • Lift the black plastic flap attached to the data cable retainer and rotate it away from motherboard.

    • Pull the data cable out of its socket.

    • The data cable socket is very fragile. Do not lift the connector upward as you disconnect it, as the socket may break off the motherboard. Pull the cable parallel to the face of the motherboard.

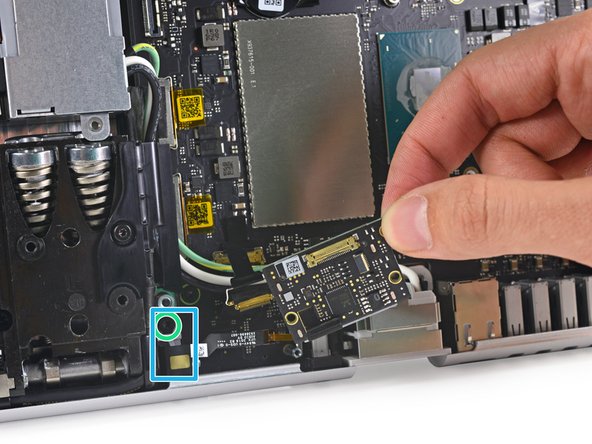
    • Disconnect the data cable connecting the headphone jack to the SD card slot modular board

    • Remove three torx screws holding the SD card slot modular board

    • Remove the SD card slot modular board

    • Remove a torx screw holding the headphone jack

    • Remove the headphone jack

  7. Surface Studio Motherboard Replacement: 步骤 7 中的图像 1,2 Surface Studio Motherboard Replacement: 步骤 7 中的图像 2,2
    • Although removing the power supply is not necessary, it makes accessing the connectors easier

    • Remove a Phillips screw still retaining the power supply

    • Remove a torx screw retaining the power supply cable

    • Unplug the power supply from the motherboard

    • Lift the power supply up and away from the base unit

  8. Surface Studio Motherboard Replacement: 步骤 8 中的图像 1,2 Surface Studio Motherboard Replacement: 步骤 8 中的图像 2,2
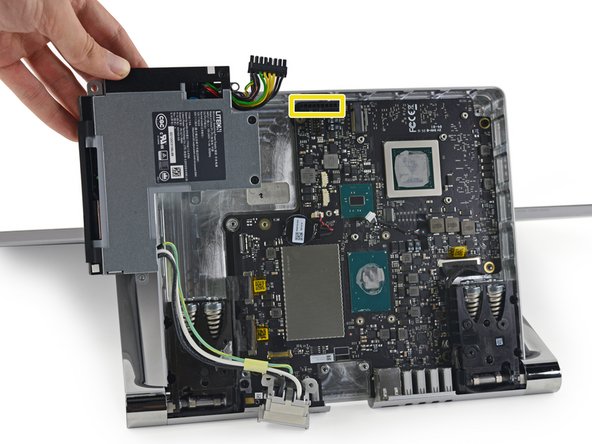
    • Lift the black plastic flap attached to the data cable retainer and rotate it away from motherboard.

    • Pull the data cable out of its socket.

    • The data cable socket is very fragile. Do not lift the connector upward as you disconnect it, as the socket may break off the motherboard. Pull the cable parallel to the face of the motherboard.

    • Remove three torx screws holding the motherboard

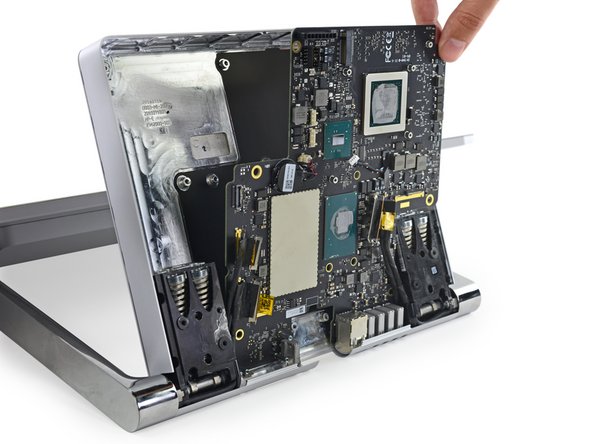
    • Lift the motherboard up and away from the base unit.

  9. Surface Studio Motherboard Replacement: 步骤 9 中的图像 1,1
    • Remove three 5mm hex mounting posts

结论

To reassemble your device, follow these instructions in reverse order.

6等其他人完成本指南。

The Raptor

于11/27/16注册

6,219 声望

创作了6篇指南

3条评论

Is it possible to DIY to use a full fledged PC tower with this screen? The display would be extremely useful for digital painting and 3d sculpting beyond the life of the computer hardware.

John - 回复

Where can just the mainboard be found? Did some searches on amazon and ebay to no avail. Is there a part number to the i7, 16GB 1TB version that can be looked up?

pikarde - 回复

I would like to find a new motherboard too… 32gb ram though.

Roger Owens - 回复

添加评论

浏览统计数据:

过去 24 小时: 2

过去 7 天: 9

过去 30 天: 59

总计 4,435