跳转到主内容

SuperSonic Matrix Mid SC-999 Camera Replacement

你所需要的

  1. SuperSonic Matrix Mid SC-999 Camera Replacement, Opening the Back: 步骤 1 中的图像 1,3 SuperSonic Matrix Mid SC-999 Camera Replacement, Opening the Back: 步骤 1 中的图像 2,3 SuperSonic Matrix Mid SC-999 Camera Replacement, Opening the Back: 步骤 1 中的图像 3,3
    • Open up the back on the tablet.

  2. SuperSonic Matrix Mid SC-999 Camera Replacement, Finding the Camera: 步骤 2 中的图像 1,2 SuperSonic Matrix Mid SC-999 Camera Replacement, Finding the Camera: 步骤 2 中的图像 2,2
    • Locate the camera.

    • Unscrew the two screws.

  3. SuperSonic Matrix Mid SC-999 Camera Replacement, Unscrewing the Cover: 步骤 3 中的图像 1,3 SuperSonic Matrix Mid SC-999 Camera Replacement, Unscrewing the Cover: 步骤 3 中的图像 2,3 SuperSonic Matrix Mid SC-999 Camera Replacement, Unscrewing the Cover: 步骤 3 中的图像 3,3
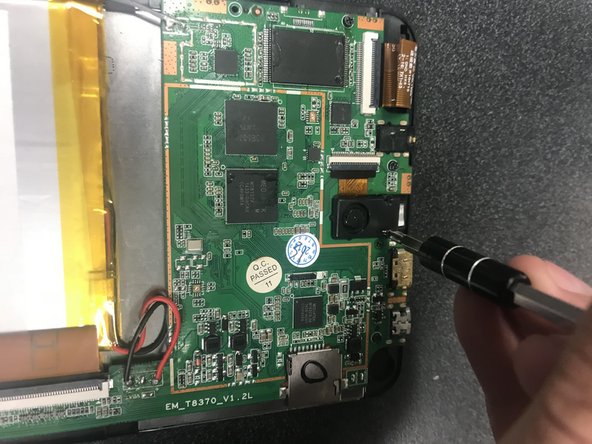
    • Use the J0 Phillps screw driver to unscrew the the two small screws on either side of the black peice.

  4. SuperSonic Matrix Mid SC-999 Camera Replacement, Opening Up to the Camera: 步骤 4 中的图像 1,2 SuperSonic Matrix Mid SC-999 Camera Replacement, Opening Up to the Camera: 步骤 4 中的图像 2,2
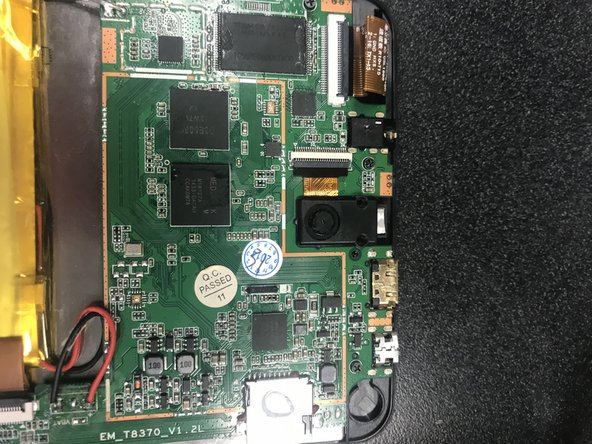
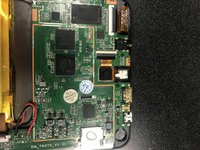
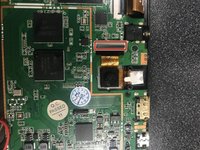
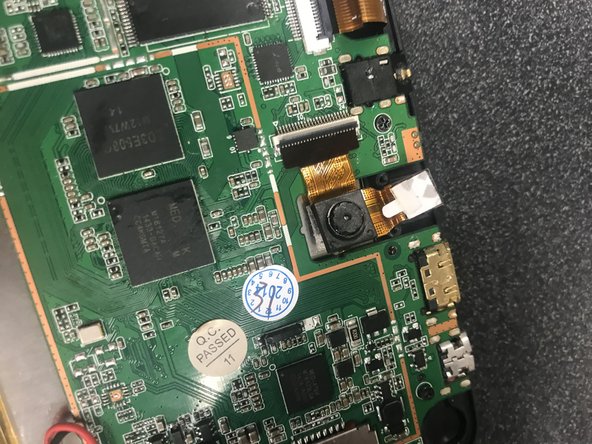
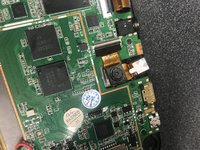
    • Pull the black camera cover off and locate the camera with two gold bands running off upwards and to the right.

  5. SuperSonic Matrix Mid SC-999 Camera Replacement, Finding Where the Camera and Motherboard Meet: 步骤 5 中的图像 1,1
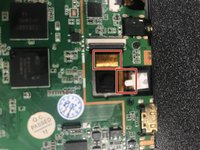
    • Follow the gold band the runs up towards the white and grey box connected to the green plate.

  6. SuperSonic Matrix Mid SC-999 Camera Replacement, Unhocking the Camera from Motherboard: 步骤 6 中的图像 1,2 SuperSonic Matrix Mid SC-999 Camera Replacement, Unhocking the Camera from Motherboard: 步骤 6 中的图像 2,2
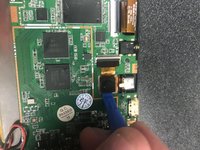
    • Use the wedge from step one to lift the grey box up.

    • The grey piece should open up towards you.

  7. SuperSonic Matrix Mid SC-999 Camera Replacement, Finding the Camera Pt. 2: 步骤 7 中的图像 1,1
    • Now turn your attention back the camera.

  8. SuperSonic Matrix Mid SC-999 Camera Replacement, Finding the Front Camera: 步骤 8 中的图像 1,1
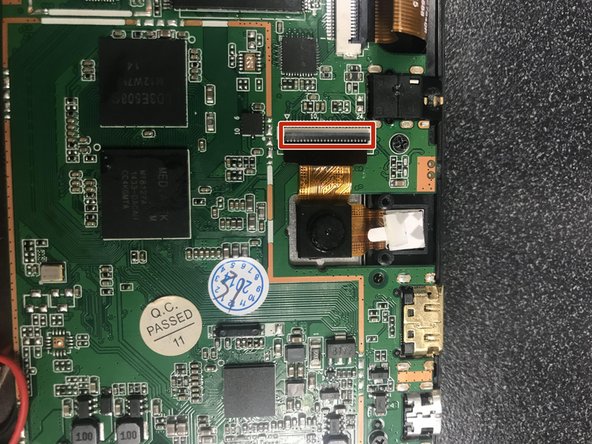
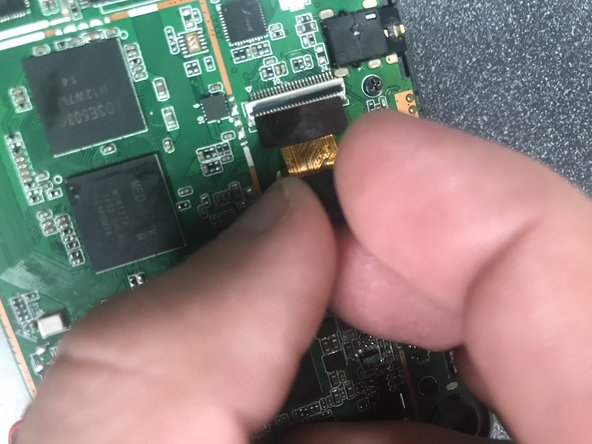
    • Next, Follow the second gold band to right to the white paper, or the front camra.

  9. SuperSonic Matrix Mid SC-999 Camera Replacement, Unhocking the Front Camera from device: 步骤 9 中的图像 1,1
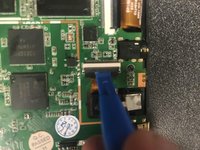
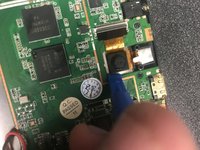
    • Now, carefully remove the front camera with the same wedge from step one, six, and eight.

  10. SuperSonic Matrix Mid SC-999 Camera Replacement, Unhocking the Back Camera from Device: 步骤 10 中的图像 1,3 SuperSonic Matrix Mid SC-999 Camera Replacement, Unhocking the Back Camera from Device: 步骤 10 中的图像 2,3 SuperSonic Matrix Mid SC-999 Camera Replacement, Unhocking the Back Camera from Device: 步骤 10 中的图像 3,3
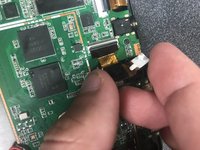
    • Use the same wedge used in step one and step six to go under the camera and carefully pry away from the sivler plating.

  11. SuperSonic Matrix Mid SC-999 Camera Replacement, Taking the Camra System Off the Device.: 步骤 11 中的图像 1,3 SuperSonic Matrix Mid SC-999 Camera Replacement, Taking the Camra System Off the Device.: 步骤 11 中的图像 2,3 SuperSonic Matrix Mid SC-999 Camera Replacement, Taking the Camra System Off the Device.: 步骤 11 中的图像 3,3
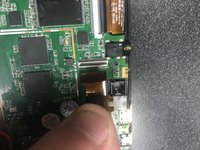
    • When the camera becomes loose, gental pull up and out to the right to silde the gold band out of the white and grey box.

结论

To reassemble your device, follow these instructions in reverse order.

Logan Robinson

于09/18/18注册

493 声望

创作了3篇指南

0条评论

添加评论

浏览统计数据:

过去 24 小时: 0

过去 7 天: 0

过去 30 天: 1

总计 97