简介
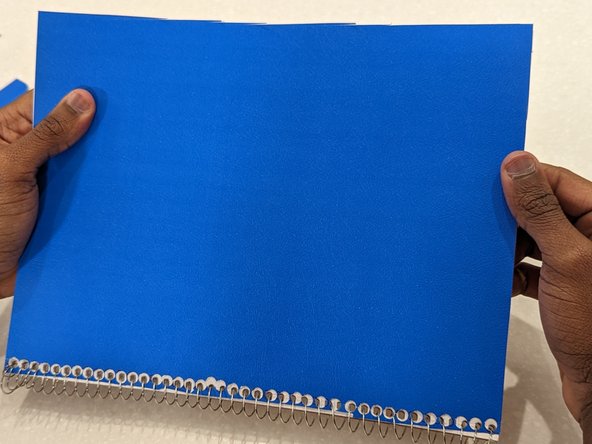
A damaged/ripped notebook cover leaves its important contents exposed and at risk.
With a proper cover, you can ensure the contents are safely preserved for the future.
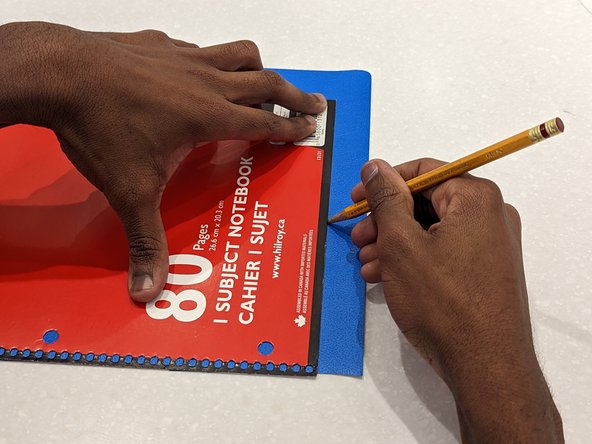
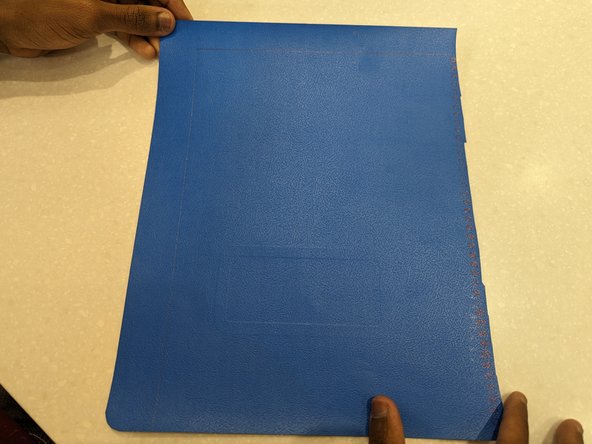
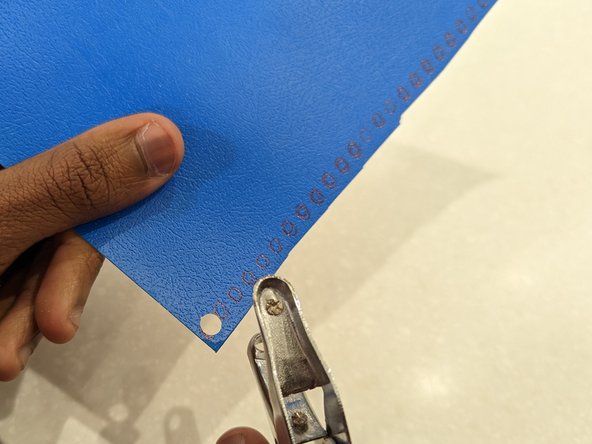
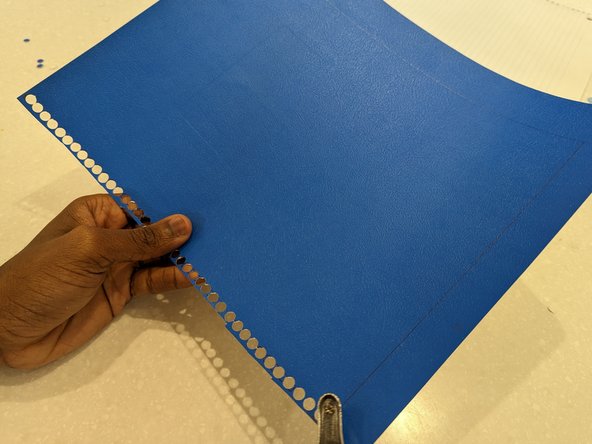
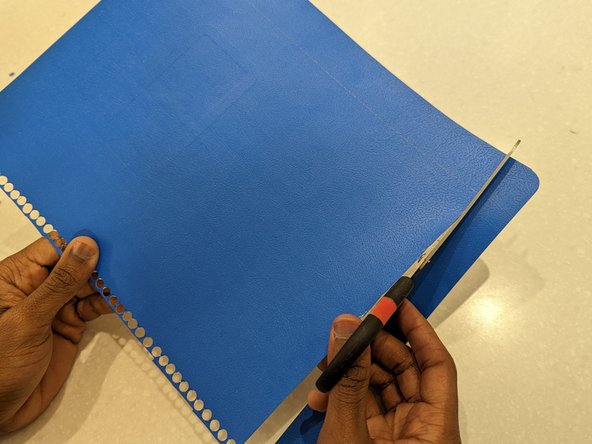
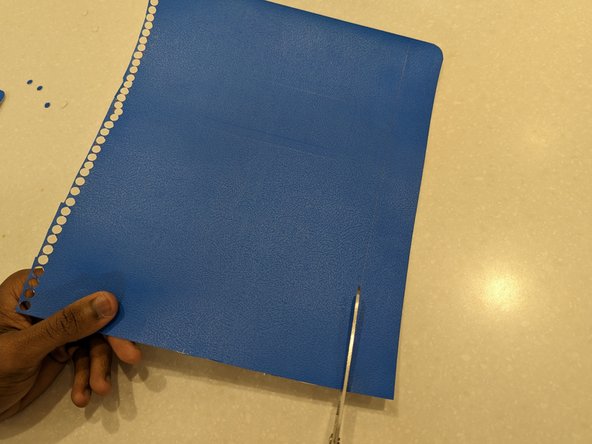
With the help of this guide, replace the damaged cover on your spiral bound notebook.
你所需要的
-
-
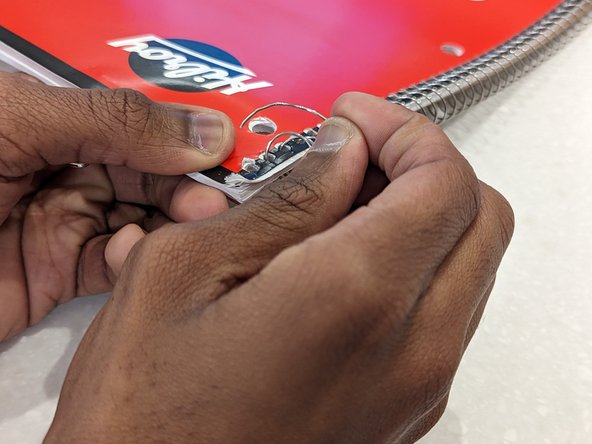
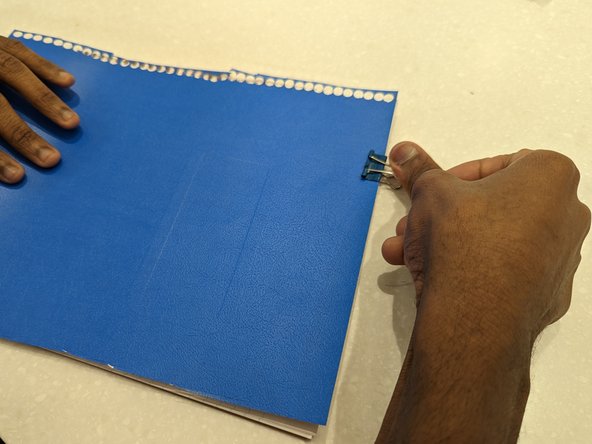
Use a binder clip on either end to hold the paper block together, excluding the damaged cover.
-
-


To reassemble your device, follow instructions 1 - 4 in reverse order.
To reassemble your device, follow instructions 1 - 4 in reverse order.
另外一个人完成了本指南。

团队

York University, Team O-31, Woodhouse Winter 2023 York University, Team O-31, Woodhouse Winter 2023 的会员
YORK-WOODHOUSE-W23SOG31
1 名成员
创作了4篇指南