跳转到主内容

Sony Vaio VPCW21FX Keyboard Replacement

你所需要的

  1. Sony Vaio VPCW21FX Keyboard Replacement, Battery: 步骤 1 中的图像 1,3 Sony Vaio VPCW21FX Keyboard Replacement, Battery: 步骤 1 中的图像 2,3 Sony Vaio VPCW21FX Keyboard Replacement, Battery: 步骤 1 中的图像 3,3
    • Be sure to disconnect the device charger and power down the device before beginning.

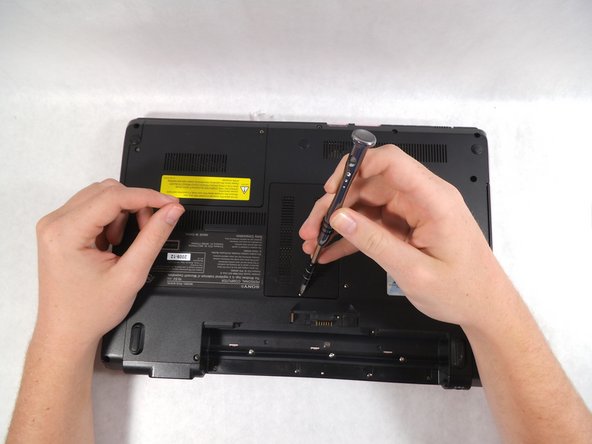
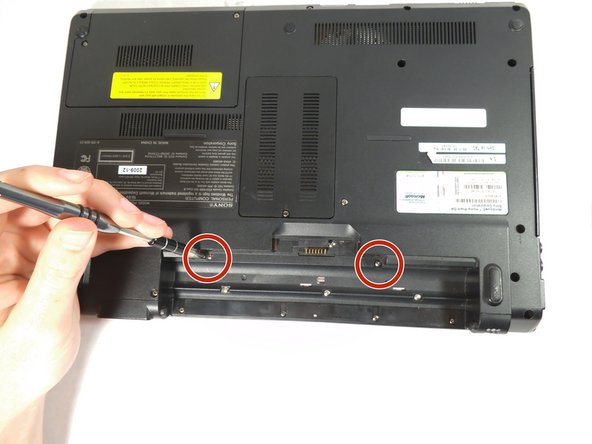
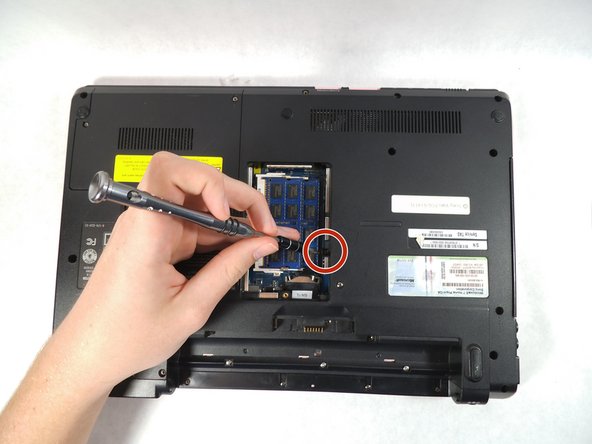
    • Turn the device over onto its back, where the battery is at the top of the device. Slide the "lock" switch to the right.

  2. Sony Vaio VPCW21FX Keyboard Replacement: 步骤 2 中的图像 1,3 Sony Vaio VPCW21FX Keyboard Replacement: 步骤 2 中的图像 2,3 Sony Vaio VPCW21FX Keyboard Replacement: 步骤 2 中的图像 3,3
    • Slide the "release" switch to the left and gently lift the battery up to remove it.

    • Completely remove the battery from the device.

  3. Sony Vaio VPCW21FX Keyboard Replacement, Keyboard: 步骤 3 中的图像 1,3 Sony Vaio VPCW21FX Keyboard Replacement, Keyboard: 步骤 3 中的图像 2,3 Sony Vaio VPCW21FX Keyboard Replacement, Keyboard: 步骤 3 中的图像 3,3
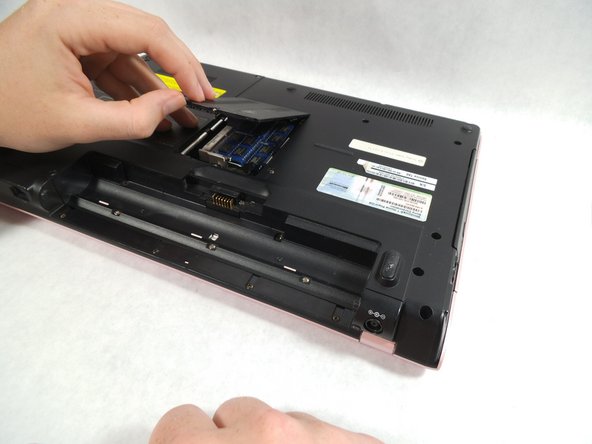
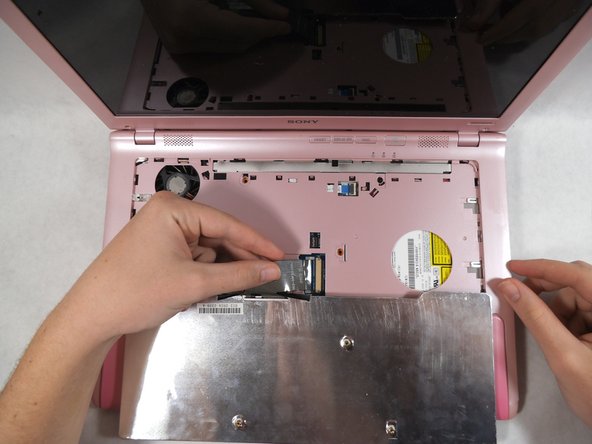
    • Open the Lid of the laptop

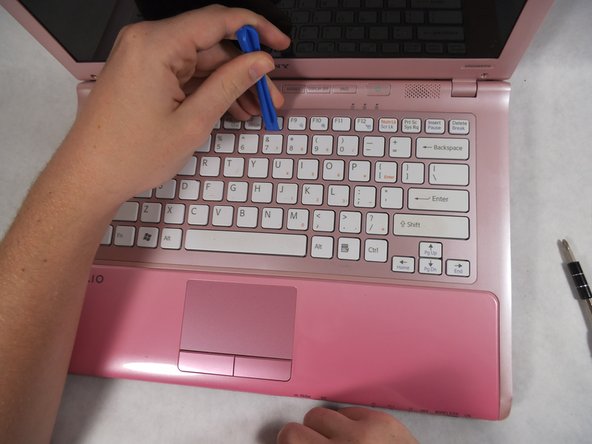
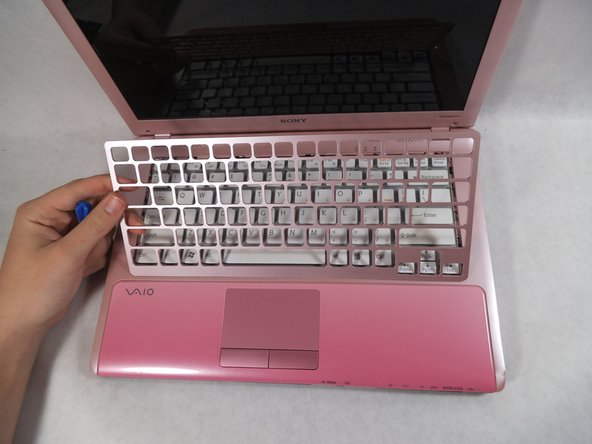
    • Then using they pry tool to carefully remove the plastic cover around the keyboard

    • It helps to pry from one of the larger keys as they have more room to fit the tool in

  4. Sony Vaio VPCW21FX Keyboard Replacement: 步骤 4 中的图像 1,3 Sony Vaio VPCW21FX Keyboard Replacement: 步骤 4 中的图像 2,3 Sony Vaio VPCW21FX Keyboard Replacement: 步骤 4 中的图像 3,3
    • Close the lid and flip the laptop over

    • Loosen but do not remove the screw on center panel and remove Panel.

  5. Sony Vaio VPCW21FX Keyboard Replacement: 步骤 5 中的图像 1,2 Sony Vaio VPCW21FX Keyboard Replacement: 步骤 5 中的图像 2,2
    • Remove the three 5mm screws that are holding in the keyboard.

  6. Sony Vaio VPCW21FX Keyboard Replacement: 步骤 6 中的图像 1,3 Sony Vaio VPCW21FX Keyboard Replacement: 步骤 6 中的图像 2,3 Sony Vaio VPCW21FX Keyboard Replacement: 步骤 6 中的图像 3,3
    • Flip laptop over again and open the lid

    • Lift up the keyboard from the top and lean it toward you to expose the connector on the back

    • Grab the wire from the keyboard close to the connector and pull carefully to the left to disconnect it from the laptop.

结论

To reassemble your device, follow these instructions in reverse order.

Nicholas Corcoran

于03/08/17注册

401 声望

创作了4篇指南

团队

0条评论

添加评论

浏览统计数据:

过去 24 小时: 2

过去 7 天: 4

过去 30 天: 22

总计 2,209