跳转到主内容

Sony Vaio VPCW211AX Hard Drive Replacement

你所需要的

  1. Sony Vaio VPCW211AX Hard Drive Replacement, Flat: 步骤 1 中的图像 1,1
    • Start with the laptop face up on a flat surface.

  2. Sony Vaio VPCW211AX Hard Drive Replacement, Flip: 步骤 2 中的图像 1,1
    • Flip the laptop so the bottom side up.

  3. Sony Vaio VPCW211AX Hard Drive Replacement: 步骤 3 中的图像 1,2 Sony Vaio VPCW211AX Hard Drive Replacement: 步骤 3 中的图像 2,2
    • Use a Phillips #0 screwdriver to unscrew the three screws from the HDD panel on the bottom of the laptop.

    • Remove the panel.

  4. Sony Vaio VPCW211AX Hard Drive Replacement, Remove Hard Drive: 步骤 4 中的图像 1,1
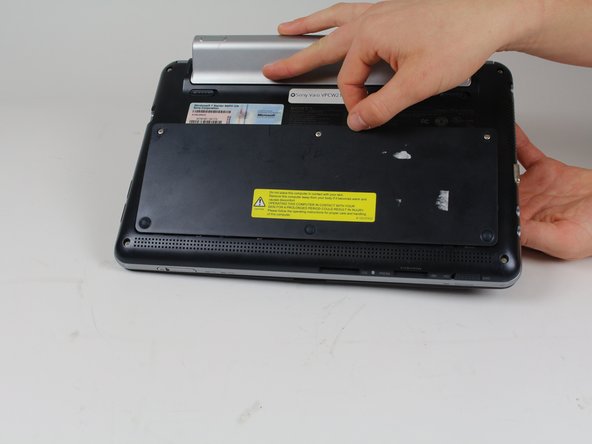
    • In the red box, marked on the picture, is where the brand new hard drive would go, carefully slide the new part in and you are finished with this guide.

结论

To reassemble your device, follow these instructions in reverse order.

2等其他人完成本指南。

Giselle Dougan

于01/31/18注册

760 声望

创作了5篇指南

0条评论

添加评论

浏览统计数据:

过去 24 小时: 0

过去 7 天: 7

过去 30 天: 15

总计 768