跳转到主内容

Sony Vaio VPCEG26FX Fan Replacement

你所需要的

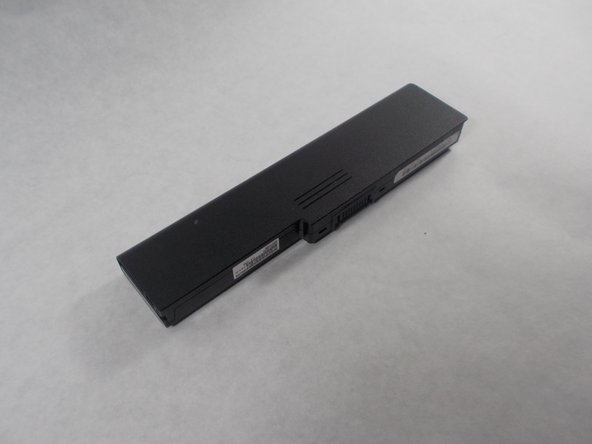
  1. Sony Vaio VPCEG26FX Fan Replacement, Battery: 步骤 1 中的图像 1,1
    • Flip the laptop so the bottom is facing up with the model number visible.

  2. Sony Vaio VPCEG26FX Fan Replacement: 步骤 2 中的图像 1,2 Sony Vaio VPCEG26FX Fan Replacement: 步骤 2 中的图像 2,2
    • Slide the lock switch down until you hear a click to unlock the battery.

  3. Sony Vaio VPCEG26FX Fan Replacement: 步骤 3 中的图像 1,2 Sony Vaio VPCEG26FX Fan Replacement: 步骤 3 中的图像 2,2
    • Slide the release slider up and simultaneously push the battery upwards away from the device until it falls out of place.

  4. Sony Vaio VPCEG26FX Fan Replacement: 步骤 4 中的图像 1,2 Sony Vaio VPCEG26FX Fan Replacement: 步骤 4 中的图像 2,2
    • Remove the battery from the battery compartment.

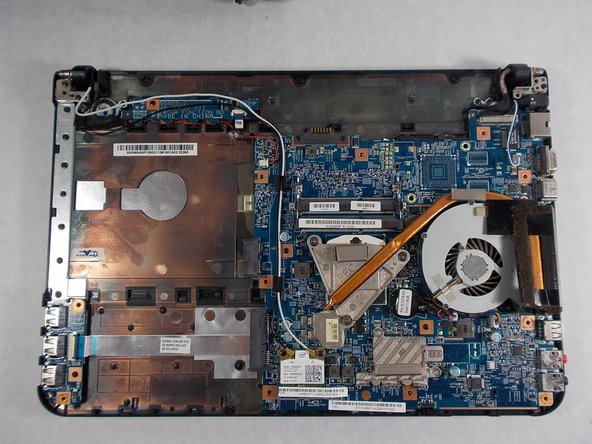
  5. Sony Vaio VPCEG26FX Fan Replacement, Back Panel: 步骤 5 中的图像 1,1
    • Remove the remaining eleven 7mm screws from back panel using the JIS #0 screwdriver.

  6. Sony Vaio VPCEG26FX Fan Replacement: 步骤 6 中的图像 1,2 Sony Vaio VPCEG26FX Fan Replacement: 步骤 6 中的图像 2,2
    • Remove the back panel from the device.

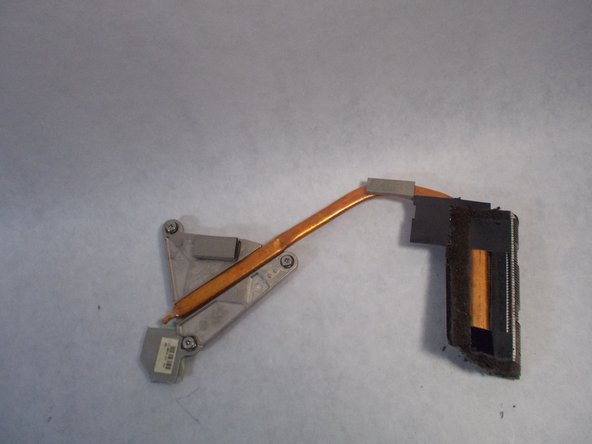
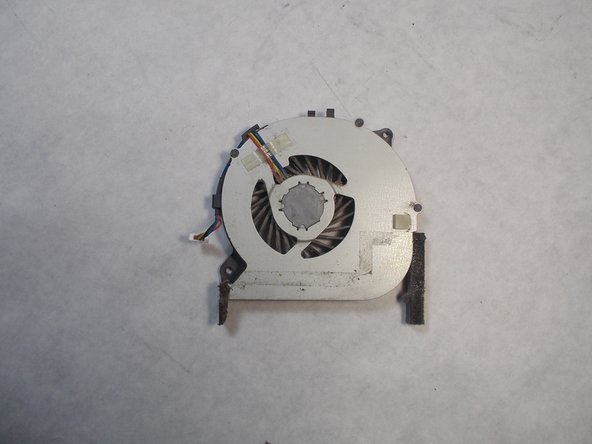
  7. Sony Vaio VPCEG26FX Fan Replacement, Fan: 步骤 7 中的图像 1,1
    • Remove the three 7mm screws attached to the fan using the JIS #0 screwdriver.

  8. Sony Vaio VPCEG26FX Fan Replacement: 步骤 8 中的图像 1,3 Sony Vaio VPCEG26FX Fan Replacement: 步骤 8 中的图像 2,3 Sony Vaio VPCEG26FX Fan Replacement: 步骤 8 中的图像 3,3
    • Unplug and remove the Fan.

结论

To reassemble your device, follow these instructions in reverse order.

Sara Alfaro

于03/08/19注册

546 声望

创作了5篇指南

团队

UMass Dartmouth, Team S1-G4, Botvin Spring 2019 UMass Dartmouth, Team S1-G4, Botvin Spring 2019 的会员

UMASSD-BOTVIN-S19S1G4

4 名成员

创作了10篇指南

0条评论

添加评论

浏览统计数据:

过去 24 小时: 2

过去 7 天: 4

过去 30 天: 9

总计 446