跳转到主内容
加入维修社区 - 创建账户

Sony Vaio VPCCW17FX Fan Replacement

你所需要的

    1. Sony Vaio VPCCW17FX Fan Replacement, Back case: 步骤 1 中的图像 1,1
      • Turn the laptop over and orient it as shown.

      询问修复机器人

      添加评论

    2. Sony Vaio VPCCW17FX Fan Replacement: 步骤 2 中的图像 1,3 Sony Vaio VPCCW17FX Fan Replacement: 步骤 2 中的图像 2,3 Sony Vaio VPCCW17FX Fan Replacement: 步骤 2 中的图像 3,3
      • Remove the battery by pinching the two lock tabs towards the center.

      • Next, lift up on the battery to remove it.

      询问修复机器人
      添加评论

    3. Sony Vaio VPCCW17FX Fan Replacement: 步骤 3 中的图像 1,1
      • Using a Phillips #00 screwdriver, remove the twenty-two 5.6 mm screws from the back of the laptop.

      • Be sure to remove all screws, including those that are typically covered by the battery.

      询问修复机器人
      添加评论

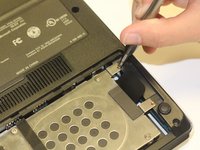
    4. Sony Vaio VPCCW17FX Fan Replacement: 步骤 4 中的图像 1,3 Sony Vaio VPCCW17FX Fan Replacement: 步骤 4 中的图像 2,3 Sony Vaio VPCCW17FX Fan Replacement: 步骤 4 中的图像 3,3
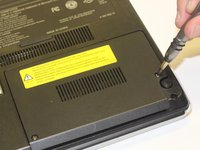
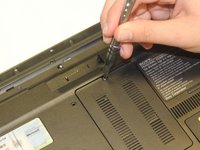
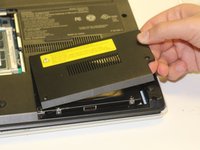
      • Now, remove the small covers from the back of the case.

      • Using a Phillips #00 screwdriver, unscrew the three 5.6 mm screws from the covers (one screw on the RAM cover [middle] and two screws on the Hard Drive cover [bottom right]).

      • Then, lift up on and remove these covers as shown in the third image.

      询问修复机器人
      添加评论

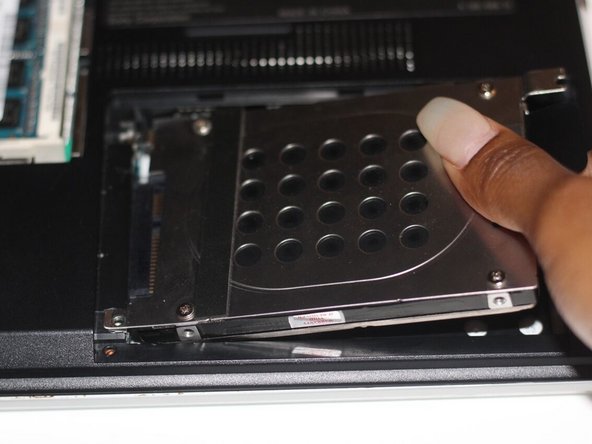
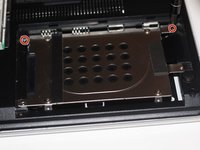
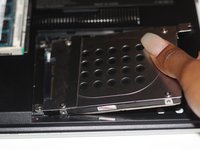
    5. Sony Vaio VPCCW17FX Fan Replacement: 步骤 5 中的图像 1,3 Sony Vaio VPCCW17FX Fan Replacement: 步骤 5 中的图像 2,3 Sony Vaio VPCCW17FX Fan Replacement: 步骤 5 中的图像 3,3
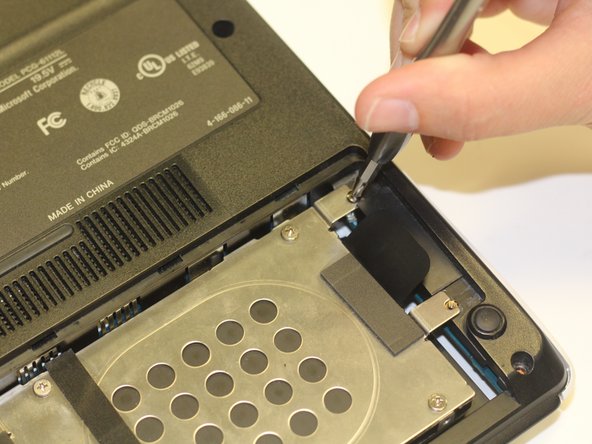
      • Remove the hard drive.

      • Using a Phillips #00 screwdriver, unscrew the two remaining 4.9 mm screws holding the hard drive into place.

      • Next, lift up and pull outwards to release the hard drive from its socket.

      询问修复机器人

      添加评论

    6. Sony Vaio VPCCW17FX Fan Replacement: 步骤 6 中的图像 1,1
      • Using your fingers, grasp the black tab and lightly pull up on the ribbon cable to detach it from the motherboard.

      询问修复机器人

      添加评论

    7. Sony Vaio VPCCW17FX Fan Replacement: 步骤 7 中的图像 1,1
      • After proper removal of all necessary screws, gently lift up on the back case to remove it.

      询问修复机器人

      添加评论

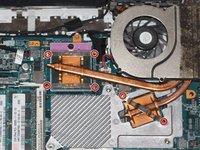
    1. Sony Vaio VPCCW17FX Fan Replacement, Fan: 步骤 8 中的图像 1,3 Sony Vaio VPCCW17FX Fan Replacement, Fan: 步骤 8 中的图像 2,3 Sony Vaio VPCCW17FX Fan Replacement, Fan: 步骤 8 中的图像 3,3
      • Locate the fan (top-right corner of the computer).

      • Using a Phillips #00 screwdriver, unscrew the six 2.7 mm screws that secure the fan to the motherboard.

      询问修复机器人

      添加评论

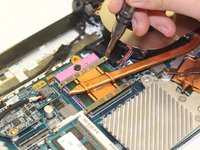
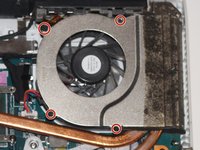
    2. Sony Vaio VPCCW17FX Fan Replacement: 步骤 9 中的图像 1,2 Sony Vaio VPCCW17FX Fan Replacement: 步骤 9 中的图像 2,2
      • This step can be skipped if you are just removing the fan to access another part of the device (such as the motherboard).

      • Using a Japanese Industrial Standard #00 screwdriver, unscrew four 3.7 mm screws located on the casing of the fan.

      询问修复机器人

      添加评论

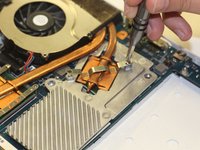
    3. Sony Vaio VPCCW17FX Fan Replacement: 步骤 10 中的图像 1,2 Sony Vaio VPCCW17FX Fan Replacement: 步骤 10 中的图像 2,2
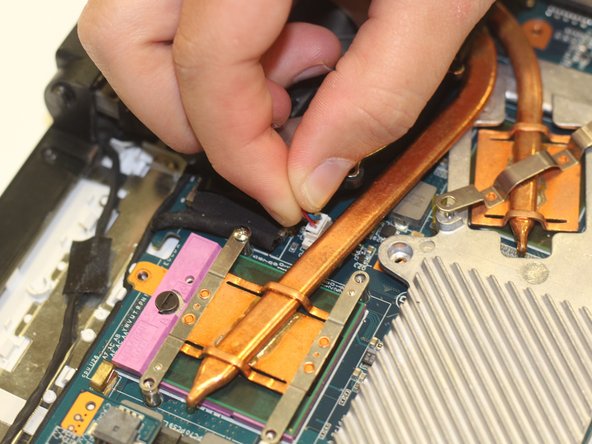
      • Using your fingers, grasp the white tab and firmly, yet gently, pull up on the wire to disconnect it from the motherboard.

      询问修复机器人

      添加评论

结论

To reassemble your device, follow these instructions in reverse order.

取消:我没有完成这个指南。

0指南评论

添加评论

浏览统计数据:

过去 24 小时: 0

过去 7 天: 4

过去 30 天: 20

总计 1,472