简介
The removal of the WiFi card is very simple for even the least tech savvy people. The only tools necessary are a plastic opening tool such as a spudger and a Phillips #00 screwdriver. Once these tools are obtained, the steps are very easy to follow.
你所需要的
-
-
Remove cover for the extended battery connector. Use your finger nail or a plastic opening tool to remove it.
-
Remove the two rubber feet at the back of the computer, these can be removed in the same way.
-
-
-
-
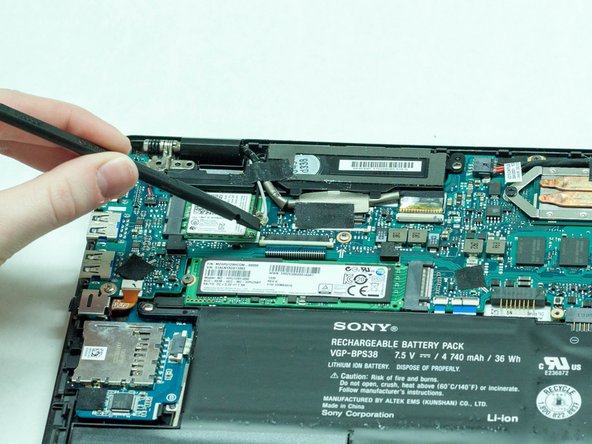
Remove the black tape from on top of the WiFi card.
-
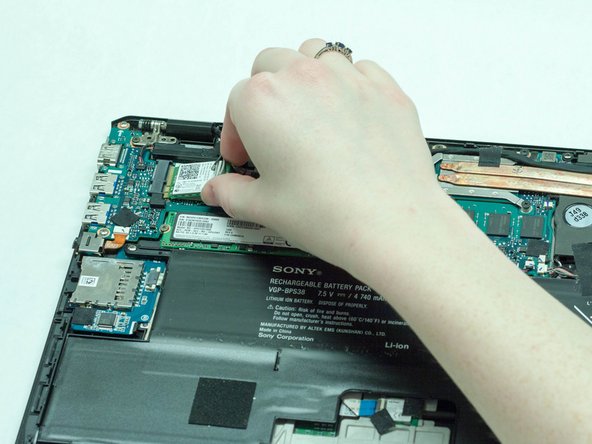
Use the spudger to remove the white wire from the WiFi card.
-


To reassemble your device, follow these instructions in reverse order.
To reassemble your device, follow these instructions in reverse order.
另外一个人完成了本指南。
团队

Western Carolina University, Team 1-3, Virtue Spring 2016 Western Carolina University, Team 1-3, Virtue Spring 2016 的会员
WCU-VIRTUE-S16S1G3
5 名成员
创作了12篇指南