当前版本的文档还未经巡查,您可以查看最新的已查核版本 。
With the bottom of the laptop facing up, locate the RAM cover.
The RAM is covered by the panel with four columns of vents.
Locate the screw (Length: 4.8 mm) holding down the panel, which is near the edge of the laptop. Unscrew it with your phillips #0 screwdriver.
Use your fingers to slide the cover away from the laptop. (It will only slide a few millimeters)
Once the panel is out of its locked position, it can be lifted out without any resistance.
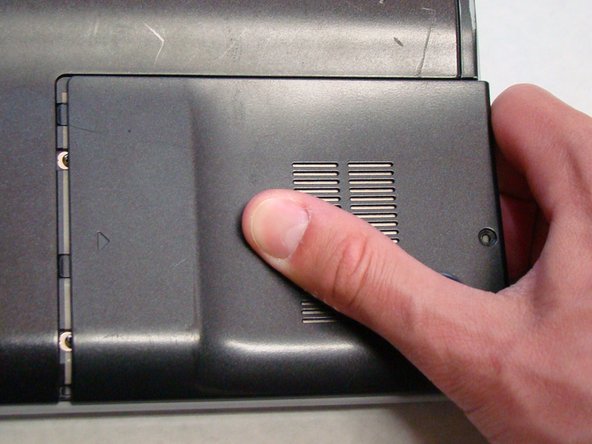
Locate and remove the screw (Length: 7.7mm) for the hard drive cover.
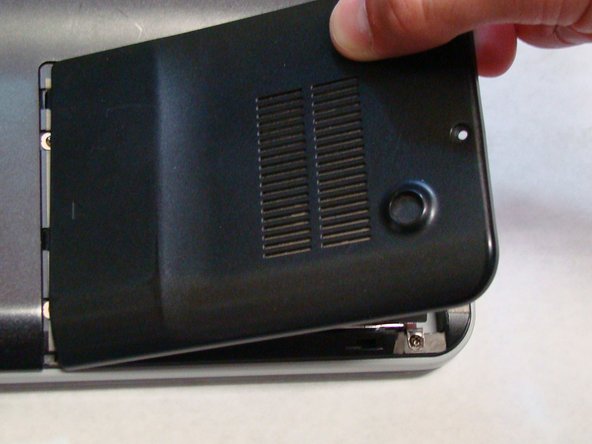
Slide the cover until it is free from the laptop case.
Lift the cover to remove.
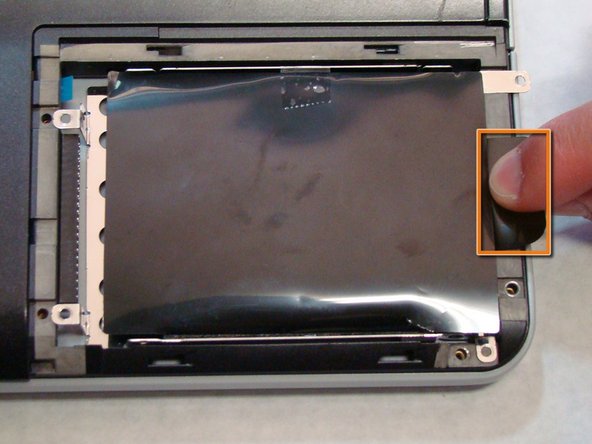
Locate and remove the four screws (Length: 7.7mm) holding the Hard Drive tray in place.
Using the tab on the tray, slide the Hard Drive away from the main body of the laptop.
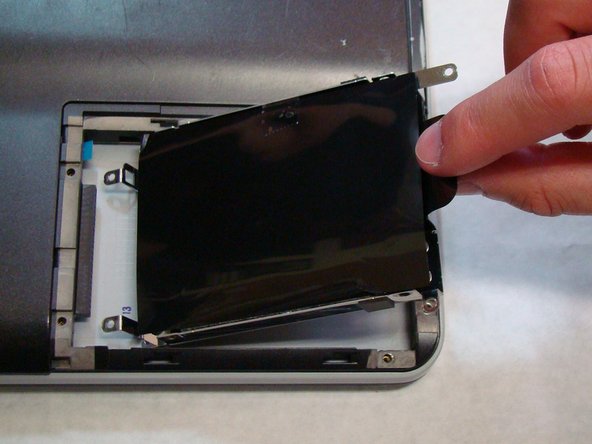
The Hard Drive should now be disconnected.
Lift the drive out with the tab on the tray.
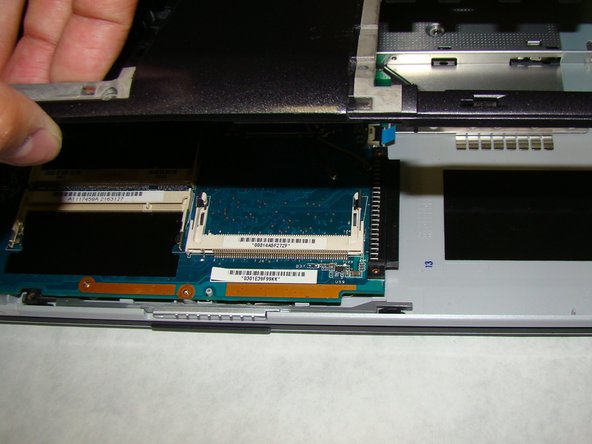
Locate the screws highlighted here. There are 16 total.
Using a Phillips #0 screwdriver, remove the screws (Length: 6.8mm) and place them on a tray for later use.
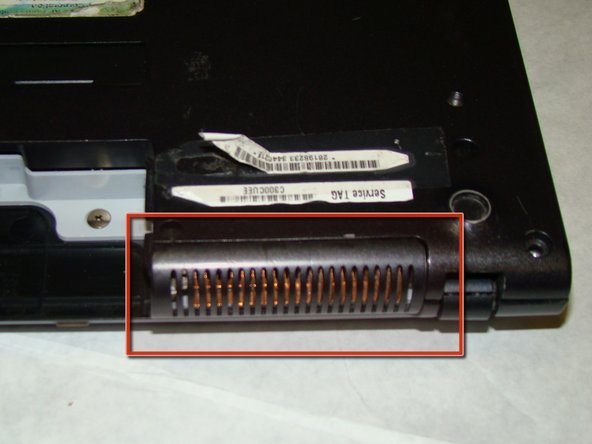
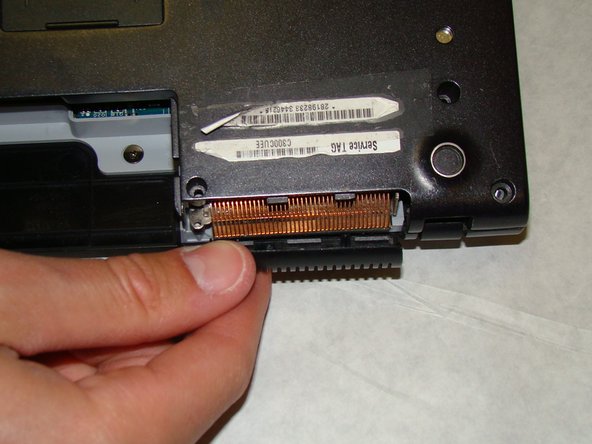
Before you proceed, make sure you pay special attention to the way the small plastic part that covers the radiator fins is held in place. You will need to know how it attaches when you reassemble the laptop.
You do not need to actually remove the part at this time. It is held in place by the rest of the back cover and will fall off when back cover is removed in the next step.
嵌入本指南
选择一个尺寸并复制下面的代码,将本指南作为一个小插件嵌入到你的网站/论坛中。
单个步骤
完整指南
小——600像素
中——800像素
大——1200像素
预览