跳转到主内容
加入维修社区 - 创建账户

Sony Vaio PCG-4121GL Keyboard Replacement

你所需要的

    1. Sony Vaio PCG-4121GL Keyboard Replacement, Battery: 步骤 1 中的图像 1,2 Sony Vaio PCG-4121GL Keyboard Replacement, Battery: 步骤 1 中的图像 2,2
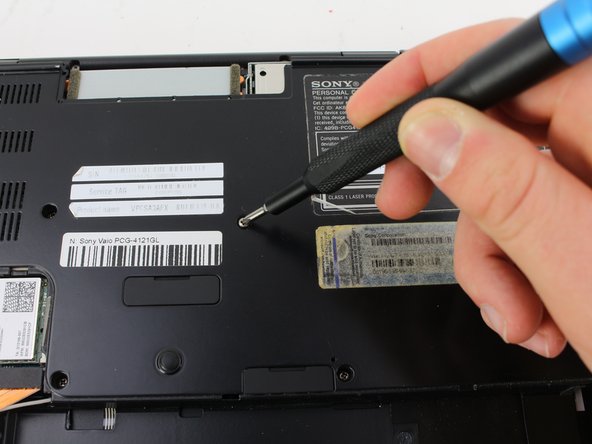
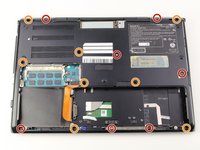
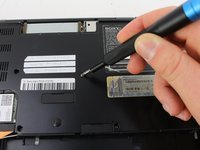
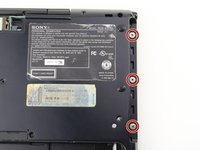
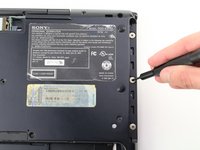
      • Remove the two 3mm Phillips #0 screws on the bottom of the computer that secure the plastic backing.

      询问修复机器人

      添加评论

    2. Sony Vaio PCG-4121GL Keyboard Replacement: 步骤 2 中的图像 1,3 Sony Vaio PCG-4121GL Keyboard Replacement: 步骤 2 中的图像 2,3 Sony Vaio PCG-4121GL Keyboard Replacement: 步骤 2 中的图像 3,3
      • Pull the bottom plate towards yourself until it unhinges fully.

      • Once the plate is free from the backing remove it completely.

      询问修复机器人

      添加评论

    3. Sony Vaio PCG-4121GL Keyboard Replacement: 步骤 3 中的图像 1,1
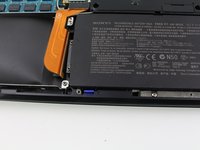
      • Look for the blue tab that is located to the bottom left of the battery.

      询问修复机器人

      添加评论

    4. Sony Vaio PCG-4121GL Keyboard Replacement: 步骤 4 中的图像 1,3 Sony Vaio PCG-4121GL Keyboard Replacement: 步骤 4 中的图像 2,3 Sony Vaio PCG-4121GL Keyboard Replacement: 步骤 4 中的图像 3,3
      • Pull the blue tab towards yourself until you hear a click.

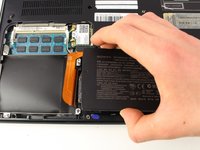
      • Once the blue tab is released, pull up on the battery.

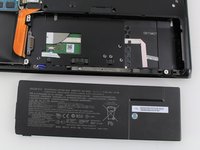
      • Once the battery can move freely, take it out completely.

      • It may be helpful to have a spudger to make it easier to release the blue tab.

      询问修复机器人

      添加评论

    1. Sony Vaio PCG-4121GL Keyboard Replacement, Keyboard: 步骤 5 中的图像 1,2 Sony Vaio PCG-4121GL Keyboard Replacement, Keyboard: 步骤 5 中的图像 2,2
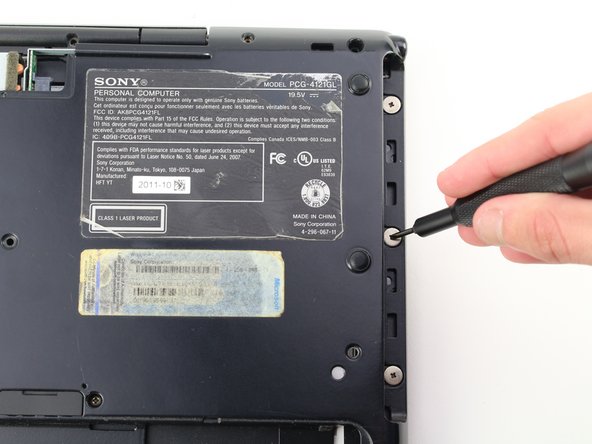
      • Remove seven 3mm Phillips #0 screws from the bottom of the computer.

      • Remove eight 5mm Phillips #0 screws.

      询问修复机器人

      添加评论

    2. Sony Vaio PCG-4121GL Keyboard Replacement: 步骤 6 中的图像 1,3 Sony Vaio PCG-4121GL Keyboard Replacement: 步骤 6 中的图像 2,3 Sony Vaio PCG-4121GL Keyboard Replacement: 步骤 6 中的图像 3,3
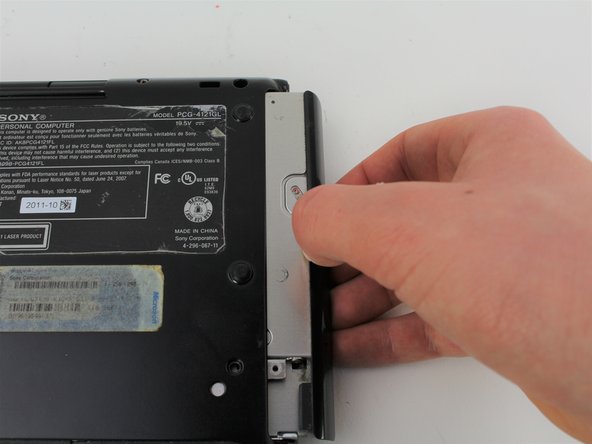
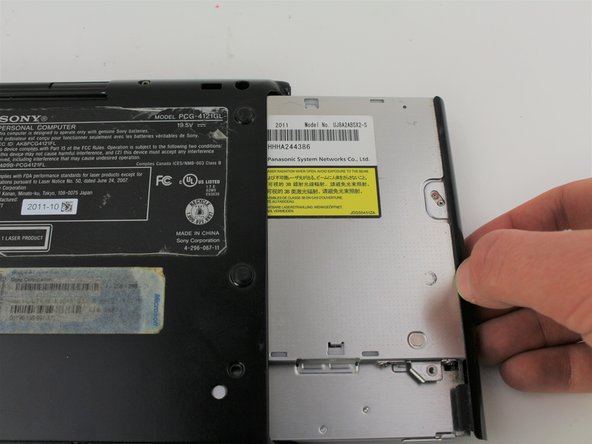
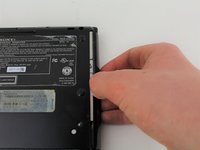
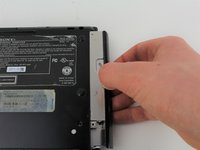
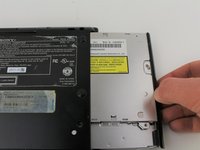
      • Carefully remove the disk drive from its compartment.

      询问修复机器人

      添加评论

    3. Sony Vaio PCG-4121GL Keyboard Replacement: 步骤 7 中的图像 1,2 Sony Vaio PCG-4121GL Keyboard Replacement: 步骤 7 中的图像 2,2
      • Remove the three 2mm Phillips #00 screws located on the top right edge.

      询问修复机器人

      添加评论

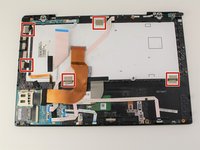
    4. Sony Vaio PCG-4121GL Keyboard Replacement: 步骤 8 中的图像 1,3 Sony Vaio PCG-4121GL Keyboard Replacement: 步骤 8 中的图像 2,3 Sony Vaio PCG-4121GL Keyboard Replacement: 步骤 8 中的图像 3,3
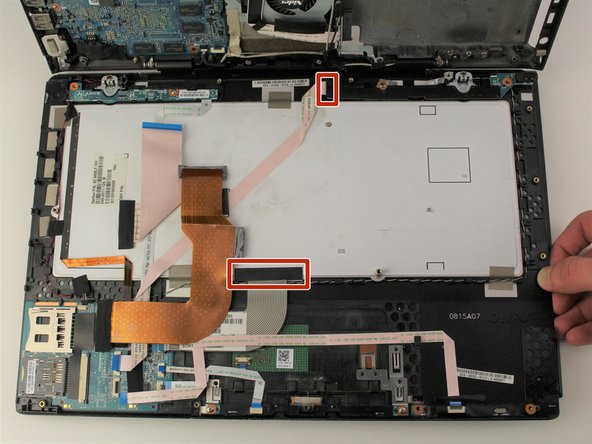
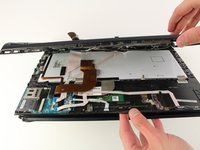
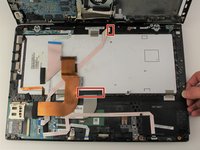
      • Gently pull apart the top and bottom plastic bodies.

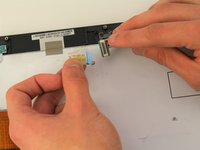
      • Carefully lift up tabs to detach cable connectors.

      • Slowly detach bottom component to avoid tearing wires/connectors.

      询问修复机器人

      添加评论

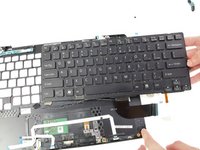
    5. Sony Vaio PCG-4121GL Keyboard Replacement: 步骤 9 中的图像 1,3 Sony Vaio PCG-4121GL Keyboard Replacement: 步骤 9 中的图像 2,3 Sony Vaio PCG-4121GL Keyboard Replacement: 步骤 9 中的图像 3,3
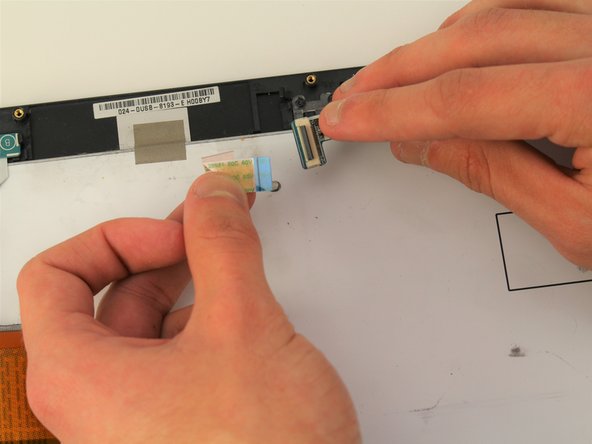
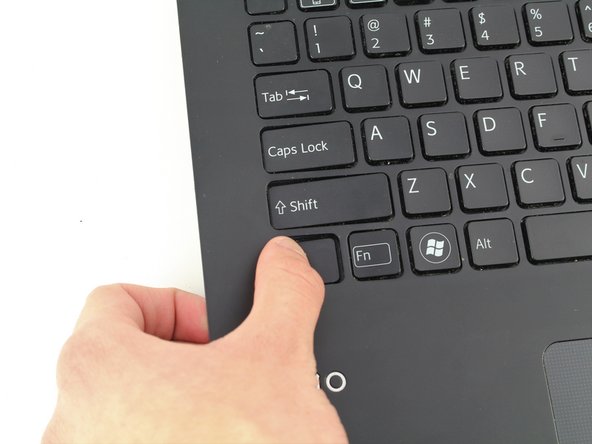
      • Remove the tape strips along the edge of the keyboard.

      • Once the keyboard is disconnected, slowly poke out keys one-by-one.

      • When the keyboard is free to move, remove it completely.

      • The keyboard is held in place with glue, once it is removed it is likely that it will not go back in the same way.

      询问修复机器人

      添加评论

结论

To reassemble your device, follow these instructions in reverse order.

取消:我没有完成这个指南。

4等其他人完成本指南。

团队

Cal Poly, Team S2-G2, White Winter 2019 Cal Poly, Team S2-G2, White Winter 2019 的会员

CPSU-WHITE-W19S2G2

4 名成员

创作了20篇指南

1指南评论

Im having trouble putting the keyboard cables back

Ishaan Patel - 回复 分享

添加评论

浏览统计数据:

过去 24 小时: 1

过去 7 天: 8

过去 30 天: 41

总计 2,391