跳转到主内容
加入维修社区 - 创建账户

Sony VAIO VPC-EB33FM Fan Replacement

你所需要的

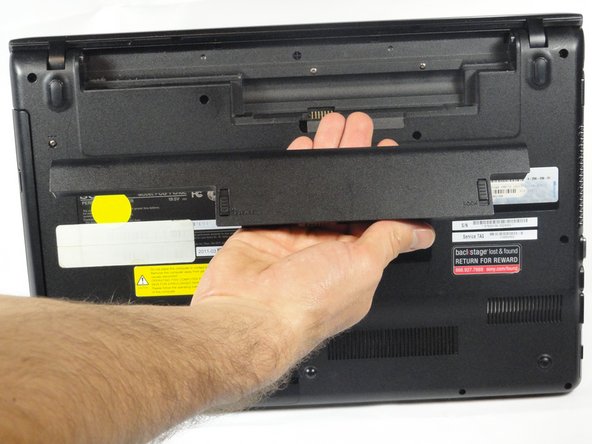
    1. Sony VAIO VPC-EB33FM Fan Replacement, Battery: 步骤 1 中的图像 1,2 Sony VAIO VPC-EB33FM Fan Replacement, Battery: 步骤 1 中的图像 2,2
      • Power down the laptop by pressing the power button.

      • Turn the laptop onto its backside.

      询问修复机器人

      添加评论

    2. Sony VAIO VPC-EB33FM Fan Replacement: 步骤 2 中的图像 1,1
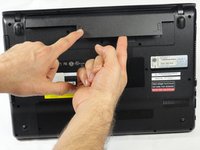
      • To release the battery, hold both the release button and the unlock button at the same time.

      询问修复机器人

      添加评论

    3. Sony VAIO VPC-EB33FM Fan Replacement: 步骤 3 中的图像 1,2 Sony VAIO VPC-EB33FM Fan Replacement: 步骤 3 中的图像 2,2
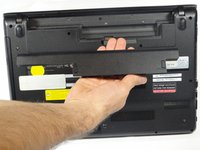
      • Remove the battery out from the notch while continuing to hold the release button.

      询问修复机器人

      添加评论

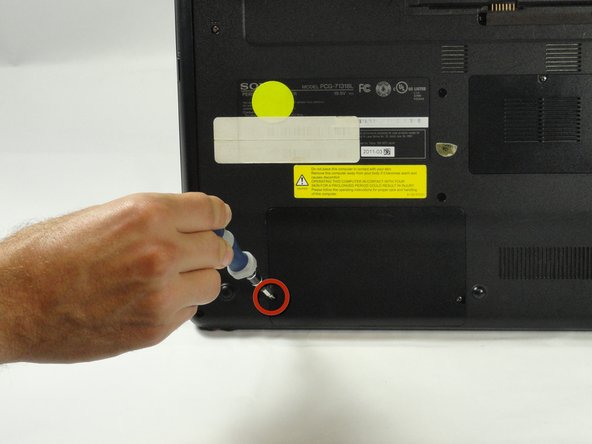
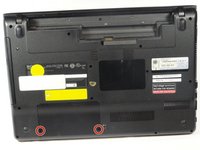
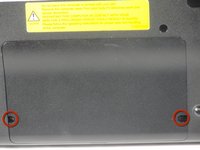
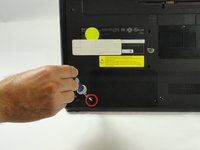
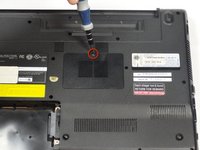
    1. Sony VAIO VPC-EB33FM Fan Replacement, Hard Drive: 步骤 4 中的图像 1,3 Sony VAIO VPC-EB33FM Fan Replacement, Hard Drive: 步骤 4 中的图像 2,3 Sony VAIO VPC-EB33FM Fan Replacement, Hard Drive: 步骤 4 中的图像 3,3
      • Use a Phillips #00 screwdriver to remove the two 7.8 mm cover screws on the bottom corners of the panel.

      询问修复机器人

      添加评论

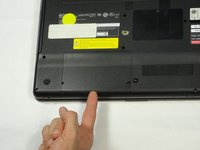
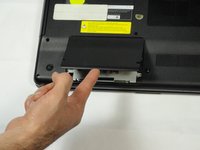
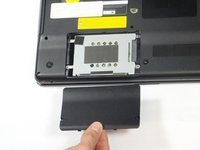
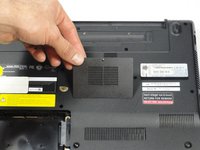
    2. Sony VAIO VPC-EB33FM Fan Replacement: 步骤 5 中的图像 1,3 Sony VAIO VPC-EB33FM Fan Replacement: 步骤 5 中的图像 2,3 Sony VAIO VPC-EB33FM Fan Replacement: 步骤 5 中的图像 3,3
      • Use a finger/fingernail to grip the notch at the bottom of the panel to lift it off.

      • You may need to use your other hand to safely remove the panel.

      • You can also use a spudger for this step.

      询问修复机器人

      添加评论

    3. Sony VAIO VPC-EB33FM Fan Replacement: 步骤 6 中的图像 1,1
      • Remove the two remaining 7.8 mm screws using the Phillips #00 screwdriver.

      询问修复机器人

      添加评论

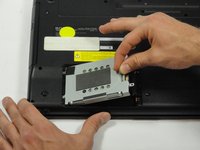
    4. Sony VAIO VPC-EB33FM Fan Replacement: 步骤 7 中的图像 1,1
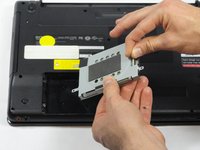
      • Grab the tab between your thumb and index finger.

      • Hold the hard drive securely in a horizontal position using your other hand.

      • Push the hard drive to the left using the plastic tab to disconnect it from the laptop.

      • To prevent damage of the connection on the hard disk drive or the laptop, perform this task slowly and with care.

      询问修复机器人

      添加评论

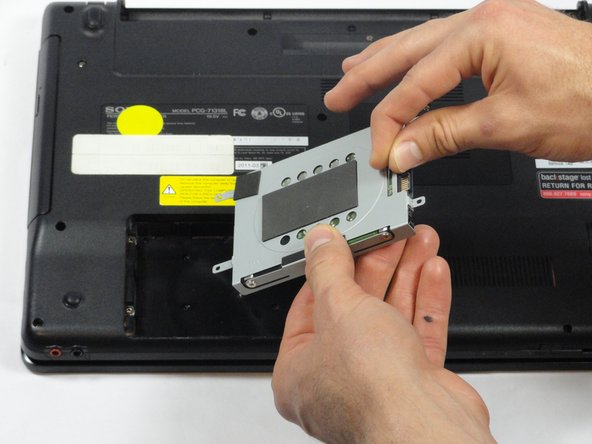
    5. Sony VAIO VPC-EB33FM Fan Replacement: 步骤 8 中的图像 1,2 Sony VAIO VPC-EB33FM Fan Replacement: 步骤 8 中的图像 2,2
      • While still holding the plastic tab, lift the right side of the hard drive out at a 45º angle.

      • Pull the hard drive out.

      询问修复机器人

      添加评论

    6. Sony VAIO VPC-EB33FM Fan Replacement: 步骤 9 中的图像 1,2 Sony VAIO VPC-EB33FM Fan Replacement: 步骤 9 中的图像 2,2
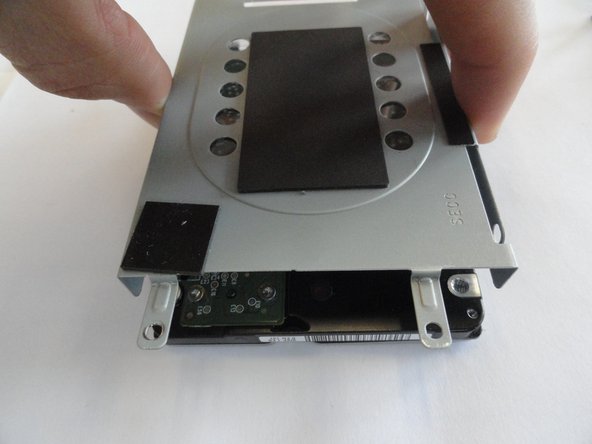
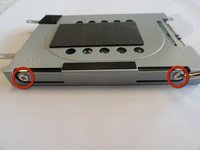
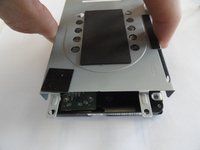
      • If you need to remove the bracket from the hard drive, follow the next few steps:

      • Remove the two 3.7 mm screws from either side of the bracket with a Phillips #00 screwdriver.

      • Lift the bracket off the hard drive.

      询问修复机器人

      添加评论

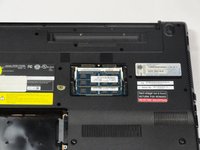
    1. Sony VAIO VPC-EB33FM Fan Replacement, RAM: 步骤 10 中的图像 1,3 Sony VAIO VPC-EB33FM Fan Replacement, RAM: 步骤 10 中的图像 2,3 Sony VAIO VPC-EB33FM Fan Replacement, RAM: 步骤 10 中的图像 3,3
      • Remove the one screw with a Phillips #00 screwdriver.

      • The screw cannot be removed from the RAM casing cover.

      询问修复机器人

      添加评论

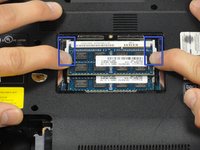
    2. Sony VAIO VPC-EB33FM Fan Replacement: 步骤 11 中的图像 1,2 Sony VAIO VPC-EB33FM Fan Replacement: 步骤 11 中的图像 2,2
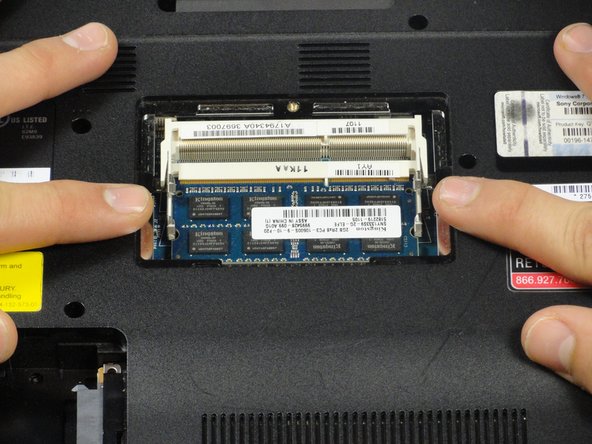
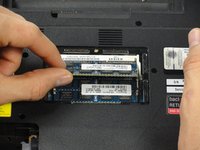
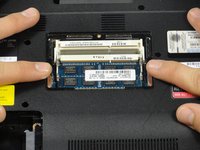
      • Pull the two retaining arms away from the center of the RAM chip.

      • The RAM will make a "pop" sound and the RAM stick will rise for ease of handling.

      询问修复机器人

      添加评论

    3. Sony VAIO VPC-EB33FM Fan Replacement: 步骤 12 中的图像 1,3 Sony VAIO VPC-EB33FM Fan Replacement: 步骤 12 中的图像 2,3 Sony VAIO VPC-EB33FM Fan Replacement: 步骤 12 中的图像 3,3
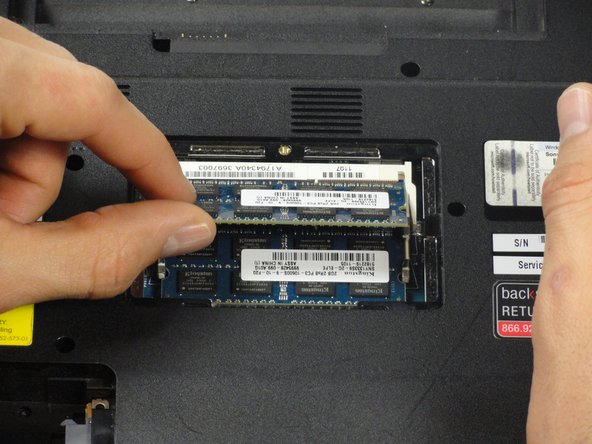
      • Pull the RAM stick out of its socket.

      • To remove the second stick of RAM, repeat steps six and seven.

      • When installing RAM, make sure sticks are firmly in place or the computer will not register them.

      询问修复机器人

      添加评论

    1. Sony VAIO VPC-EB33FM Fan Replacement, Fan: 步骤 13 中的图像 1,1
      • Remove the following 16 screws securing the back cover using a Phillips #00 screwdriver:

      • Two 3.8-mm screws

      • Two 8.9-mm screws

      • Twelve 7.75-mm screws

      询问修复机器人

      添加评论

    2. Sony VAIO VPC-EB33FM Fan Replacement: 步骤 14 中的图像 1,1
      • Check to make sure all the screws have been removed.

      • Using both hands, separate the back cover by lifting from the back and working around the perimeter to release tabs.

      询问修复机器人

      添加评论

    3. Sony VAIO VPC-EB33FM Fan Replacement: 步骤 15 中的图像 1,2 Sony VAIO VPC-EB33FM Fan Replacement: 步骤 15 中的图像 2,2
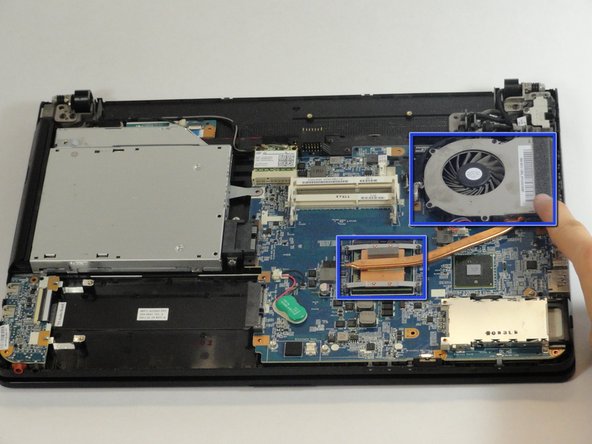
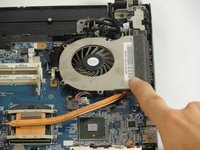
      • Locate the fan and the processor attachment.

      询问修复机器人

      添加评论

    4. Sony VAIO VPC-EB33FM Fan Replacement: 步骤 16 中的图像 1,1
      • Using a Phillips #00 screwdriver, remove the top four 3.88-mm fan screws.

      询问修复机器人

      添加评论

    5. Sony VAIO VPC-EB33FM Fan Replacement: 步骤 17 中的图像 1,1
      • Remove the two 5.7-mm screws located at the base of the fan, using a Phillips #00 screwdriver.

      询问修复机器人

      添加评论

    6. Sony VAIO VPC-EB33FM Fan Replacement: 步骤 18 中的图像 1,1
      • Pull back the tape located on the far side of the fan.

      询问修复机器人

      添加评论

    7. Sony VAIO VPC-EB33FM Fan Replacement: 步骤 19 中的图像 1,1
      在这个步骤中使用的工具:
      Tweezers
      $4.99
      • Remove the wired connection between the fan and the copper wire using metal tweezers.

      • Do not to pull on the wires directly or it will damage the connection between the fan and the laptop.

      询问修复机器人

      添加评论

    8. Sony VAIO VPC-EB33FM Fan Replacement: 步骤 20 中的图像 1,1
      • Remove the four 5.65-mm screws on the processor corners using a Phillips #00 screwdriver.

      询问修复机器人

      添加评论

    9. Sony VAIO VPC-EB33FM Fan Replacement: 步骤 21 中的图像 1,2 Sony VAIO VPC-EB33FM Fan Replacement: 步骤 21 中的图像 2,2
      • You are now ready to remove fan and processor connection

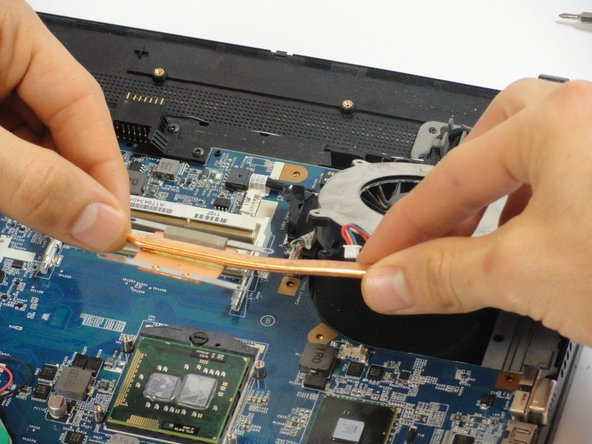
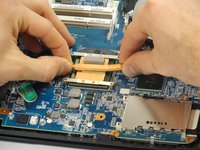
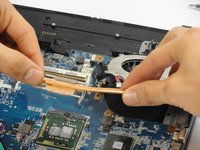
      • Position thumbs and index fingers close to processor and lift up on the copper wire, while applying slight downward pressure on the motherboard with remaining fingers.

      • If there is thermal paste between the processor and the fan attachment, increased force will be required to detach the fan.

      询问修复机器人

      添加评论

结论

To reassemble your device, follow these instructions in reverse order.

取消:我没有完成这个指南。

16等其他人完成本指南。

Kevin

于01/11/13注册

519 声望

创作了3篇指南

团队

Cal Poly, Team 18-39, Regan Winter 2013 Cal Poly, Team 18-39, Regan Winter 2013 的会员

CPSU-REGAN-W13S18G39

5 名成员

创作了21篇指南

3指南评论

I don't know who you are, but you are a god to me!! Laptop is fixed and humming along like it is supposed to!!

Great and easy directions, thank you from the bottom of my heart....and the bottom of my husbands wallet!

creaper126 - 回复 分享

Hi, I would like to upgrade my core i3 370M processor. How can I know the compatible core i5 or i7 to replace?

Material

Tudo praObra - 回复 分享

Thanks!! This is very helpful.

Charlie Tai - 回复 分享

添加评论

浏览统计数据:

过去 24 小时: 0

过去 7 天: 9

过去 30 天: 38

总计 20,951