跳转到主内容
加入维修社区 - 创建账户

Sony VAIO VPC-EB33FM Display Replacement

你所需要的

    1. Sony VAIO VPC-EB33FM Display Replacement, Battery: 步骤 1 中的图像 1,2 Sony VAIO VPC-EB33FM Display Replacement, Battery: 步骤 1 中的图像 2,2
      • Power down the laptop by pressing the power button.

      • Turn the laptop onto its backside.

      询问修复机器人

      添加评论

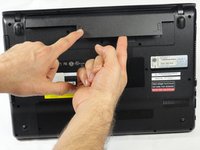
    2. Sony VAIO VPC-EB33FM Display Replacement: 步骤 2 中的图像 1,1
      • To release the battery, hold both the release button and the unlock button at the same time.

      询问修复机器人

      添加评论

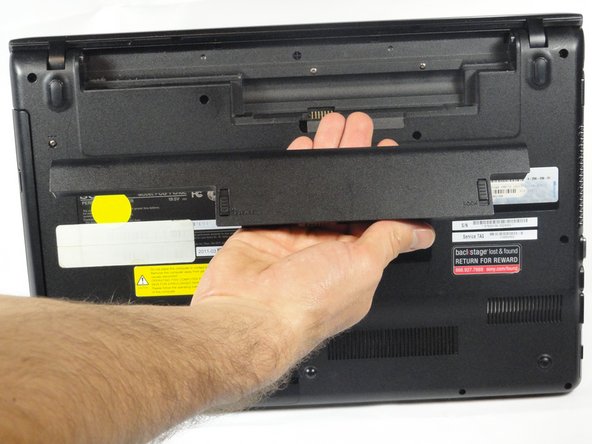
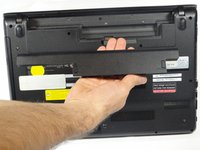
    3. Sony VAIO VPC-EB33FM Display Replacement: 步骤 3 中的图像 1,2 Sony VAIO VPC-EB33FM Display Replacement: 步骤 3 中的图像 2,2
      • Remove the battery out from the notch while continuing to hold the release button.

      询问修复机器人

      添加评论

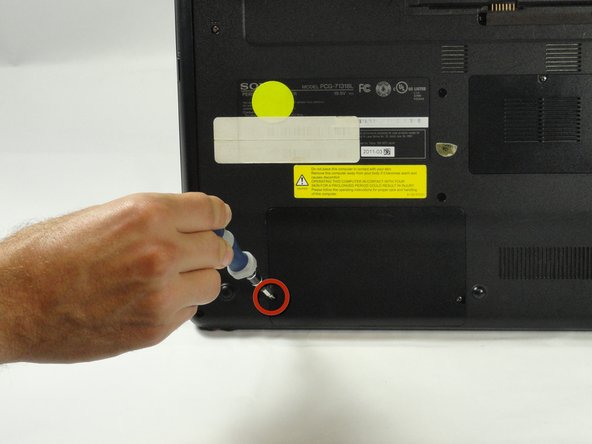
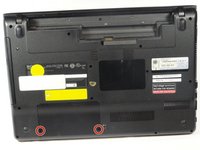
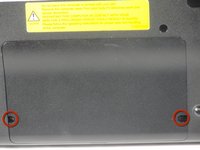
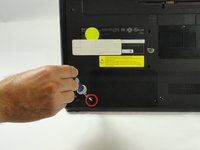
    1. Sony VAIO VPC-EB33FM Display Replacement, Hard Drive: 步骤 4 中的图像 1,3 Sony VAIO VPC-EB33FM Display Replacement, Hard Drive: 步骤 4 中的图像 2,3 Sony VAIO VPC-EB33FM Display Replacement, Hard Drive: 步骤 4 中的图像 3,3
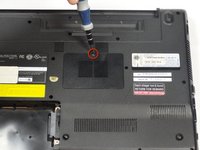
      • Use a Phillips #00 screwdriver to remove the two 7.8 mm cover screws on the bottom corners of the panel.

      询问修复机器人

      添加评论

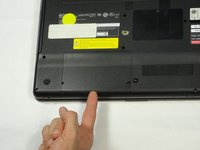
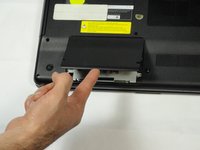
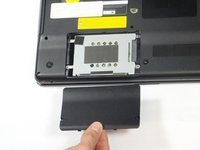
    2. Sony VAIO VPC-EB33FM Display Replacement: 步骤 5 中的图像 1,3 Sony VAIO VPC-EB33FM Display Replacement: 步骤 5 中的图像 2,3 Sony VAIO VPC-EB33FM Display Replacement: 步骤 5 中的图像 3,3
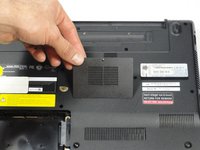
      • Use a finger/fingernail to grip the notch at the bottom of the panel to lift it off.

      • You may need to use your other hand to safely remove the panel.

      • You can also use a spudger for this step.

      询问修复机器人

      添加评论

    3. Sony VAIO VPC-EB33FM Display Replacement: 步骤 6 中的图像 1,1
      • Remove the two remaining 7.8 mm screws using the Phillips #00 screwdriver.

      询问修复机器人

      添加评论

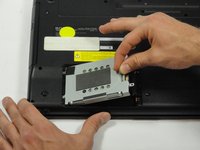
    4. Sony VAIO VPC-EB33FM Display Replacement: 步骤 7 中的图像 1,1
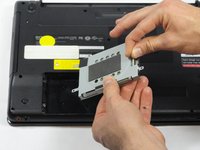
      • Grab the tab between your thumb and index finger.

      • Hold the hard drive securely in a horizontal position using your other hand.

      • Push the hard drive to the left using the plastic tab to disconnect it from the laptop.

      • To prevent damage of the connection on the hard disk drive or the laptop, perform this task slowly and with care.

      询问修复机器人

      添加评论

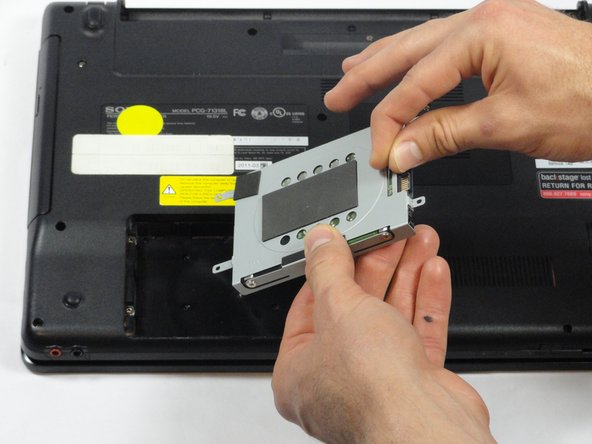
    5. Sony VAIO VPC-EB33FM Display Replacement: 步骤 8 中的图像 1,2 Sony VAIO VPC-EB33FM Display Replacement: 步骤 8 中的图像 2,2
      • While still holding the plastic tab, lift the right side of the hard drive out at a 45º angle.

      • Pull the hard drive out.

      询问修复机器人

      添加评论

    6. Sony VAIO VPC-EB33FM Display Replacement: 步骤 9 中的图像 1,2 Sony VAIO VPC-EB33FM Display Replacement: 步骤 9 中的图像 2,2
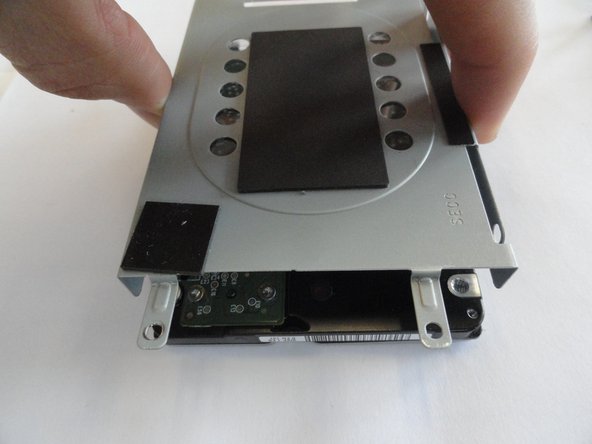
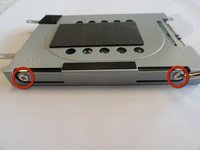
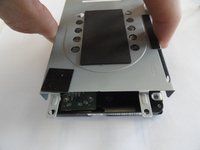
      • If you need to remove the bracket from the hard drive, follow the next few steps:

      • Remove the two 3.7 mm screws from either side of the bracket with a Phillips #00 screwdriver.

      • Lift the bracket off the hard drive.

      询问修复机器人

      添加评论

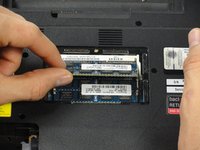
    1. Sony VAIO VPC-EB33FM Display Replacement, RAM: 步骤 10 中的图像 1,3 Sony VAIO VPC-EB33FM Display Replacement, RAM: 步骤 10 中的图像 2,3 Sony VAIO VPC-EB33FM Display Replacement, RAM: 步骤 10 中的图像 3,3
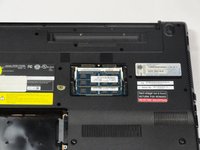
      • Remove the one screw with a Phillips #00 screwdriver.

      • The screw cannot be removed from the RAM casing cover.

      询问修复机器人

      添加评论

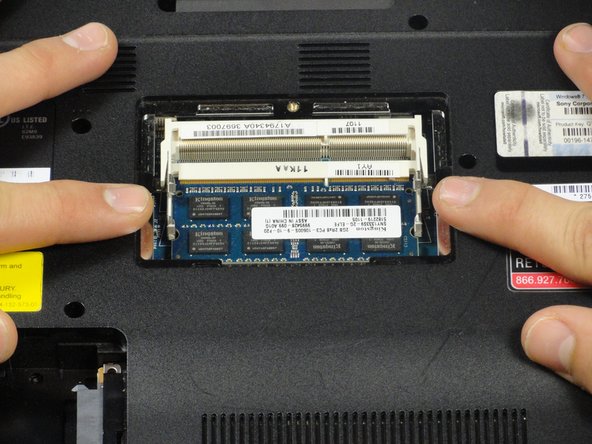
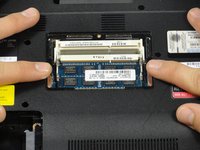
    2. Sony VAIO VPC-EB33FM Display Replacement: 步骤 11 中的图像 1,2 Sony VAIO VPC-EB33FM Display Replacement: 步骤 11 中的图像 2,2
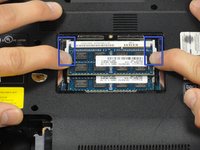
      • Pull the two retaining arms away from the center of the RAM chip.

      • The RAM will make a "pop" sound and the RAM stick will rise for ease of handling.

      询问修复机器人

      添加评论

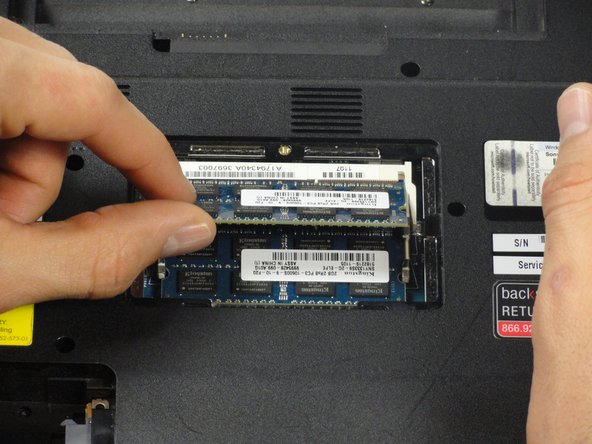
    3. Sony VAIO VPC-EB33FM Display Replacement: 步骤 12 中的图像 1,3 Sony VAIO VPC-EB33FM Display Replacement: 步骤 12 中的图像 2,3 Sony VAIO VPC-EB33FM Display Replacement: 步骤 12 中的图像 3,3
      • Pull the RAM stick out of its socket.

      • To remove the second stick of RAM, repeat steps six and seven.

      • When installing RAM, make sure sticks are firmly in place or the computer will not register them.

      询问修复机器人

      添加评论

    1. Sony VAIO VPC-EB33FM Display Replacement, Keyboard: 步骤 13 中的图像 1,1
      • Using a Phillips #00 screwdriver remove the following screws securing the back cover :

      • Two 3.8-mm screws

      • Two 8.9-mm screws

      • Twelve 7.75-mm screws

      询问修复机器人

      添加评论

    2. Sony VAIO VPC-EB33FM Display Replacement: 步骤 14 中的图像 1,1
      • Check to make sure all screws have been removed.

      • Using both hands separate the back cover by lifting from the back and working around the perimeter to release tabs.

      询问修复机器人

      添加评论

    3. Sony VAIO VPC-EB33FM Display Replacement: 步骤 15 中的图像 1,1
      • Uninstalling the keyboard may require a second set of hands.

      • During the removal of the back cover, a screw that attaches the optical drive to the laptop is also taken out. This means the optical drive is ready to be removed.

      • Remove the optical drive by sliding it out.

      询问修复机器人

      添加评论

    4. Sony VAIO VPC-EB33FM Display Replacement: 步骤 16 中的图像 1,2 Sony VAIO VPC-EB33FM Display Replacement: 步骤 16 中的图像 2,2
      • Once the optical drive is removed, locate the keyboard ejection button and press down on it until you hear a snap.

      • Once you hear this sound, it means that a section of the keyboard has been ejected.

      询问修复机器人

      添加评论

    5. Sony VAIO VPC-EB33FM Display Replacement: 步骤 17 中的图像 1,1
      • Turn the laptop onto its frontside and unfold the laptop so the keyboard is fully visible.

      • Locate the area where the section of the keyboard was ejected.

      询问修复机器人

      添加评论

    6. Sony VAIO VPC-EB33FM Display Replacement: 步骤 18 中的图像 1,2 Sony VAIO VPC-EB33FM Display Replacement: 步骤 18 中的图像 2,2
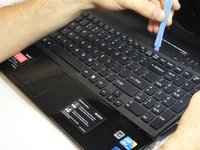
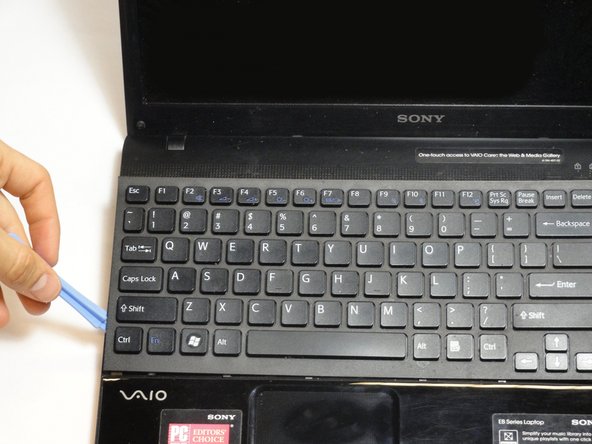
      • Start to pry out the keyboard with your hands.

      • Be careful not to break any of the hooks that attach the keyboard to the laptop.

      • If it seems difficult to remove the keyboard with your hands, then use a plastic opening tool.

      询问修复机器人

      添加评论

    7. Sony VAIO VPC-EB33FM Display Replacement: 步骤 19 中的图像 1,2 Sony VAIO VPC-EB33FM Display Replacement: 步骤 19 中的图像 2,2
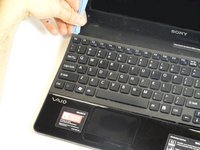
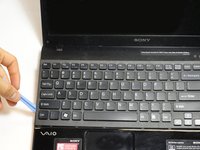
      • Remain cautious to not break the hooks.

      • Continue all the way around the keyboard until you can detach it from the laptop.

      询问修复机器人

      添加评论

    8. Sony VAIO VPC-EB33FM Display Replacement: 步骤 20 中的图像 1,2 Sony VAIO VPC-EB33FM Display Replacement: 步骤 20 中的图像 2,2
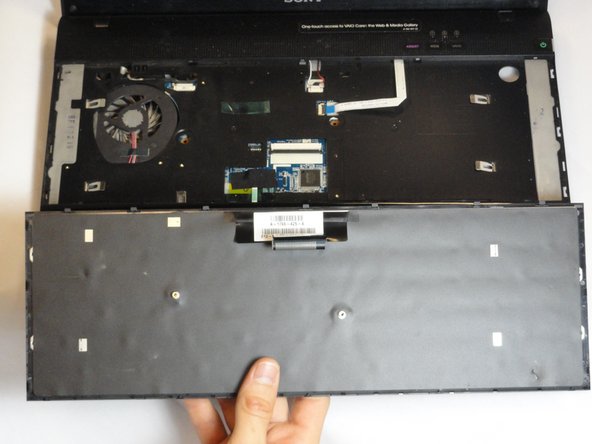
      • Do not immediately pull the keyboard away from the laptop. There is still an attachment between the keyboard and laptop.

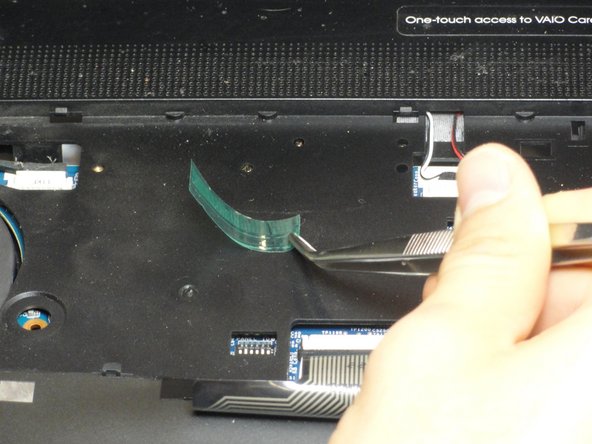
      • Turn the keyboard on its face and locate the green tape and the ribbon attachment.

      • Using the metal tweezer, remove only the green sticker.

      • Place the sticker at any location as long as you remember to use it for installing the keyboard.

      询问修复机器人

      添加评论

    9. Sony VAIO VPC-EB33FM Display Replacement: 步骤 21 中的图像 1,2 Sony VAIO VPC-EB33FM Display Replacement: 步骤 21 中的图像 2,2
      • Locate the black retaining arms.

      • Using the plastic opening tool, pull the retaining arms out.

      • The retaining arms will not come off completely.

      询问修复机器人

      添加评论

    10. Sony VAIO VPC-EB33FM Display Replacement: 步骤 22 中的图像 1,2 Sony VAIO VPC-EB33FM Display Replacement: 步骤 22 中的图像 2,2
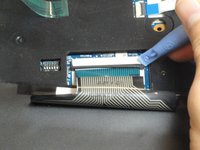
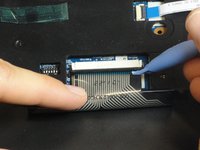
      • It is safe to touch the ribbon attachment.

      • Lift the retaining arms with the plastic opening tool at an angle so that the ribbon attachment can be pulled out.

      询问修复机器人

      添加评论

    1. Sony VAIO VPC-EB33FM Display Replacement, Display: 步骤 23 中的图像 1,1
      • Use a Phillips #1 screwdriver to remove the three 8.88-mm screws attached to the metal hinge at the corner of the laptop.

      • Repeat for the three screws on the opposite corner.

      询问修复机器人

      添加评论

    2. Sony VAIO VPC-EB33FM Display Replacement: 步骤 24 中的图像 1,1
      • Lift the metal hinges on each corner to a 90º angle.

      询问修复机器人

      添加评论

    3. Sony VAIO VPC-EB33FM Display Replacement: 步骤 25 中的图像 1,1
      • Gently pull out the base and place it with the keyboard side up under the display.

      询问修复机器人

      添加评论

    4. Sony VAIO VPC-EB33FM Display Replacement: 步骤 26 中的图像 1,1
      • Use the spudger tool remove the plastic covers on the four corners of the display.

      • If this is the first time they are being removed they will be held in place by glue. Some force may be required.

      询问修复机器人

      添加评论

    5. Sony VAIO VPC-EB33FM Display Replacement: 步骤 27 中的图像 1,1
      • Use a Phillips #00 screwdriver to remove the four 5.75-mm screws under the plastic covers.

      询问修复机器人

      添加评论

    6. Sony VAIO VPC-EB33FM Display Replacement: 步骤 28 中的图像 1,3 Sony VAIO VPC-EB33FM Display Replacement: 步骤 28 中的图像 2,3 Sony VAIO VPC-EB33FM Display Replacement: 步骤 28 中的图像 3,3
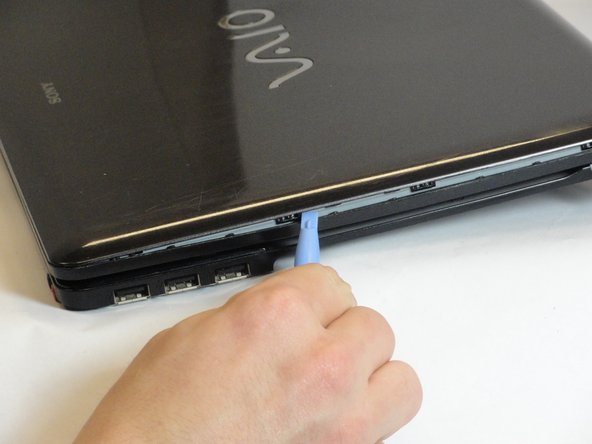
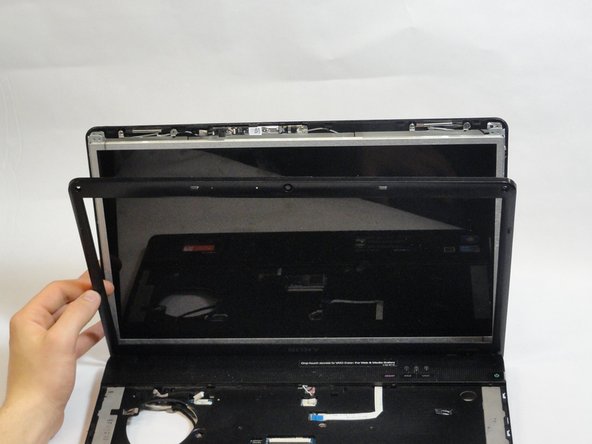
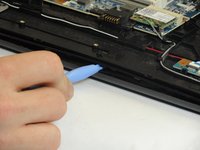
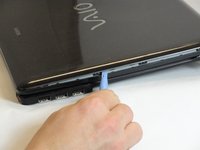
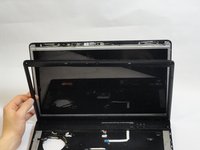
      • Use the plastic opening tool to separate the plastic front cover by wedging the tool along the seam.

      • Flip the laptop to the other side. If the front cover is still attached continue using the plastic opening tool to separate.

      • Carefully lift up the display. Completely detach the front plastic cover.

      询问修复机器人

      添加评论

    7. Sony VAIO VPC-EB33FM Display Replacement: 步骤 29 中的图像 1,1
      • Use a Phillips #00 screwdriver to remove the four 5.65-mm screws on each bottom corner of the display.

      询问修复机器人

      添加评论

    8. Sony VAIO VPC-EB33FM Display Replacement: 步骤 30 中的图像 1,3 Sony VAIO VPC-EB33FM Display Replacement: 步骤 30 中的图像 2,3 Sony VAIO VPC-EB33FM Display Replacement: 步骤 30 中的图像 3,3
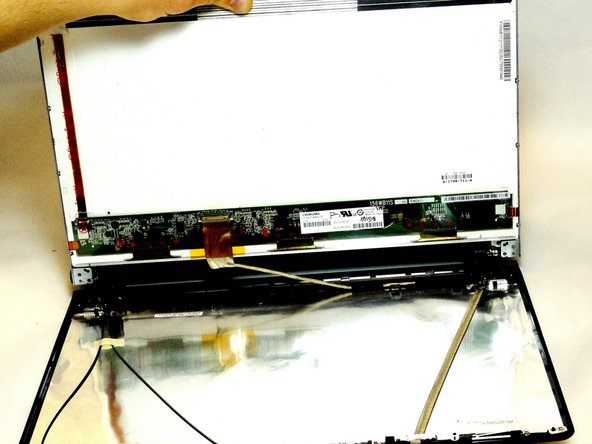
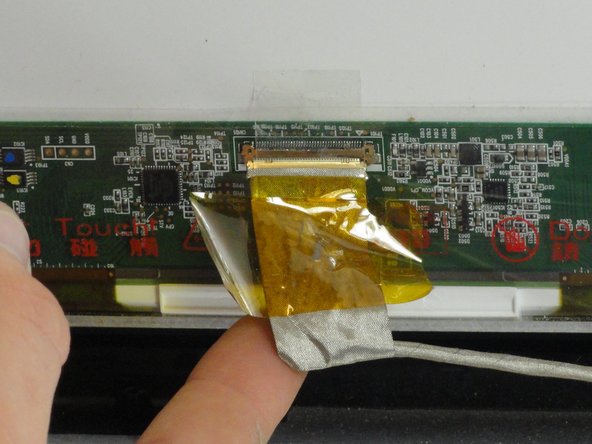
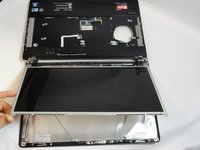
      • Do not pull too hard to avoid damage to the connections.

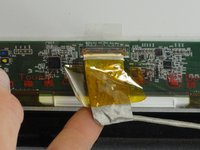
      • Gently lift and pull the LCD screen up. The back of the screen has a connection attached by yellow tape.

      • Holding the silver flap underneath the yellow tape, pull up and disconnect the wire.

      • Place the LCD screen aside.

      询问修复机器人

      添加评论

    9. Sony VAIO VPC-EB33FM Display Replacement: 步骤 31 中的图像 1,1
      • Grab a hold of the black plastic hinge and pull out completely.

      • Repeat for the other side.

      询问修复机器人

      添加评论

    10. Sony VAIO VPC-EB33FM Display Replacement: 步骤 32 中的图像 1,2 Sony VAIO VPC-EB33FM Display Replacement: 步骤 32 中的图像 2,2
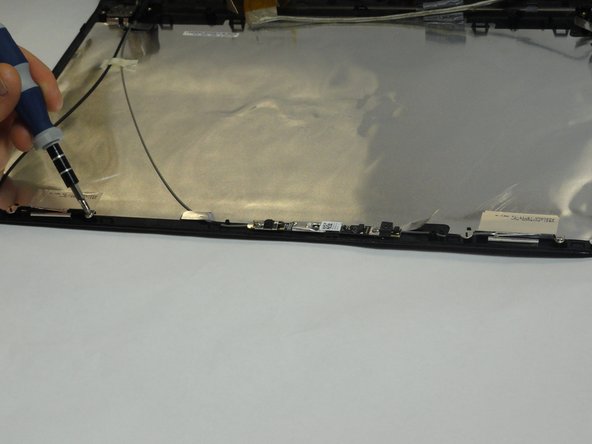
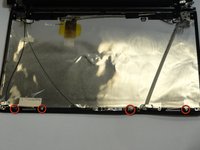
      • Use a Phillips #00 screwdriver to remove the four 3.15-mm screws at top of the display.

      询问修复机器人

      添加评论

    11. Sony VAIO VPC-EB33FM Display Replacement: 步骤 33 中的图像 1,3 Sony VAIO VPC-EB33FM Display Replacement: 步骤 33 中的图像 2,3 Sony VAIO VPC-EB33FM Display Replacement: 步骤 33 中的图像 3,3
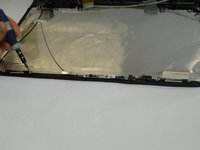
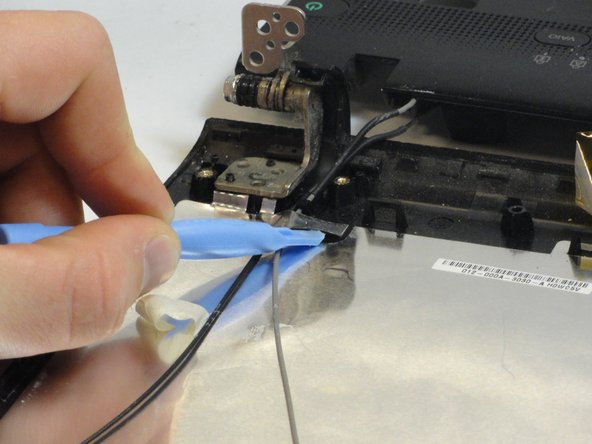
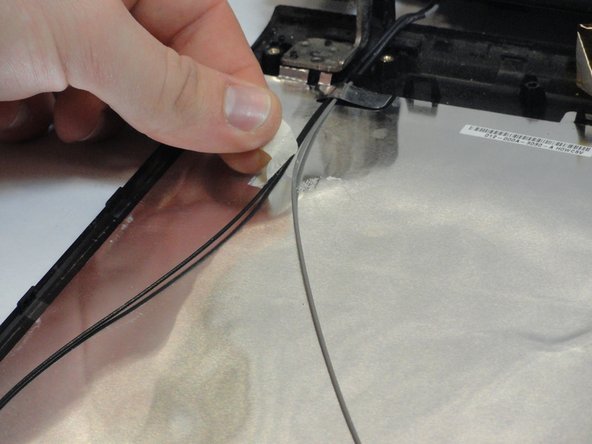
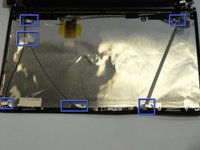
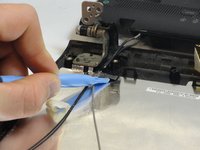
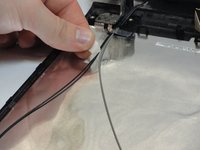
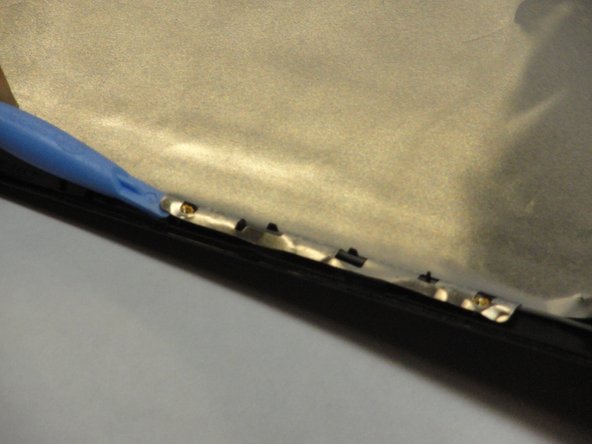
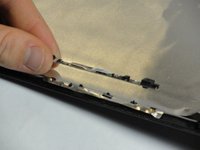
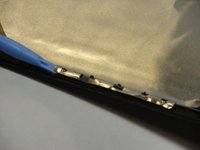
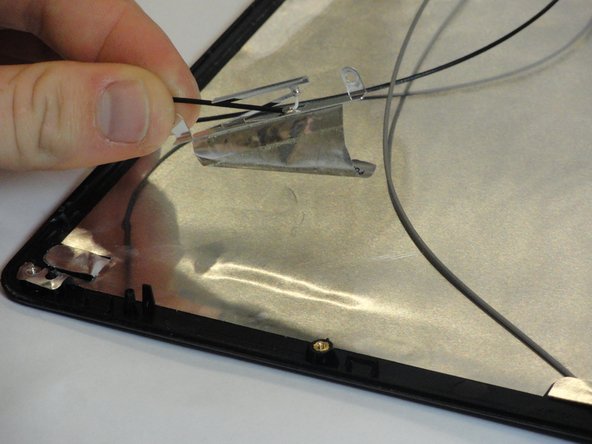
      • Use the plastic opening tool to gently fold back all metal flaps at the beginnings and ends of wires.

      • Remove the tape holding a thin black and gray wire in place.

      询问修复机器人

      添加评论

    12. Sony VAIO VPC-EB33FM Display Replacement: 步骤 34 中的图像 1,1
      在这个步骤中使用的工具:
      Tweezers
      $4.99
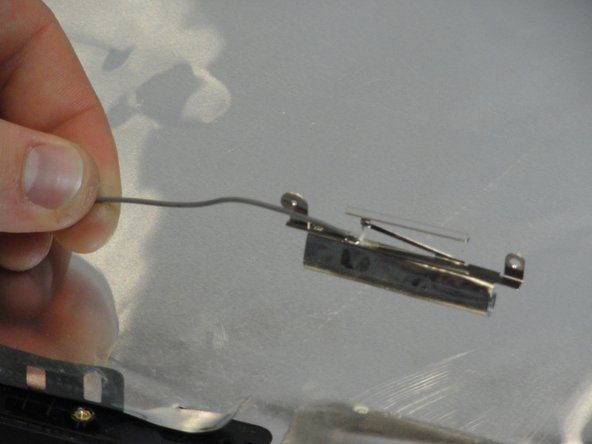
      • Use a plastic opening tool to loosen and remove the two connections at the top end of the wire with a thick silver covering.

      • Metal tweezers may also be used to remove the connections.

      询问修复机器人

      添加评论

    13. Sony VAIO VPC-EB33FM Display Replacement: 步骤 35 中的图像 1,2 Sony VAIO VPC-EB33FM Display Replacement: 步骤 35 中的图像 2,2
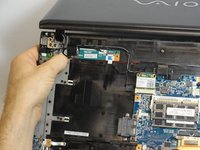
      • Carefully pull the webcam and to remove it.

      • Fold back the metal flap under the webcam with the plastic opening tool.

      询问修复机器人

      添加评论

    14. Sony VAIO VPC-EB33FM Display Replacement: 步骤 36 中的图像 1,2 Sony VAIO VPC-EB33FM Display Replacement: 步骤 36 中的图像 2,2
      • Pull back the silver tape attaching the gray wire.

      询问修复机器人

      添加评论

    15. Sony VAIO VPC-EB33FM Display Replacement: 步骤 37 中的图像 1,2 Sony VAIO VPC-EB33FM Display Replacement: 步骤 37 中的图像 2,2
      • Pull back the silver tape attaching the black wire

      询问修复机器人

      添加评论

    16. Sony VAIO VPC-EB33FM Display Replacement: 步骤 38 中的图像 1,1
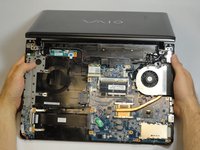
      • Remove the bottom cover.

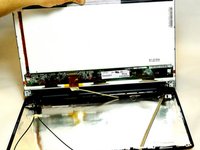
      • The laptop is now fully detached from the display.

      添加评论

结论

To reassemble your device, follow these instructions in reverse order.

取消:我没有完成这个指南。

2等其他人完成本指南。

团队

Cal Poly, Team 18-39, Regan Winter 2013 Cal Poly, Team 18-39, Regan Winter 2013 的会员

CPSU-REGAN-W13S18G39

5 名成员

创作了15篇指南

0指南评论

添加评论

浏览统计数据:

过去 24 小时: 1

过去 7 天: 8

过去 30 天: 32

总计 6,309