简介
As part of the Sony giveaway, I would like to contribute with this VAIO teardown. Bear with me as this is my first tutorial. This is a VGN-T12” wide screen laptop with an Intel Pentium Ma. It’s an oldie that still does the job. Well let’s get to the teardown.
你所需要的
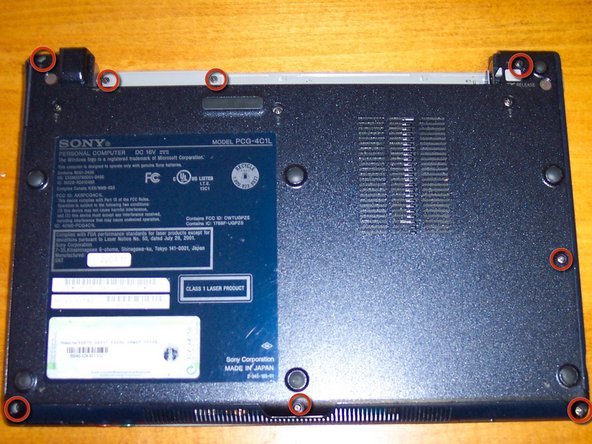
-
-
-
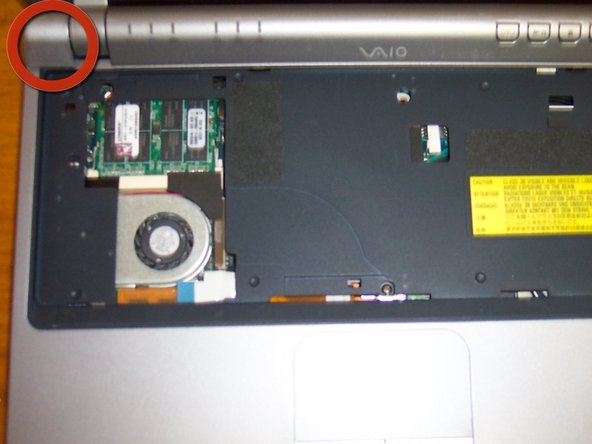
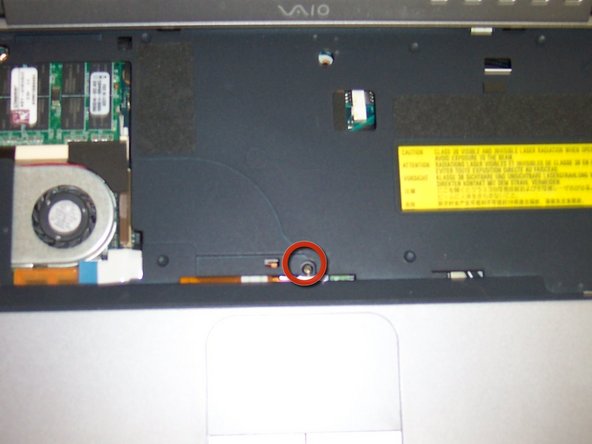
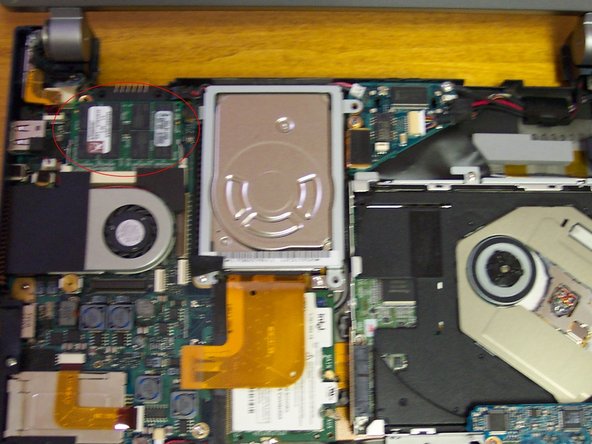
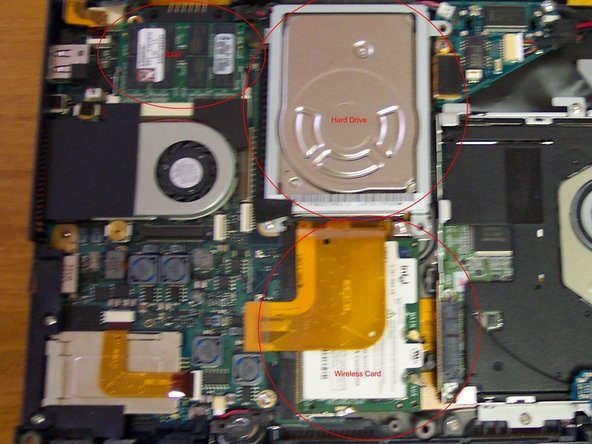
Remove the RAM.
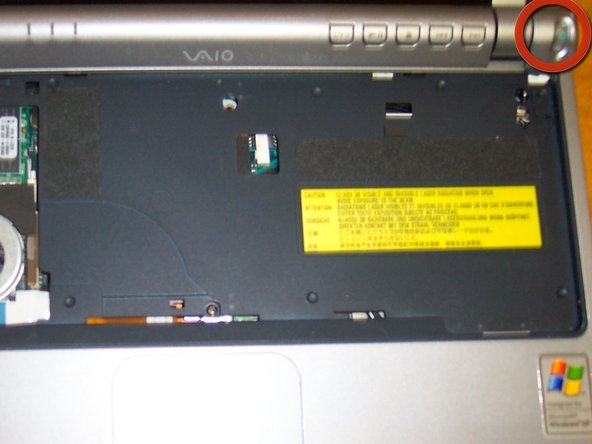
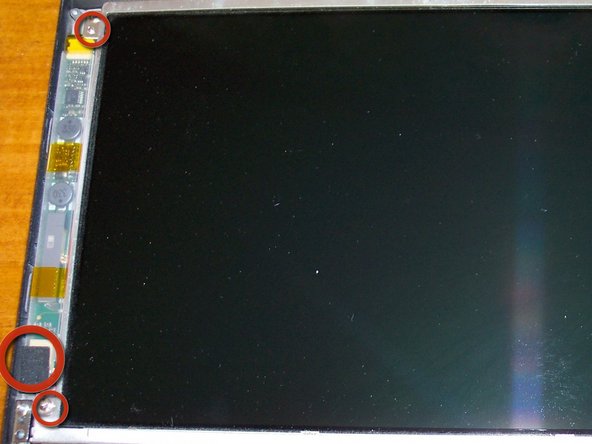
-
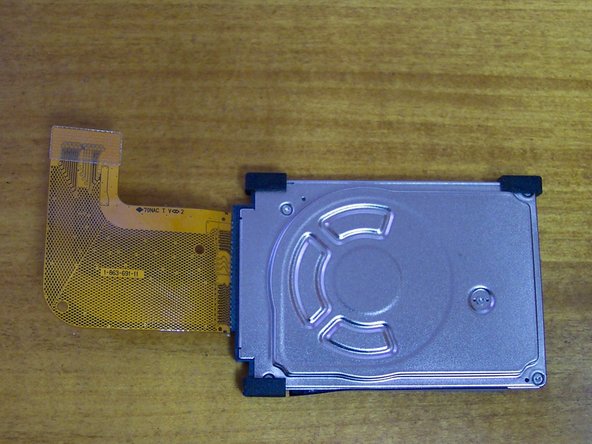
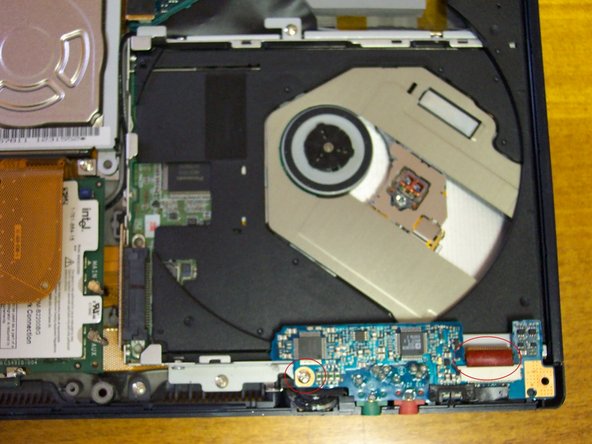
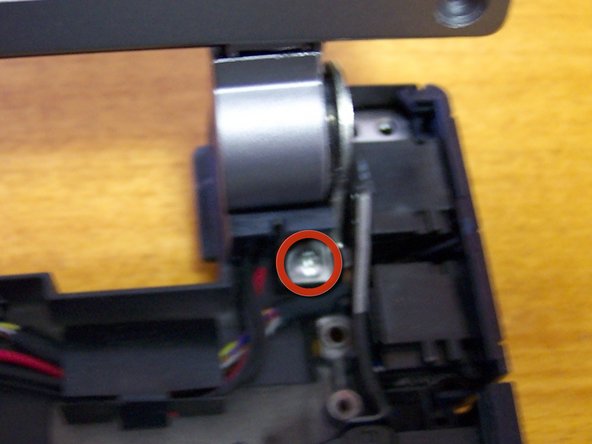
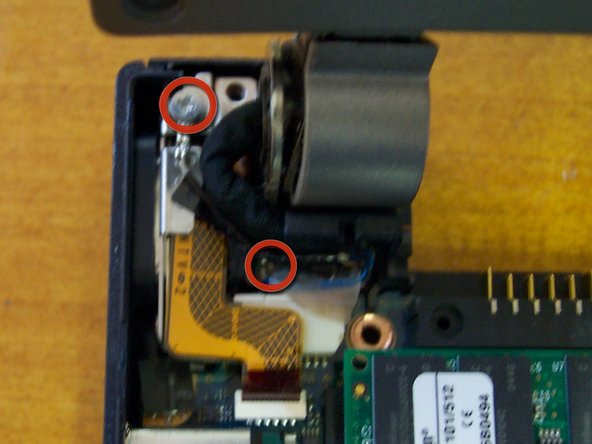
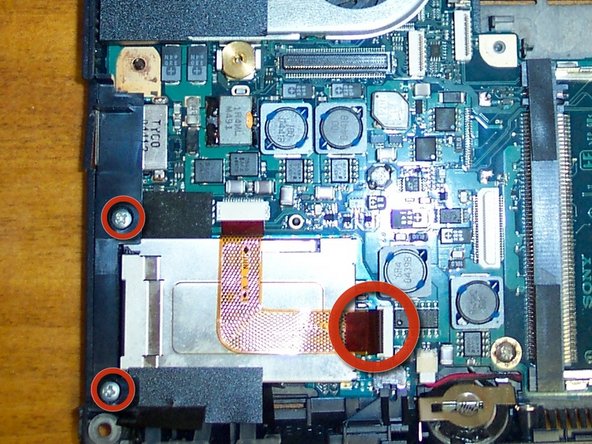
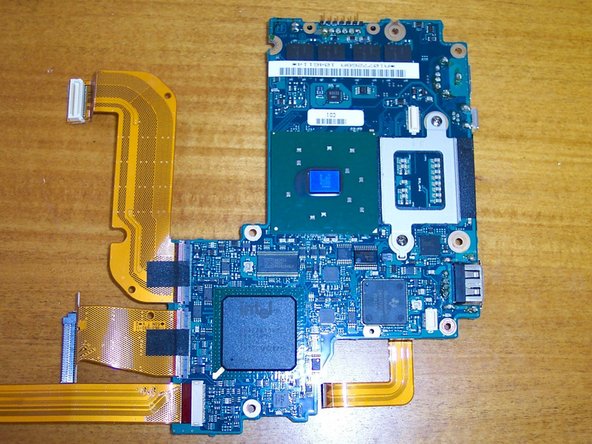
Remove the hard drive metal bracket. Mine had 2 screws but I believe there are supposed to be 4 (lost them when I replaced the hard rive last time). Disconnect ribbon from motherboard.
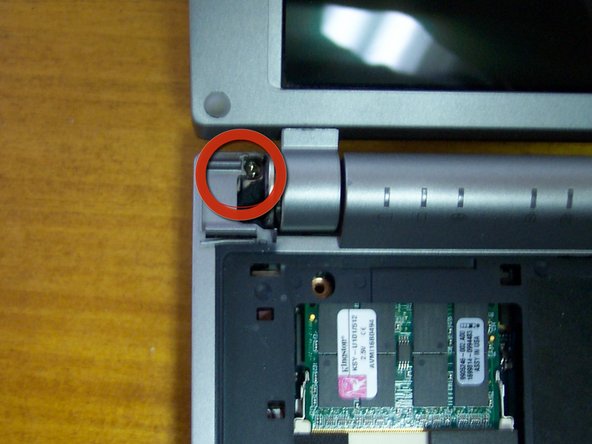
-
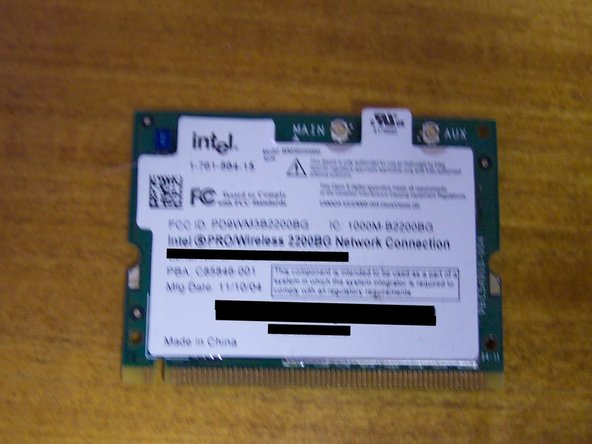
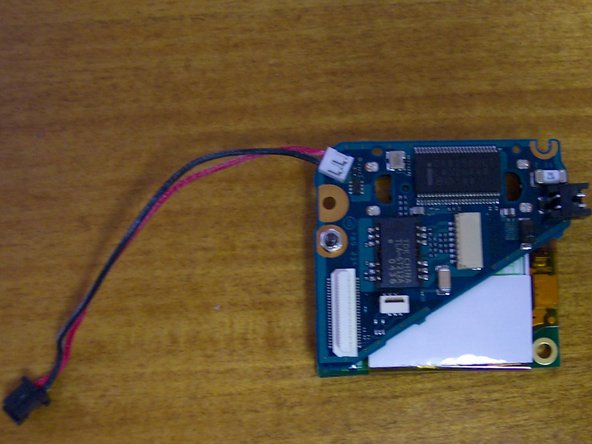
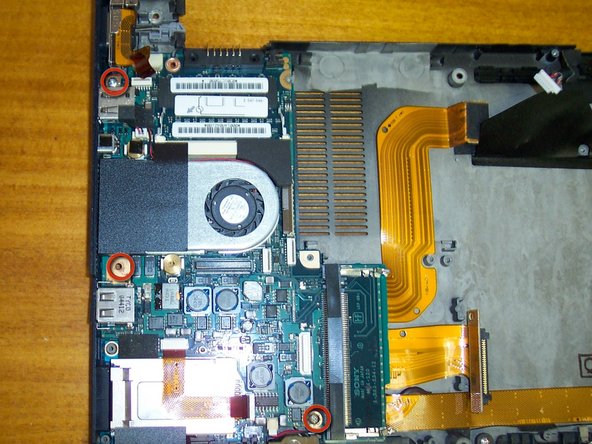
Remove the wireless card. There are 2 antennas connected to it, the back wire goes on the main, gray on aux.
-


3条评论
thank you for sharing your knowledge, even with "fuzzy pictures" I found this to be very helpful and useful ... I look forward to reading more of your material ... Jim 8)
thank you for sharing your knowledge, even with the "fuzzy" pictures I found this article/repair Manuel to be very useful and helpful ... once again, thank you ...
just a note to some that might find using a very small pair of needle nose pliers with serrated teeth for replacing the tiny pieces of plastic that secures the ribbons in place ... I have a pair, but they are just a bit too big and I need to find a source for some really small serrated tip pliers, so if anyone can direct me to a source, this would be most helpful and appreciated ... thanks, Jim