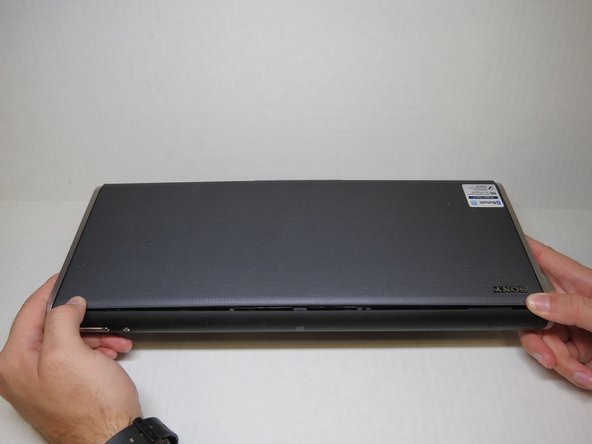
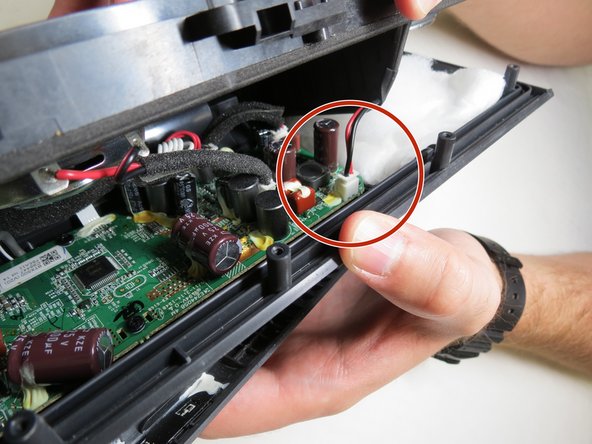
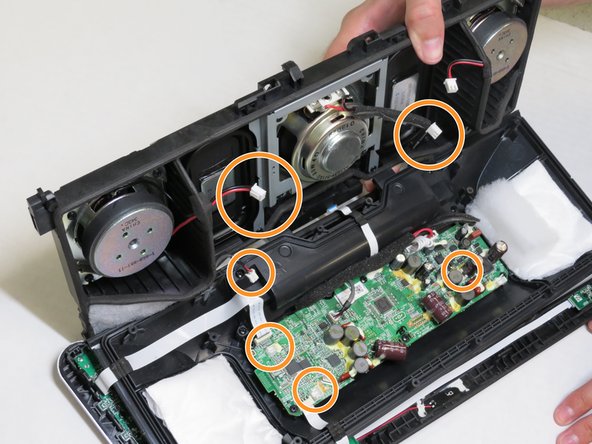
跳转到主内容

Sony SRS-BTX500 Motherboard Replacement

你所需要的

  1. Sony SRS-BTX500 Motherboard Replacement, Battery: 步骤 1 中的图像 1,3 Sony SRS-BTX500 Motherboard Replacement, Battery: 步骤 1 中的图像 2,3 Sony SRS-BTX500 Motherboard Replacement, Battery: 步骤 1 中的图像 3,3
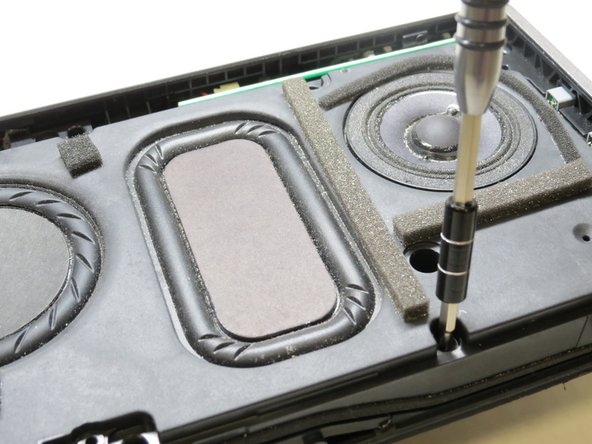
    • Locate the four rubber grips on the bottom of the speaker. Use the plastic opening tool to remove the grips, exposing the underlying screws.

  2. Sony SRS-BTX500 Motherboard Replacement: 步骤 2 中的图像 1,2 Sony SRS-BTX500 Motherboard Replacement: 步骤 2 中的图像 2,2
    • Using a Phillips #1 screwdriver, remove the four 5mm screws that were underneath the four rubber grips.

  3. Sony SRS-BTX500 Motherboard Replacement: 步骤 3 中的图像 1,3 Sony SRS-BTX500 Motherboard Replacement: 步骤 3 中的图像 2,3 Sony SRS-BTX500 Motherboard Replacement: 步骤 3 中的图像 3,3
    • Use the plastic opening tool to run along the outside edges of the speaker. Pry along the seams until you can remove the side panel of the speaker, exposing the battery.

  4. Sony SRS-BTX500 Motherboard Replacement: 步骤 4 中的图像 1,3 Sony SRS-BTX500 Motherboard Replacement: 步骤 4 中的图像 2,3 Sony SRS-BTX500 Motherboard Replacement: 步骤 4 中的图像 3,3
    • Use the plastic opening tool to remove the battery from casing.

    • Unclasp the battery from the speaker. Remove and replace.

  5. Sony SRS-BTX500 Motherboard Replacement, Motherboard: 步骤 5 中的图像 1,3 Sony SRS-BTX500 Motherboard Replacement, Motherboard: 步骤 5 中的图像 2,3 Sony SRS-BTX500 Motherboard Replacement, Motherboard: 步骤 5 中的图像 3,3
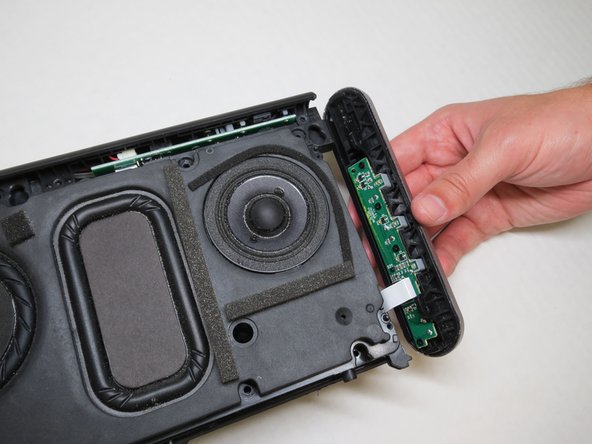
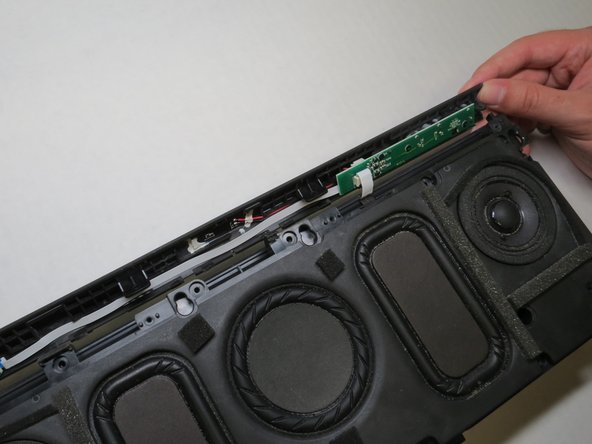
    • With the front of the speaker facing you, run the plastic opening tool along the bottom of the speaker. Then push the face of the speaker at both ends before lifting it off.

  6. Sony SRS-BTX500 Motherboard Replacement: 步骤 6 中的图像 1,3 Sony SRS-BTX500 Motherboard Replacement: 步骤 6 中的图像 2,3 Sony SRS-BTX500 Motherboard Replacement: 步骤 6 中的图像 3,3
    • Remove the two covers on the left and right with the small plastic opening tool to expose hidden screws.

    • Use a Phillips #1 screwdriver to remove the 14 indicated screws size 7mm.

    • Use a Phillips #1 screwdriver to remove the 8 indicated screws size 5mm.

  7. Sony SRS-BTX500 Motherboard Replacement: 步骤 7 中的图像 1,3 Sony SRS-BTX500 Motherboard Replacement: 步骤 7 中的图像 2,3 Sony SRS-BTX500 Motherboard Replacement: 步骤 7 中的图像 3,3
    • Lift off the casing on the left, right, and top of the speaker.

  8. Sony SRS-BTX500 Motherboard Replacement: 步骤 8 中的图像 1,3 Sony SRS-BTX500 Motherboard Replacement: 步骤 8 中的图像 2,3 Sony SRS-BTX500 Motherboard Replacement: 步骤 8 中的图像 3,3
    • Pull apart the speaker from the top. Unplug the indicated exposed wire that connects the speakers and the motherboard.

    • After the first wire is disconnected, separate the other connecting wires.

结论

To reassemble your device, follow these instructions in reverse order.

4等其他人完成本指南。

0条评论

添加评论

浏览统计数据:

过去 24 小时: 0

过去 7 天: 1

过去 30 天: 10

总计 1,971