跳转到主内容

Sony Mavica MVC-CD1000 len Replacement

你所需要的

  1. Sony Mavica MVC-CD1000 len Replacement, len: 步骤 1 中的图像 1,2 Sony Mavica MVC-CD1000 len Replacement, len: 步骤 1 中的图像 2,2
    • Remove the shell of base from the shell of lens

  2. Sony Mavica MVC-CD1000 len Replacement: 步骤 2 中的图像 1,1
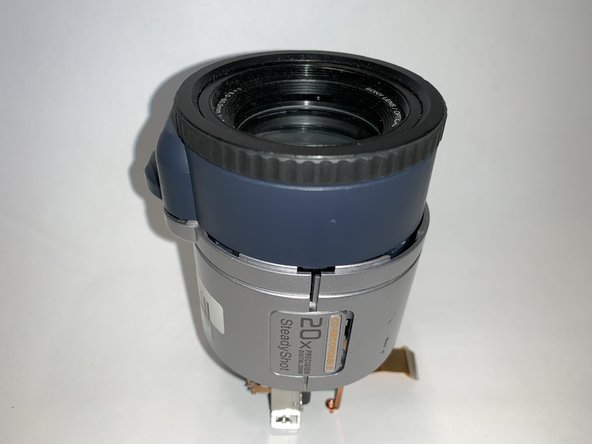
    • The outer casing of the lens consists of two outer casings that are secured by an end cap that connects them. In this part we take this end cap

  3. Sony Mavica MVC-CD1000 len Replacement: 步骤 3 中的图像 1,2 Sony Mavica MVC-CD1000 len Replacement: 步骤 3 中的图像 2,2
    • There is also a front end cover at the front end of the lens. In this step we take it away.

  4. Sony Mavica MVC-CD1000 len Replacement: 步骤 4 中的图像 1,3 Sony Mavica MVC-CD1000 len Replacement: 步骤 4 中的图像 2,3 Sony Mavica MVC-CD1000 len Replacement: 步骤 4 中的图像 3,3
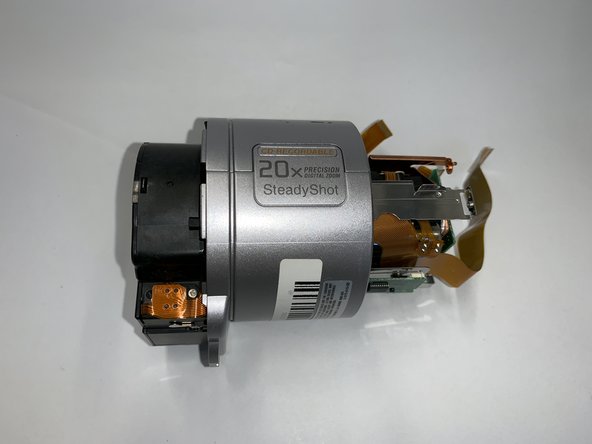
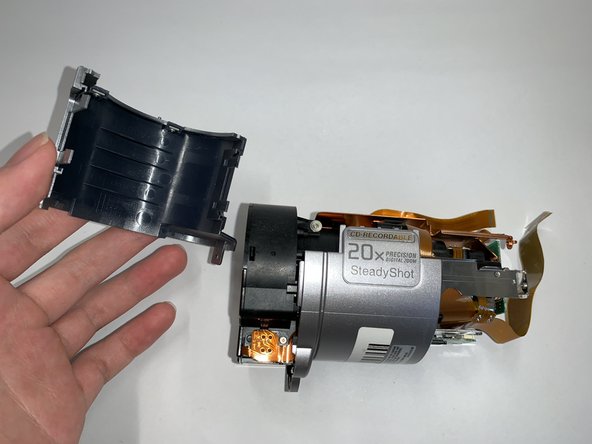
    • Place the lens section horizontally on the workbench and pry open the top cover of the lens with some effort

  5. Sony Mavica MVC-CD1000 len Replacement: 步骤 5 中的图像 1,1
    • After removing the shell of lens we can replace the inside part.

浏览统计数据:

过去 24 小时: 0

过去 7 天: 0

过去 30 天: 0

总计 55