简介
The speaker allows the user to hear the audio recording playback of his or her videos. The speaker also gives alerts when the camera is running low on battery, or has run out of storage space.
If the speaker of your Sony Handycam DCR-SR 47 has stopped working, use this guide to replace it.
Be sure to turn off the camera and unplug from the charger before beginning the repair. It's also important to remove the battery.
你所需要的
-
-
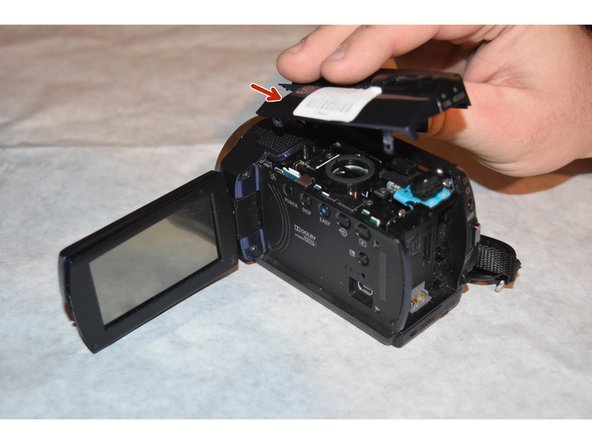
Remove the battery.
-
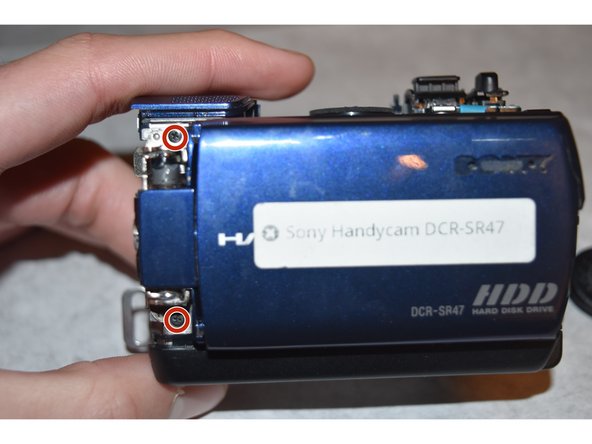
Use Philips #000 screwdriver to remove the 3mm screw under the battery
-
-
-
-
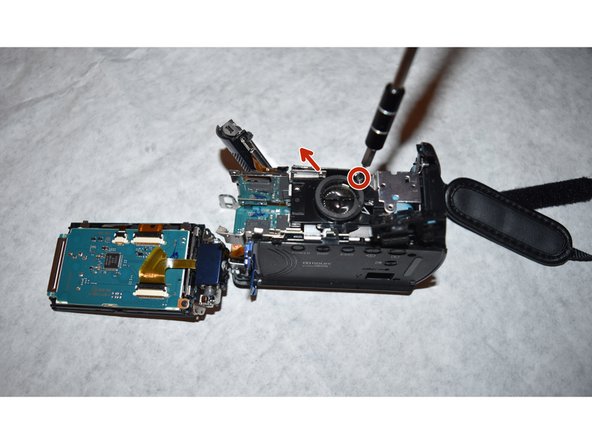
Using the Phillips #000 screwdriver, remove the four screws from the housing under the hard drive.
-
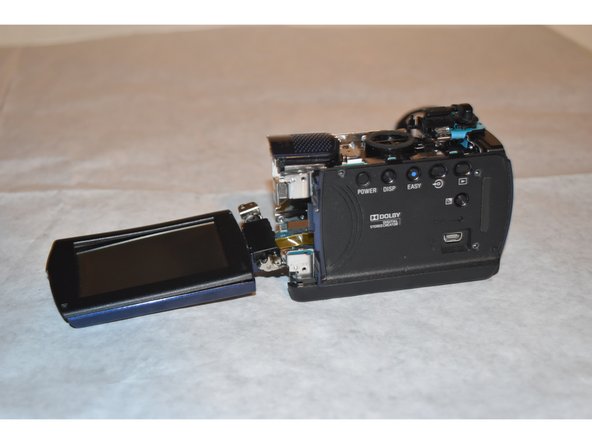
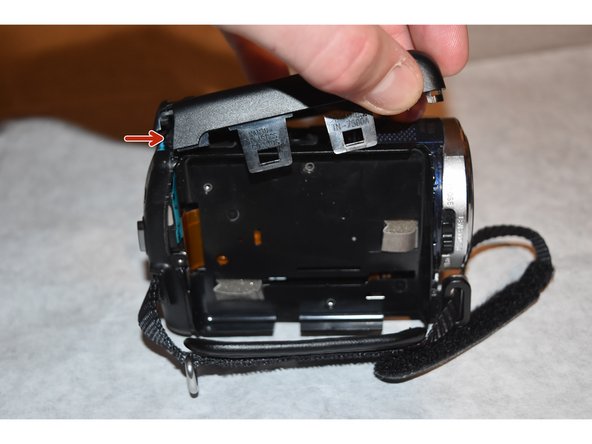
Remove the top plastic housing of the camera. All screws attaching the housing have previously been removed.
-


To reassemble your device, follow these instructions in reverse order.
To reassemble your device, follow these instructions in reverse order.
团队

Western Carolina University, Team 1-2, Virtue Fall 2015 Western Carolina University, Team 1-2, Virtue Fall 2015 的会员
WCU-VIRTUE-F15S1G2
4 名成员
创作了8篇指南