跳转到主内容

Sony Handycam DCR-DVD650 LCD Touchscreen Replacement

已存档的指南
本指南只作为历史记录保留。请使用指南的最新版本来进行维修。

你所需要的

  1. Sony Handycam DCR-DVD650 LCD Touchscreen  Replacement, LCD Touchscreen: 步骤 1 中的图像 1,2 Sony Handycam DCR-DVD650 LCD Touchscreen  Replacement, LCD Touchscreen: 步骤 1 中的图像 2,2
    • Remove the first screw located on the bottom of the LCD screen by using a cross tip screwdriver.

  2. Sony Handycam DCR-DVD650 LCD Touchscreen  Replacement: 步骤 2 中的图像 1,1
    • Turn the LCD screen either clockwise or counterclockwise for a better view of the screw.

    • Remove the second screw.

  3. Sony Handycam DCR-DVD650 LCD Touchscreen  Replacement: 步骤 3 中的图像 1,2 Sony Handycam DCR-DVD650 LCD Touchscreen  Replacement: 步骤 3 中的图像 2,2
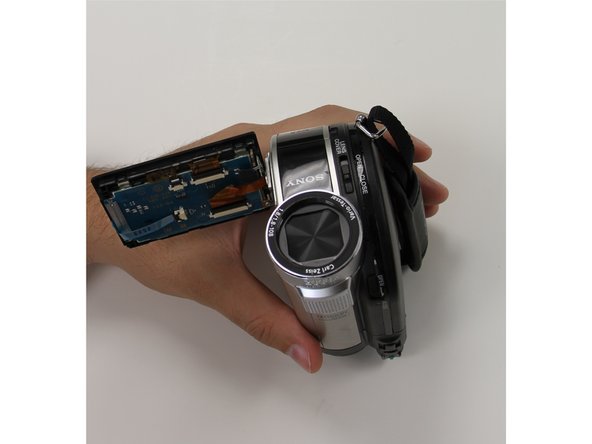
    • Place a plastic opening tool along the outside of the touchscreen.

    • Follow the path to remove the panel.

  4. Sony Handycam DCR-DVD650 LCD Touchscreen  Replacement: 步骤 4 中的图像 1,2 Sony Handycam DCR-DVD650 LCD Touchscreen  Replacement: 步骤 4 中的图像 2,2
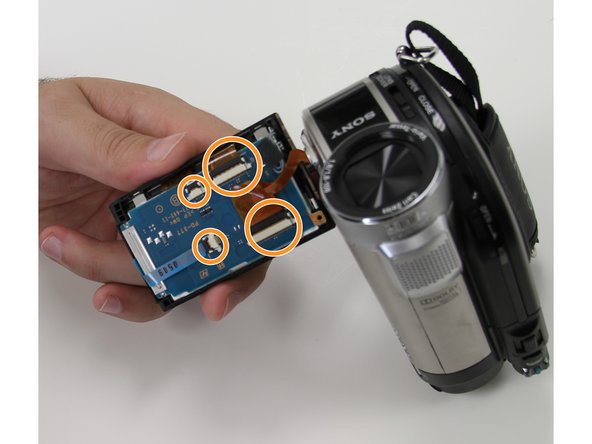
    • Remove each of the ribbon cables off by lifting up on the black tab.

    • Remove all ribbon cables before continuing unto the next step.

  5. Sony Handycam DCR-DVD650 LCD Touchscreen  Replacement: 步骤 5 中的图像 1,2 Sony Handycam DCR-DVD650 LCD Touchscreen  Replacement: 步骤 5 中的图像 2,2
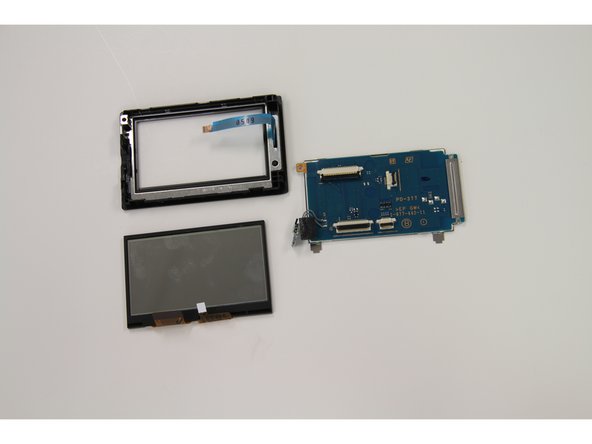
    • Unscrew the final screw located on the top left corner.

    • Remove the screen.

结论

To reassemble your device, follow these instructions in reverse order.

另外一个人完成了本指南。

santos guitron

于09/24/15注册

144 声望

撰写一个指南

团队

Texas Tech, Team 22-1, Rauch Fall 2015 Texas Tech, Team 22-1, Rauch Fall 2015 的会员

TTU-RAUCH-F15S22G1

3 名成员

创作了1篇指南

0条评论

添加评论

浏览统计数据:

过去 24 小时: 1

过去 7 天: 1

过去 30 天: 4

总计 156