当前版本的文档还未经巡查,您可以查看最新的已查核版本。
这个步骤还没有翻译 帮忙翻译一下
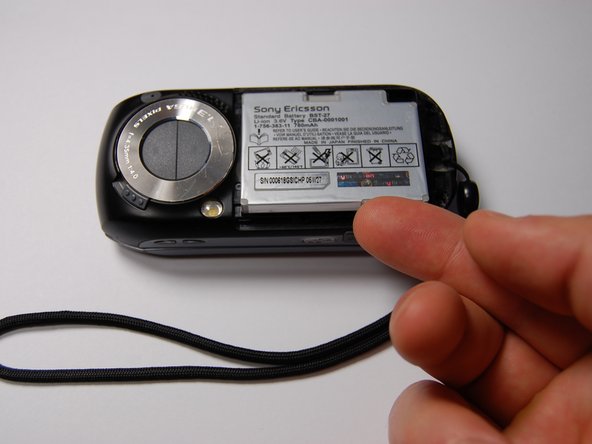
Remove the back cover by sliding it off.
Pull the battery out using your finger.
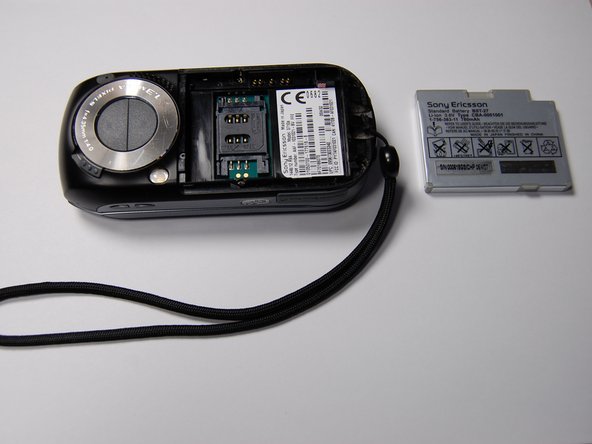
The battery can now be replaced.
The battery is a 780 mAh rechargeable Lithium Ion battery.
Remove the four screws using a Phillips #00 screwdriver.
Remove the plastic cover with the iFixit opening tool.
It is easiest to begin at the SD card slot and alternate prying the cover on opposite sides.
The cover will not come off completely, because there are additional screws that need to be removed, but will pry loose up to the camera.
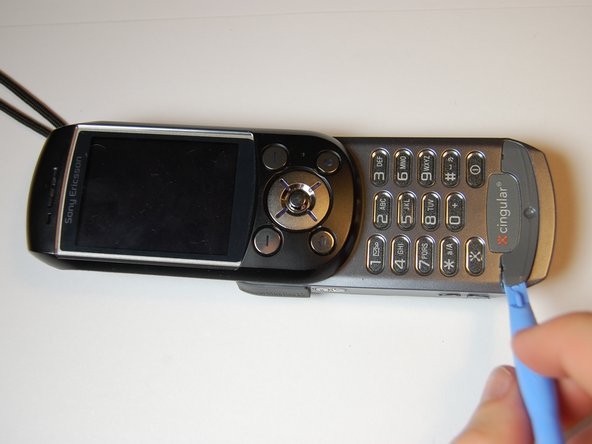
Using the iFixit opening tool, pry off the plastic piece at the bottom of the keypad.
This piece is fixed with an adhesive, so you must break the bond to reach the screws underneath. It may be necessary to use additional adhesive during reassembly.
Remove two 6 mm screws from beneath the previously removed plastic cover using a Phillips #00 screwdriver.
Completely remove the back plastic cover.
Pry the board from the plastic case using the iFixit opening tool.
This part is tricky. The black plastic pieces at the base of the phone hold the board in.
After removing the board, you will see the plastic keyboard beneath. This can be removed by hand and is very flexible.
You have successfully removed the keypad. You can clean, decorate, or replace the keyboard without worrying about damaging the phone.
取消:我没有完成这个指南。
另外一个人完成了本指南。
与4其他贡献者
于10/29/11注册
75 声望
创作了4篇指南
徽章: 9
+ 6更多徽章
UMD-CALLOWAY-F11S1G1
3 名成员
创作了14篇指南
选择一个尺寸并复制下面的代码,将本指南作为一个小插件嵌入到你的网站/论坛中。
过去 24 小时: 1
过去 7 天: 7
过去 30 天: 14
总计 1,352