跳转到主内容

Sony Cyber-shot DSC-W290 LCD Assembly Replacement

你所需要的

  1. Sony Cyber-shot DSC-W290 LCD Assembly Replacement, Battery: 步骤 1 中的图像 1,1
    • Find the hatch labeled "open" on the left side of the bottom of the camera.

    • Slide the hatch in the direction that the arrow is pointing. The hatch will open outward on its own.

  2. Sony Cyber-shot DSC-W290 LCD Assembly Replacement: 步骤 2 中的图像 1,1
    • Slide the blue locking tab to release the battery.

    • Slide the battery out of the camera.

  3. Sony Cyber-shot DSC-W290 LCD Assembly Replacement, Outer Casing: 步骤 3 中的图像 1,2 Sony Cyber-shot DSC-W290 LCD Assembly Replacement, Outer Casing: 步骤 3 中的图像 2,2
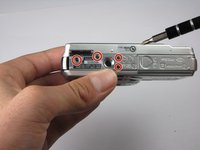
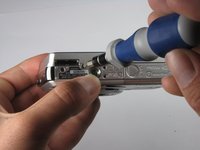
    • Replace hatch and rotate camera 180 degrees. You should still be looking at the bottom of the camera.

    • Remove the four 2.5mm Phillips #0 screws.

  4. Sony Cyber-shot DSC-W290 LCD Assembly Replacement: 步骤 4 中的图像 1,3 Sony Cyber-shot DSC-W290 LCD Assembly Replacement: 步骤 4 中的图像 2,3 Sony Cyber-shot DSC-W290 LCD Assembly Replacement: 步骤 4 中的图像 3,3
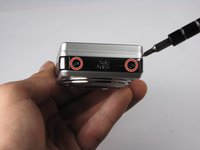
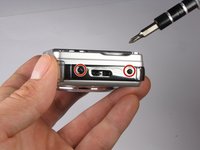
    • Turn the camera so the left side-panel reading "5x Optical Zoom" faces you.

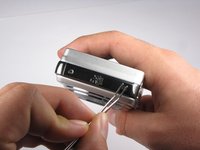
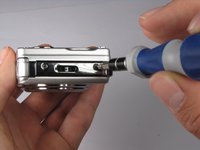
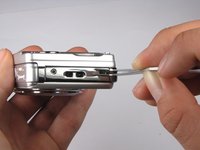
    • Remove the two 2.5mm Phillips #0 screws.

    • You may have to remove the screws with a pair of tweezers when the screws are almost out.

  5. Sony Cyber-shot DSC-W290 LCD Assembly Replacement: 步骤 5 中的图像 1,3 Sony Cyber-shot DSC-W290 LCD Assembly Replacement: 步骤 5 中的图像 2,3 Sony Cyber-shot DSC-W290 LCD Assembly Replacement: 步骤 5 中的图像 3,3
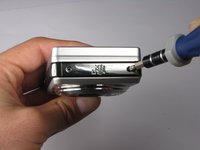
    • Turn the camera so the right side faces you.

    • Remove the two 2.5mm Phillips #0 screws.

    • You may have to remove the screws with a pair of tweezers when the screws are almost out.

  6. Sony Cyber-shot DSC-W290 LCD Assembly Replacement: 步骤 6 中的图像 1,1
    • Rotate camera so that the back is facing you.

    • Pull the back casing directly away from the LCD screen.

  7. Sony Cyber-shot DSC-W290 LCD Assembly Replacement: 步骤 7 中的图像 1,2 Sony Cyber-shot DSC-W290 LCD Assembly Replacement: 步骤 7 中的图像 2,2
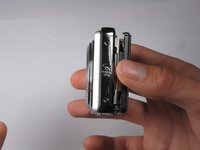
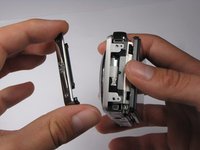
    • Turn the camera so that the left side is facing you.

    • Pull the left side-panel off of the camera.

  8. Sony Cyber-shot DSC-W290 LCD Assembly Replacement: 步骤 8 中的图像 1,2 Sony Cyber-shot DSC-W290 LCD Assembly Replacement: 步骤 8 中的图像 2,2
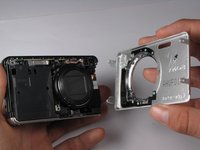
    • Turn camera so that the front of the camera is facing you.

    • Pull the front casing directly away from the camera.

    • The right side panel may fall off when you take the front panel off.

  9. Sony Cyber-shot DSC-W290 LCD Assembly Replacement: 步骤 9 中的图像 1,2 Sony Cyber-shot DSC-W290 LCD Assembly Replacement: 步骤 9 中的图像 2,2
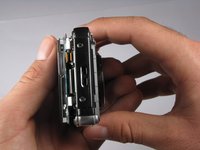
    • Turn the camera so that the right side is facing you.

    • Pull the right side-panel away from the rest of the camera.

  10. Sony Cyber-shot DSC-W290 LCD Assembly Replacement: 步骤 10 中的图像 1,2 Sony Cyber-shot DSC-W290 LCD Assembly Replacement: 步骤 10 中的图像 2,2
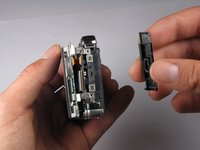
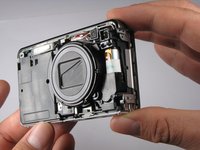
    • This is what your camera should look like now that you have removed the casing from all sides.

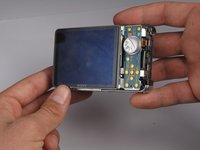
  11. Sony Cyber-shot DSC-W290 LCD Assembly Replacement, LCD Assembly: 步骤 11 中的图像 1,1
    • Gently pull the LCD and its casing away from the motherboard as shown.

    • Be careful not to rip out any ribbon cables.

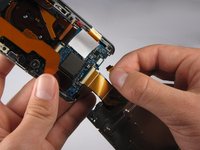
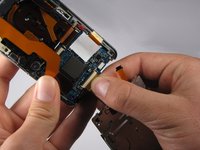
  12. Sony Cyber-shot DSC-W290 LCD Assembly Replacement: 步骤 12 中的图像 1,2 Sony Cyber-shot DSC-W290 LCD Assembly Replacement: 步骤 12 中的图像 2,2
    • Disconnect the small ribbon-wire by gently pulling on the small ribbon-wire where it connects with the motherboard.

    • Do not use excessive force to remove the wire because this may cause it to tear.

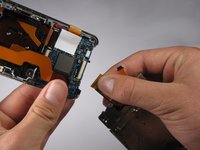
  13. Sony Cyber-shot DSC-W290 LCD Assembly Replacement: 步骤 13 中的图像 1,2 Sony Cyber-shot DSC-W290 LCD Assembly Replacement: 步骤 13 中的图像 2,2
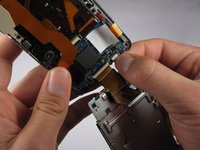
    • Disconnect the large ribbon-wire by pulling on the large ribbon-wire where it connects to the motherboard.

  14. Sony Cyber-shot DSC-W290 LCD Assembly Replacement: 步骤 14 中的图像 1,1
    • Pull the LCD and its casing away from the rest of the camera.

结论

To reassemble your device, follow these instructions in reverse order.

3等其他人完成本指南。

Evan Mayer

于10/05/10注册

318 声望

创作了5篇指南

团队

Cal Poly, Team 7-54, Amido Fall 2010 Cal Poly, Team 7-54, Amido Fall 2010 的会员

CPSU-AMIDO-F10S7G54

4 名成员

创作了16篇指南

2条评论

where can i get a replacement screen but one that isn't that expensive~

jenna - 回复

At Step 13, when re-assembling, insert the large ribbon into the slot using fingers then seat as far in as possible by pushing on each side gently, using tweezers.

Christopher Bell - 回复

添加评论

浏览统计数据:

过去 24 小时: 1

过去 7 天: 6

过去 30 天: 19

总计 6,584