跳转到主内容

当前版本的文档还未经巡查,您可以查看最新的已查核版本

你所需要的

  1. 这个步骤还没有翻译 帮忙翻译一下

    : 步骤 1 中的图像 1,2 : 步骤 1 中的图像 2,2
    • Locate the battery door at the bottom of the camera.

    • Press down on the door and slide it back. The door will pop open.

  2. 这个步骤还没有翻译 帮忙翻译一下

    : 步骤 2 中的图像 1,1
    • Remove the battery from the door that you opened in the previous step.

  3. 这个步骤还没有翻译 帮忙翻译一下

    : 步骤 3 中的图像 1,3 : 步骤 3 中的图像 2,3 : 步骤 3 中的图像 3,3
    • There are two screws on the left and right sides of the camera, and two screws on the bottom.

    • Use a PH00 screwdriver and remove the six 2.9mm screws.

  4. 这个步骤还没有翻译 帮忙翻译一下

    : 步骤 4 中的图像 1,2 : 步骤 4 中的图像 2,2
    • Use hands to gently pry the front casing away from the camera.

  5. 这个步骤还没有翻译 帮忙翻译一下

    : 步骤 5 中的图像 1,2 : 步骤 5 中的图像 2,2
    • Use the tip of a spudger to flip up the tab on the ZIF connector securing the motherboard ribbon cable.

    • The second picture shows what these tabs look like in their open positions.

  6. 这个步骤还没有翻译 帮忙翻译一下

    : 步骤 6 中的图像 1,1
    • Grasp the CCD Sensor Module and remove it.

  7. 这个步骤还没有翻译 帮忙翻译一下

    : 步骤 7 中的图像 1,3 : 步骤 7 中的图像 2,3 : 步骤 7 中的图像 3,3
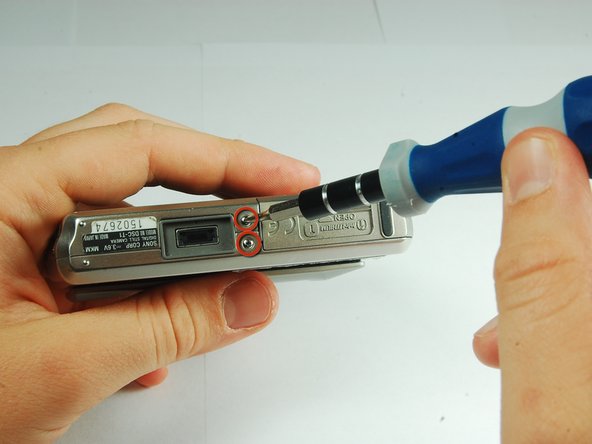
    • This camera houses a very strong capacitor (the black cylinder). Avoid touching anything around the two wires coming out of the top. Doing so will risk serious electric shock.

    • Carefully disengage the internal components from the casing by lifting at the bottom end and giving a gentle tug.

    • The components are still connected to the casing via cables, but they are much more maneuverable.

    • The flash module is shown on the right hand side.

  8. 这个步骤还没有翻译 帮忙翻译一下

    : 步骤 8 中的图像 1,2 : 步骤 8 中的图像 2,2
    • Use the tip of a spudger to flip up the tab on the ZIF connecter securing the motherboard ribbon cable.

    • Grasp the flash module by the bottom and remove it.

  9. 这个步骤还没有翻译 帮忙翻译一下

    : 步骤 9 中的图像 1,2 : 步骤 9 中的图像 2,2
    • Use tweezers to slide the white piece on the back of the back cover to the right.

    • This will dislodge the white piece, allowing you to remove it from the back cover.

  10. 这个步骤还没有翻译 帮忙翻译一下

    : 步骤 10 中的图像 1,1
    • Use the tip of a spudger to flip up the tab on the ZIF connector securing the motherboard ribbon cable.

    • Remove the ribbon cables from these two ZIF connectors.

  11. 这个步骤还没有翻译 帮忙翻译一下

    : 步骤 11 中的图像 1,2 : 步骤 11 中的图像 2,2
    • Lift the motherboard assembly up and rotate it so you can easily see where the internals connect to the back cover.

    • Remove the ZIF connectors from the clamp on the left end of the top piece.

    • The motherboard assembly is now separated from the back cover.

终点

iDeleted

于07/07/10注册

2,101 声望

创作了39篇指南

0条评论

添加评论

浏览统计数据:

过去 24 小时: 0

过去 7 天: 7

过去 30 天: 17

总计 2,127