简介
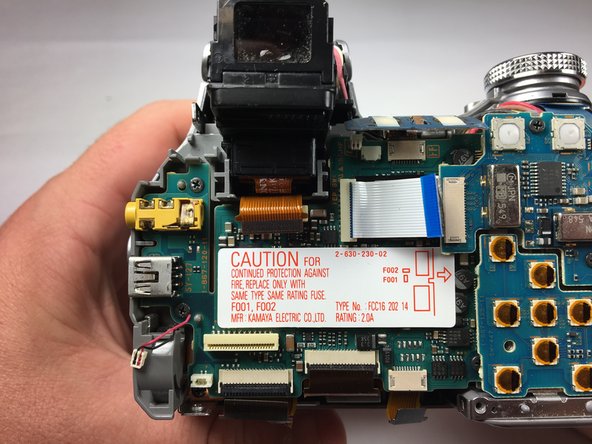
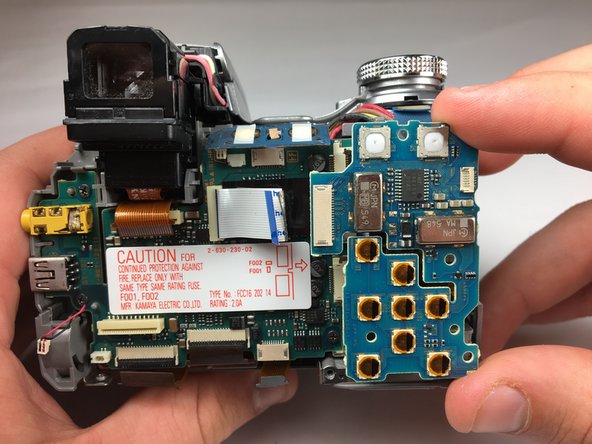
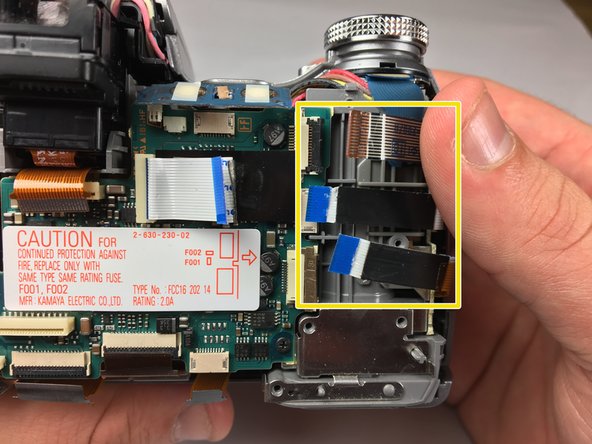
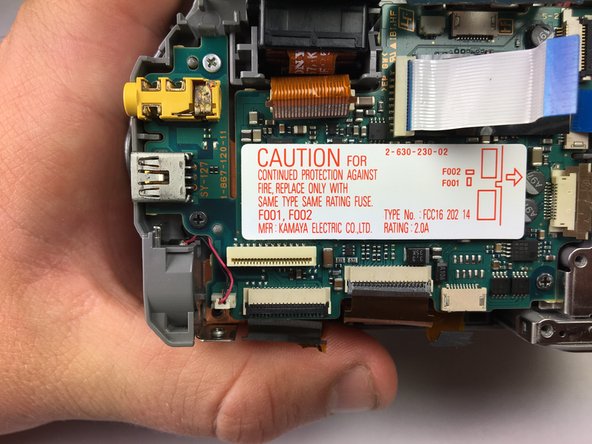
If the camera lens is unrepairable, you may just need to replace it with a brand new one. This is how you take it apart before you insert a new one.
你所需要的


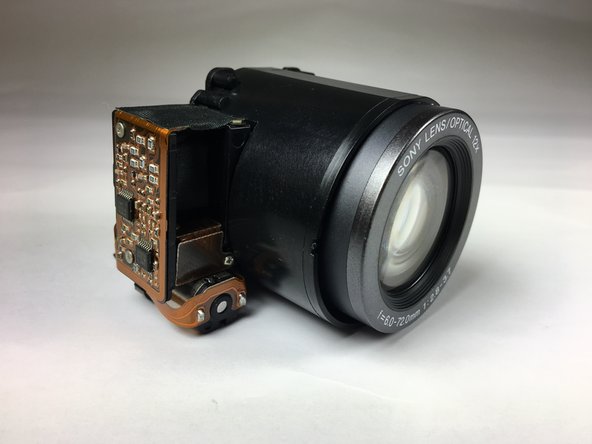
即将完成!
To reassemble your device, follow these instructions in reverse order.
结论
To reassemble your device, follow these instructions in reverse order.
3等其他人完成本指南。
团队

Baylor, Team S5-G4, Williams Spring 2018 Baylor, Team S5-G4, Williams Spring 2018 的会员
BU-WILLIAMS-S18S5G4
3 名成员
创作了10篇指南