跳转到主内容

你所需要的

这个拆解是不是维修指南。 要维修你的的Sony CD Walkman D-NF430,请使用我们的维修手册

  1. 这个步骤还没有翻译 帮忙翻译一下

    : 步骤 1 中的图像 1,2 : 步骤 1 中的图像 2,2
    • Start by looking at the fine detail of the exterior.

  2. 这个步骤还没有翻译 帮忙翻译一下

    : 步骤 2 中的图像 1,3 : 步骤 2 中的图像 2,3 : 步骤 2 中的图像 3,3
    • Open it, remove any CDs and put away. Open the battery cover and remove the battery.

  3. 这个步骤还没有翻译 帮忙翻译一下

    : 步骤 3 中的图像 1,3 : 步骤 3 中的图像 2,3 : 步骤 3 中的图像 3,3
    • Close the battery cover and locate your screwdriver.

  4. 这个步骤还没有翻译 帮忙翻译一下

    : 步骤 4 中的图像 1,2 : 步骤 4 中的图像 2,2
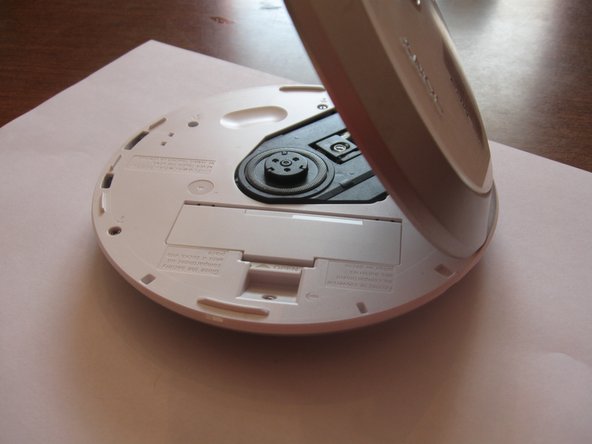
    • Unscrew the six screws and place them on the magnet so you'll be able to find them later. Sony was nice enough to put the screws next to the lid at an angle so you can fit a screwdriver in there.

  5. 这个步骤还没有翻译 帮忙翻译一下

    : 步骤 5 中的图像 1,2 : 步骤 5 中的图像 2,2
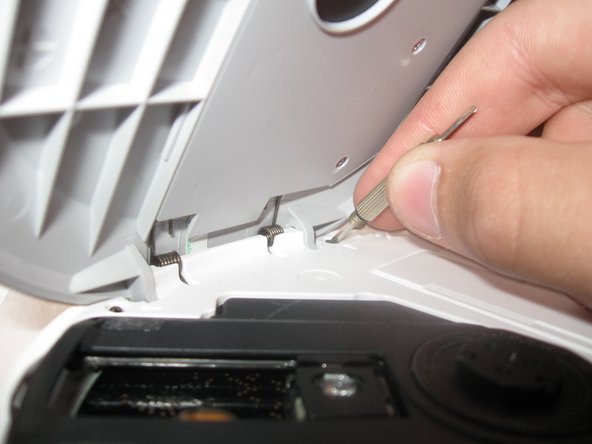
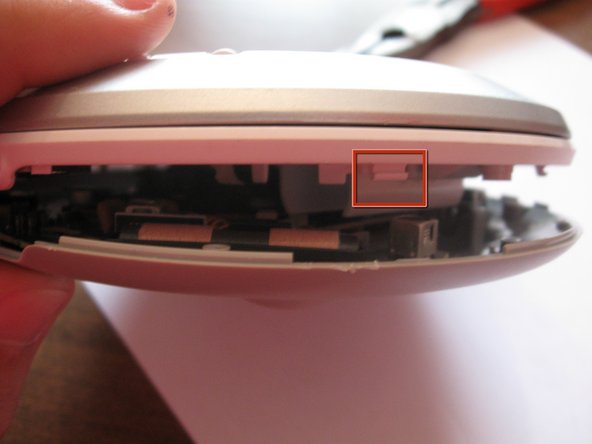
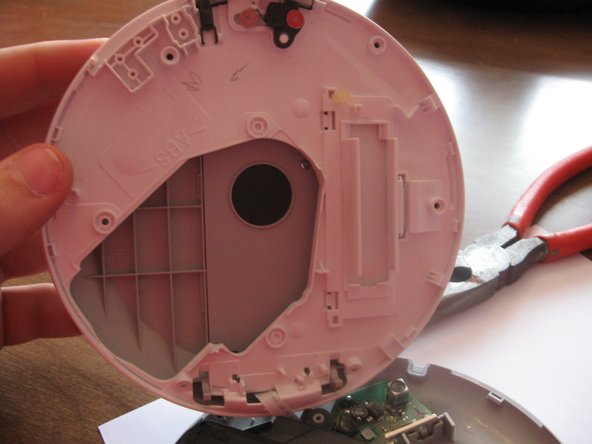
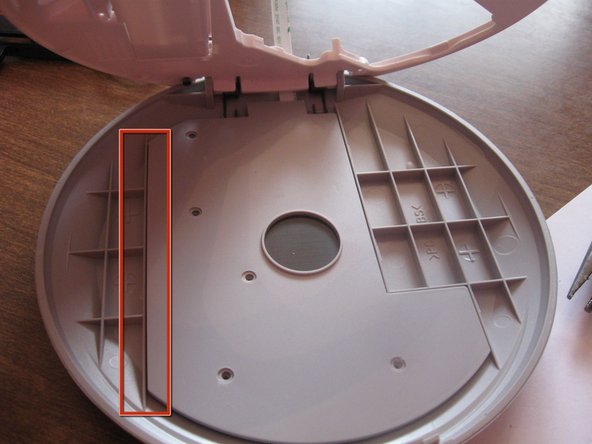
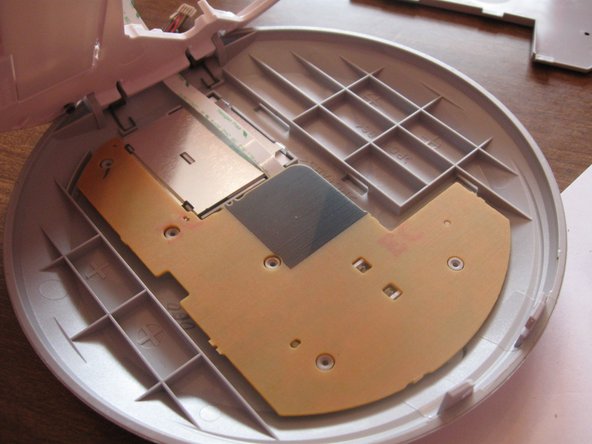
    • Insert the tip of a screwdriver between the white upper layer and the gray lower layer. Carefully pry apart. There are small clips that help hold the two layers together and you don't want to snap them.

  6. 这个步骤还没有翻译 帮忙翻译一下

    : 步骤 6 中的图像 1,2 : 步骤 6 中的图像 2,2
    • Here's the inside of the bottom layer.

  7. 这个步骤还没有翻译 帮忙翻译一下

    : 步骤 7 中的图像 1,3 : 步骤 7 中的图像 2,3 : 步骤 7 中的图像 3,3
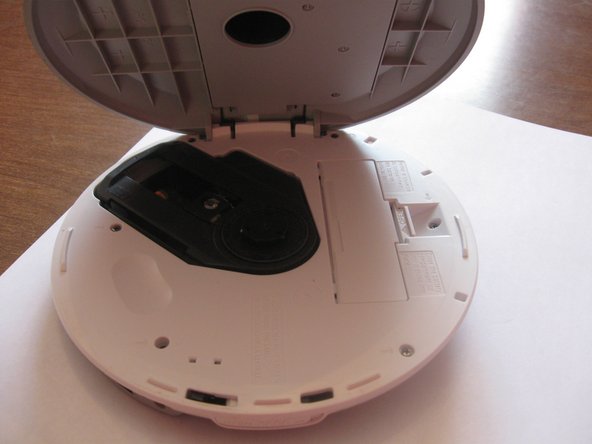
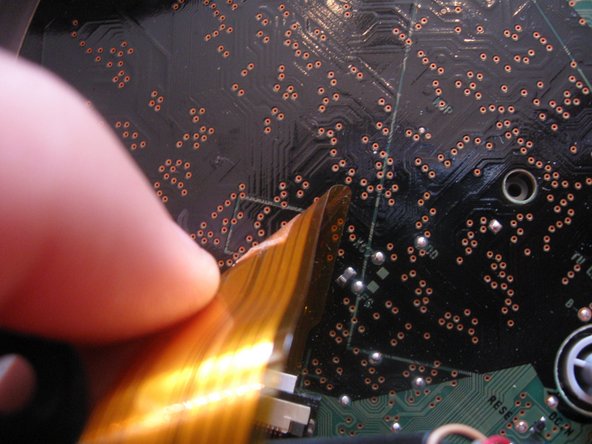
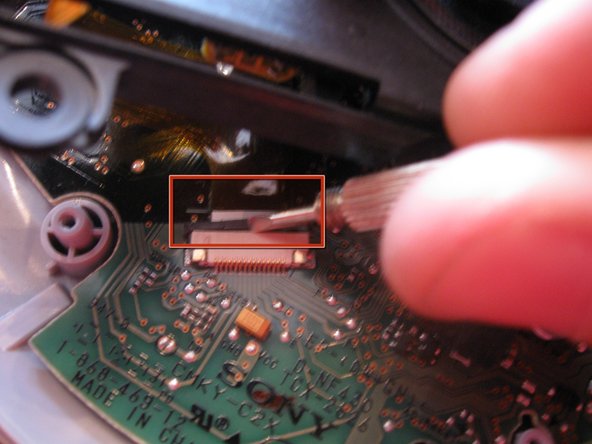
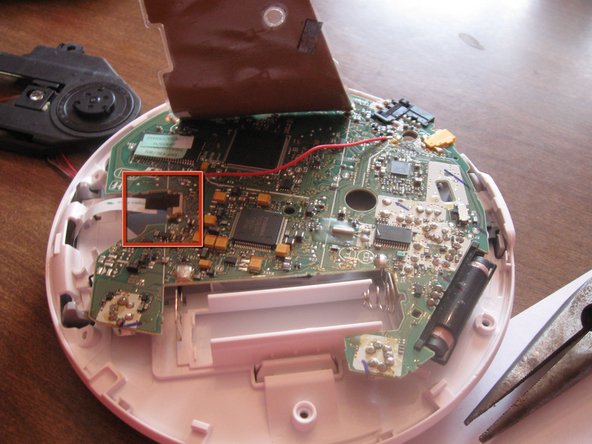
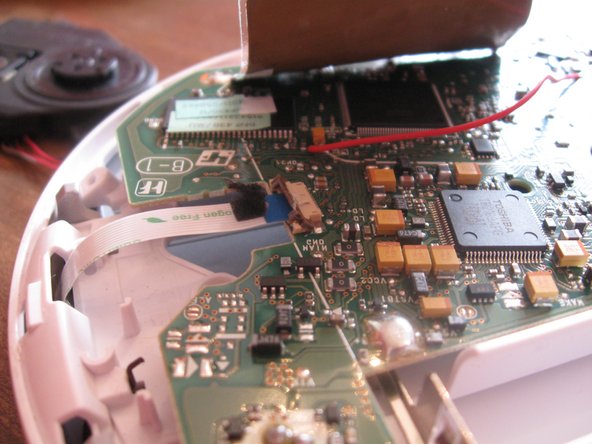
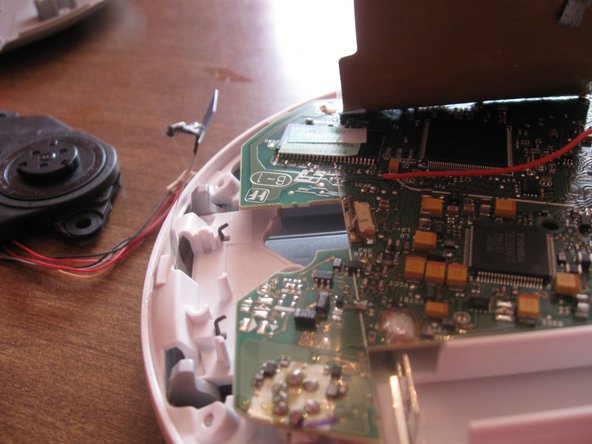
    • Now to remove the laser reading assembly. Carefully peel the orange data ribbon off the circuit board to the plug. Using the flat screwdriver, pry the black clip away from the tan part.

  8. 这个步骤还没有翻译 帮忙翻译一下

    : 步骤 8 中的图像 1,2 : 步骤 8 中的图像 2,2
    • Now for the power wires. Pry up on the side opposite of the wires.

  9. 这个步骤还没有翻译 帮忙翻译一下

    : 步骤 9 中的图像 1,3 : 步骤 9 中的图像 2,3 : 步骤 9 中的图像 3,3
    • Now for the other side. Carefully peel up the antenna plate so you can get at the other data ribbon.

  10. 这个步骤还没有翻译 帮忙翻译一下

    : 步骤 10 中的图像 1,3 : 步骤 10 中的图像 2,3 : 步骤 10 中的图像 3,3
    • Peel the black tape off the plug. Pry up with a screwdriver on the brown clip and remove the data ribbon.

  11. 这个步骤还没有翻译 帮忙翻译一下

    : 步骤 11 中的图像 1,3 : 步骤 11 中的图像 2,3 : 步骤 11 中的图像 3,3
    • Now for the top layer. unscrew the five screws and place them on the magnet. Pry up on the side indicated to remove the cover.

  12. 这个步骤还没有翻译 帮忙翻译一下

    : 步骤 12 中的图像 1,2 : 步骤 12 中的图像 2,2
    • Pull out the circuit board and LCD screen assembly. Pry up on the brown clip to remove the LCD screen.

  13. 这个步骤还没有翻译 帮忙翻译一下

    : 步骤 13 中的图像 1,2 : 步骤 13 中的图像 2,2
    • Now you can remove the data ribbon by prying up on the brown clip.

  14. 这个步骤还没有翻译 帮忙翻译一下

    : 步骤 14 中的图像 1,3 : 步骤 14 中的图像 2,3 : 步骤 14 中的图像 3,3
    • To remove the buttons, carefully pry up around the little pins and pull up.

  15. 这个步骤还没有翻译 帮忙翻译一下

    : 步骤 15 中的图像 1,1
    • You're done! You have taken this CD player apart and broken it down into its individual components. Now to put it back together.

reuse2009

于10/22/09注册

100 声望

撰写一个指南

0条评论

添加评论

浏览统计数据:

过去 24 小时: 1

过去 7 天: 10

过去 30 天: 52

总计 15,660