简介
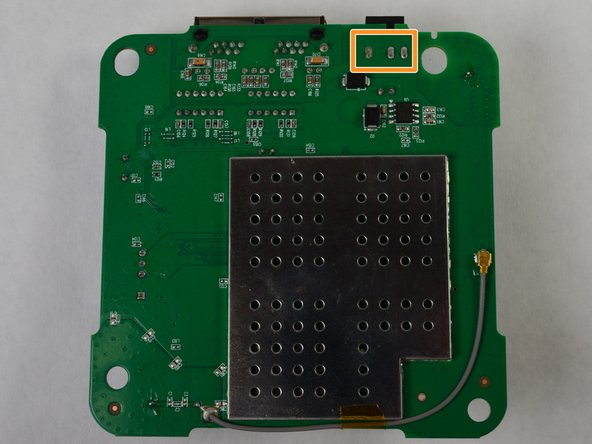
This repair should be fairly simple given the correct tools and experience soldering. If you do not have any soldering experience, it is recommended to practice prior to attempting to replace any parts in the Sonos Bridge. Taking apart the Bridge is quick and should not do any permanent damage to the device. This repair might be necessary if the device does not power on correctly or requires special manipulation of the power cable to have consistent power. If the power cable feels lose in the port, the port may need replacing.
你所需要的
-
-
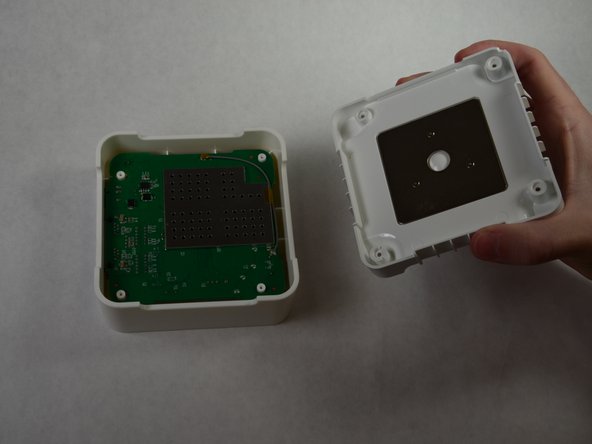
The rubber bottom is glued on, meaning it can be easily pried off using the metal spudger.
-
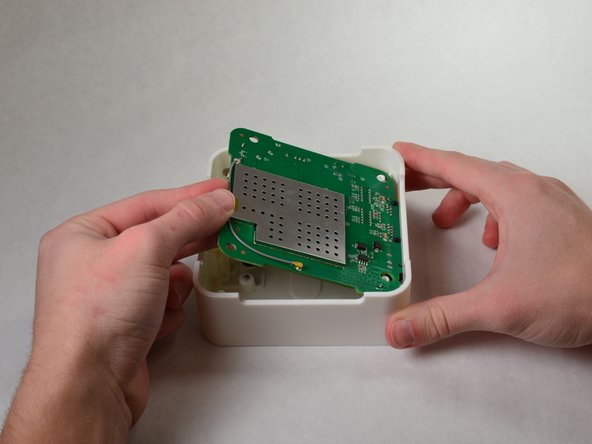
You may have to pry from multiple locations.
-
-


To reassemble your device, follow these instructions in reverse order.
To reassemble your device, follow these instructions in reverse order.
团队

IUPUI, Team S3-G4, Harley Fall 2017 IUPUI, Team S3-G4, Harley Fall 2017 的会员
IUPUI-HARLEY-F17S3G4
3 名成员
创作了2篇指南