跳转到主内容

SiriusXM Onyx Screen Replacement

你所需要的

  1. SiriusXM Onyx Screen Replacement, Motherboard: 步骤 1 中的图像 1,1
    • Take the iFixit opening tool and place it between the crevice as shown.

  2. SiriusXM Onyx Screen Replacement: 步骤 2 中的图像 1,2 SiriusXM Onyx Screen Replacement: 步骤 2 中的图像 2,2
    • Apply pressure to the iFixit opening tool, pushing down until the the plastic casing pops off.

  3. SiriusXM Onyx Screen Replacement: 步骤 3 中的图像 1,2 SiriusXM Onyx Screen Replacement: 步骤 3 中的图像 2,2
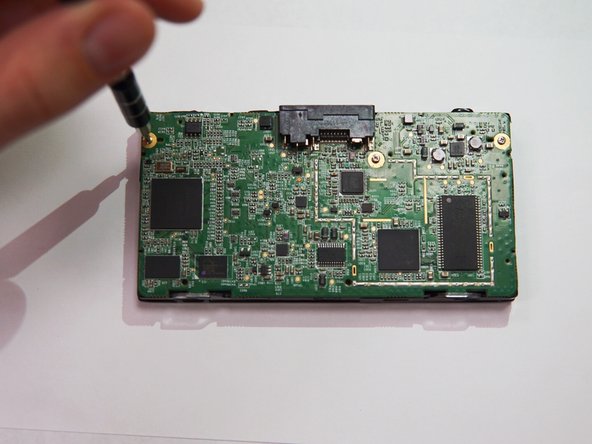
    • Use the Phillips PH00 to remove the three marked screws.

  4. SiriusXM Onyx Screen Replacement: 步骤 4 中的图像 1,3 SiriusXM Onyx Screen Replacement: 步骤 4 中的图像 2,3 SiriusXM Onyx Screen Replacement: 步骤 4 中的图像 3,3
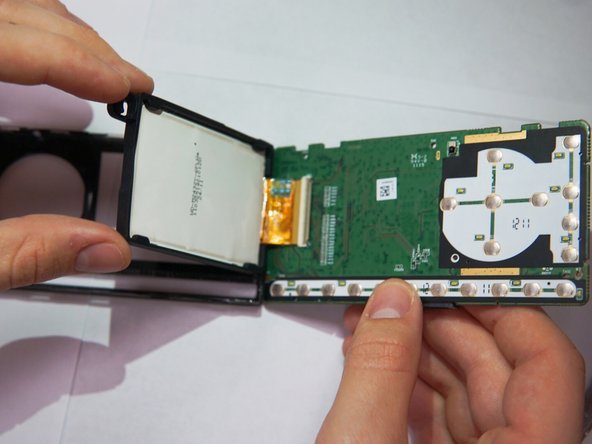
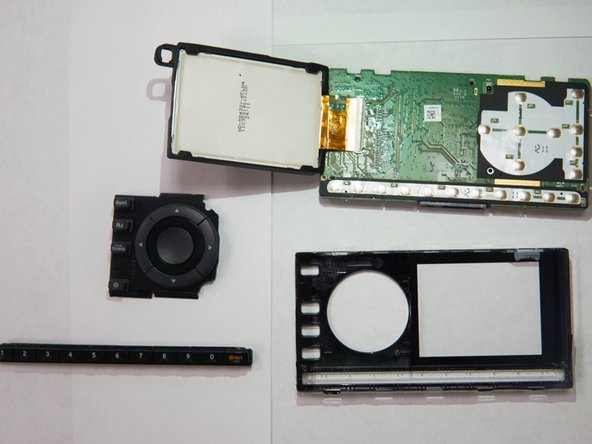
    • Once the screws have been removed, the motherboard is free to come out.

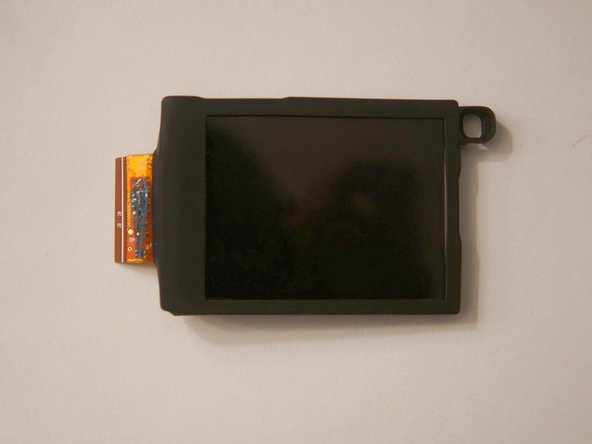
  5. SiriusXM Onyx Screen Replacement, Screen: 步骤 5 中的图像 1,3 SiriusXM Onyx Screen Replacement, Screen: 步骤 5 中的图像 2,3 SiriusXM Onyx Screen Replacement, Screen: 步骤 5 中的图像 3,3
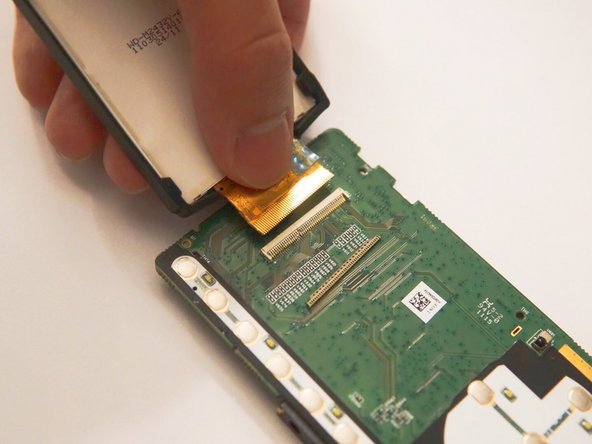
    • Remove the plastic case in front of the socket using the spudger.

    • Hold the screen and gently pull in the direction of the cable to separate screen from the socket.

结论

To reassemble your device, follow these instructions in reverse order.

Thomas Zhang

于10/17/17注册

107 声望

撰写一个指南

团队

0条评论

添加评论

浏览统计数据:

过去 24 小时: 0

过去 7 天: 3

过去 30 天: 3

总计 208