跳转到主内容

Shark Ultimate Professional Mode Display Replacement

你所需要的

  1. Shark Ultimate Professional Mode Display Replacement, Mode Display: 步骤 1 中的图像 1,3 Shark Ultimate Professional Mode Display Replacement, Mode Display: 步骤 1 中的图像 2,3 Shark Ultimate Professional Mode Display Replacement, Mode Display: 步骤 1 中的图像 3,3
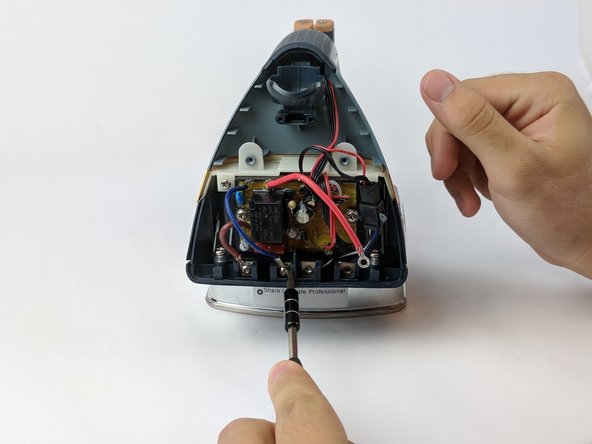
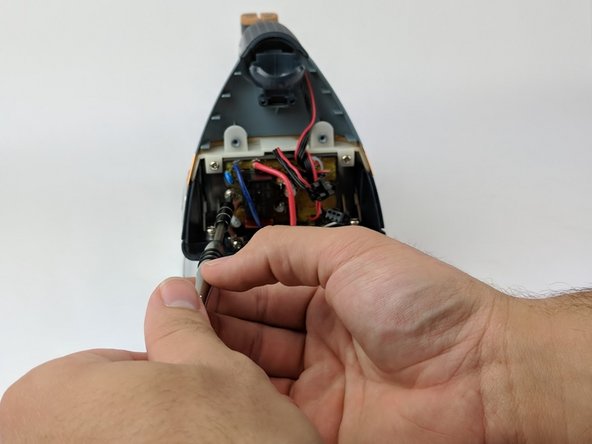
    • Use the Philips head #0 screwdriver to remove the two 11.49mm screws at the back of the iron.

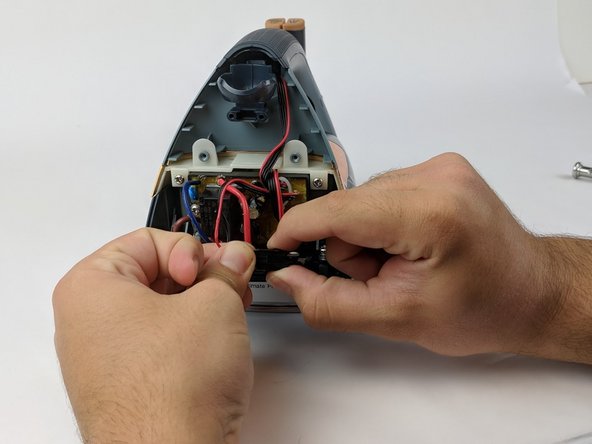
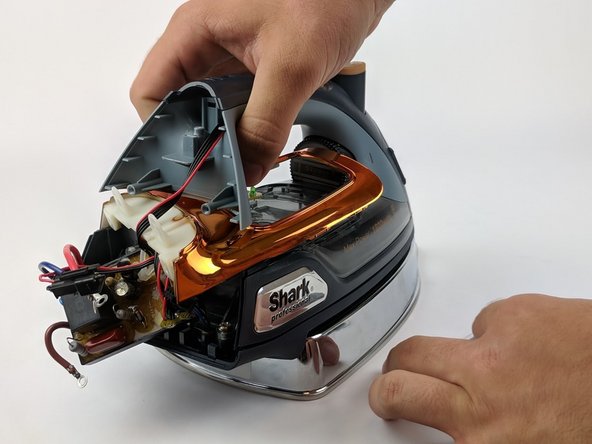
    • Remove the back cover piece.

    • Make sure the iron is unplugged and cooled off.

  2. Shark Ultimate Professional Mode Display Replacement: 步骤 2 中的图像 1,2 Shark Ultimate Professional Mode Display Replacement: 步骤 2 中的图像 2,2
    • Use the Philips head #0 screwdriver to remove the two 11.77mm screws holding the white clamp to the iron.

    • Use the Philips head #0 screwdriver to remove the two 6.58mm screws holding the black wires to the body of the iron.

    • Removing the left black wire will also free the red wire, attached by the same screw.

  3. Shark Ultimate Professional Mode Display Replacement: 步骤 3 中的图像 1,3 Shark Ultimate Professional Mode Display Replacement: 步骤 3 中的图像 2,3 Shark Ultimate Professional Mode Display Replacement: 步骤 3 中的图像 3,3
    • Pull the split end of the power cord upward through the ball joint of the iron.

    • Set aside the power cord.

  4. Shark Ultimate Professional Mode Display Replacement: 步骤 4 中的图像 1,3 Shark Ultimate Professional Mode Display Replacement: 步骤 4 中的图像 2,3 Shark Ultimate Professional Mode Display Replacement: 步骤 4 中的图像 3,3
    • Use the Philips head #0 screwdriver to remove remaining 6.58mm screws that hold a wire on the bottom (brown and blue).

    • Unscrew from left to right.

    • Wires order (from left to right): Brown, Blue, Black, Red

    • Unclip the black adapter piece on the bottom right.

  5. Shark Ultimate Professional Mode Display Replacement: 步骤 5 中的图像 1,2 Shark Ultimate Professional Mode Display Replacement: 步骤 5 中的图像 2,2
    • Use the Philips head #0 screwdriver to remove two 9.75mm screws (left and right) affixed to circuit board.

  6. Shark Ultimate Professional Mode Display Replacement: 步骤 6 中的图像 1,2 Shark Ultimate Professional Mode Display Replacement: 步骤 6 中的图像 2,2
    • Use the Philips head #0 screwdriver to remove the two 9.82mm screws (left and right) from the white border on top of the circuit board.

    • Pull the circuit board out from its affixed position.

  7. Shark Ultimate Professional Mode Display Replacement: 步骤 7 中的图像 1,3 Shark Ultimate Professional Mode Display Replacement: 步骤 7 中的图像 2,3 Shark Ultimate Professional Mode Display Replacement: 步骤 7 中的图像 3,3
    • Lift the handle and wiggle the plastic trim and the orange-chrome bezel out from under the handle.

    • Remove and set aside the mode display.

结论

To reassemble your device, follow these instructions in reverse order.

另外一个人完成了本指南。

Drew Carff

于10/23/17注册

868 声望

创作了5篇指南

团队

USF Tampa, Team S1-G4, Leahy Fall 2017 USF Tampa, Team S1-G4, Leahy Fall 2017 的会员

USFT-LEAHY-F17S1G4

3 名成员

创作了10篇指南

0条评论

添加评论

浏览统计数据:

过去 24 小时: 0

过去 7 天: 1

过去 30 天: 2

总计 643