简介
This guide will inform users how to remove and replace their Shark Steam Pocket Mop's ejection button assembly.
你所需要的
-
-
Begin by removing the 8 quarter inch phillips head screws found along the back panel
-
Once all 8 screws have been removed, gently remove the back panel from the rest of the mop's body
-
-
-
-
Begin by removing the two quarter inch Phillips head screws you see pictured. These screws hold the bottom part of the button assembly to the Mop's midframe.
-
-
-
Once the bottom piece of the assembly has been removed, carefully turn the mop over and move the front panel of the mop to the side
-
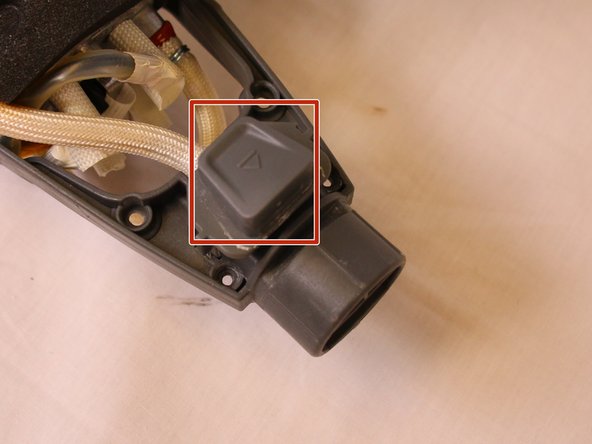
Once you've turned your device over you should be able to remove the top portion of the button assembly with ease. It should not require anything more than your fingers.
-


To reassemble your device, follow these instructions in reverse order.
To reassemble your device, follow these instructions in reverse order.
另外一个人完成了本指南。
团队

USF Tampa, Team S13-G7, Cagle Fall 2017 USF Tampa, Team S13-G7, Cagle Fall 2017 的会员
USFT-CAGLE-F17S13G7
4 名成员
创作了10篇指南