跳转到主内容

Sanyo-PM 8200 Back Casing Replacement

仅作为前提条件
本指南仅用作其他指南的先决条件。不能单独食用。

你所需要的

  1. Sanyo-PM 8200 Back Casing Replacement, Back Casing: 步骤 1 中的图像 1,1
    • Use a push pin or tweezers to remove the neoprene screw-cover located on the upper, left corner of the back casing.

  2. Sanyo-PM 8200 Back Casing Replacement: 步骤 2 中的图像 1,1
    • Unscrew all four, 5mm Tri-Wing screws.

  3. Sanyo-PM 8200 Back Casing Replacement: 步骤 3 中的图像 1,2 Sanyo-PM 8200 Back Casing Replacement: 步骤 3 中的图像 2,2
    • Pry the back casing off the device using a spudger. Work your way along the edges to completely separate the back casing from the device.

    • This step may require extra force. But too much force could break the back casing.

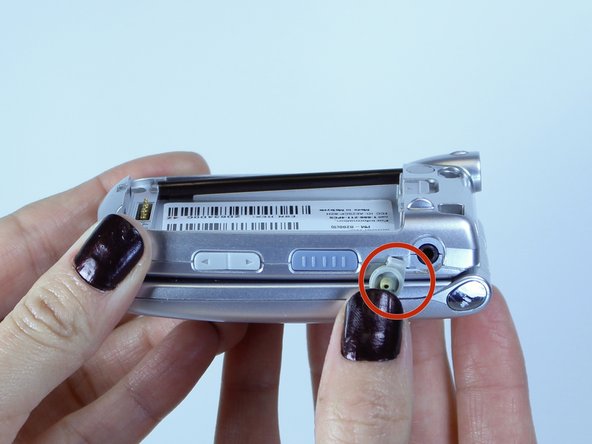
    • Remove the headphone jack cover when separating the back casing. The headphone jack is located on the opposite side of the antenna.

结论

To reassemble your device, follow these instructions in reverse order.

团队

USF Tampa, Team 1-6, Leahy Fall 2014 USF Tampa, Team 1-6, Leahy Fall 2014 的会员

USFT-LEAHY-F14S1G6

6 名成员

创作了10篇指南

0条评论

添加评论

浏览统计数据:

过去 24 小时: 0

过去 7 天: 0

过去 30 天: 0

总计 43