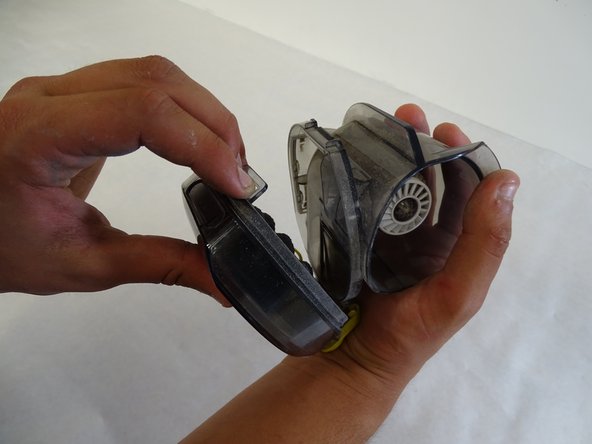
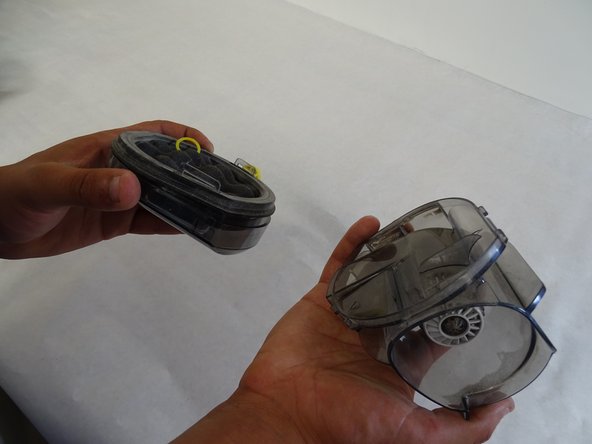
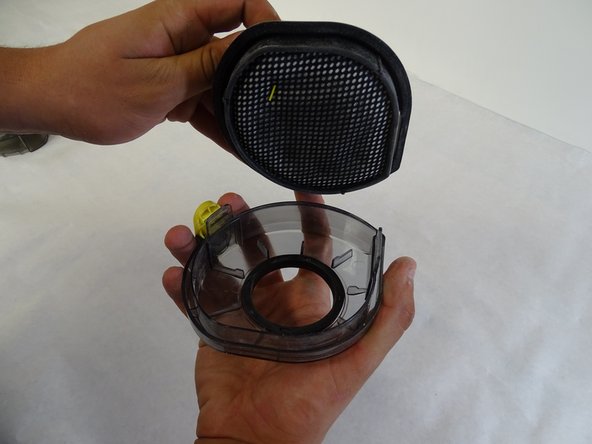
跳转到主内容

Samsung POWERbot VR9000 Filter Replacement

  1. Samsung POWERbot VR9000 Filter Replacement, Filter: 步骤 1 中的图像 1,2 Samsung POWERbot VR9000 Filter Replacement, Filter: 步骤 1 中的图像 2,2
    • Turn off the emergency switch on the bottom of the power bot.

  2. Samsung POWERbot VR9000 Filter Replacement: 步骤 2 中的图像 1,2 Samsung POWERbot VR9000 Filter Replacement: 步骤 2 中的图像 2,2
    • Gently pull up on the dustbin handle to to remove it from the rest of the power bot.

  3. Samsung POWERbot VR9000 Filter Replacement: 步骤 3 中的图像 1,2 Samsung POWERbot VR9000 Filter Replacement: 步骤 3 中的图像 2,2
    • Push down on the yellow button to remove the dustbin cover.

  4. Samsung POWERbot VR9000 Filter Replacement: 步骤 4 中的图像 1,3 Samsung POWERbot VR9000 Filter Replacement: 步骤 4 中的图像 2,3 Samsung POWERbot VR9000 Filter Replacement: 步骤 4 中的图像 3,3
    • Separate the dustbin cover from the filter.

  5. Samsung POWERbot VR9000 Filter Replacement: 步骤 5 中的图像 1,2 Samsung POWERbot VR9000 Filter Replacement: 步骤 5 中的图像 2,2
    • Pull gently on the yellow tab to remove the filter from the cover.

  6. Samsung POWERbot VR9000 Filter Replacement: 步骤 6 中的图像 1,1
    • The filter is removed. You can dispose of collected dust or rinse the filter with warm water before replacing.

结论

To reassemble your device, follow these instructions in reverse order.

另外一个人完成了本指南。

Josh Brouwer

于04/24/17注册

164 声望

撰写一个指南

团队

Cal Poly, Team S15-G3, Banghart Spring 2017 Cal Poly, Team S15-G3, Banghart Spring 2017 的会员

CPSU-BANGHART-S17S15G3

4 名成员

创作了14篇指南

0条评论

添加评论

浏览统计数据:

过去 24 小时: 0

过去 7 天: 0

过去 30 天: 2

总计 1,179