简介
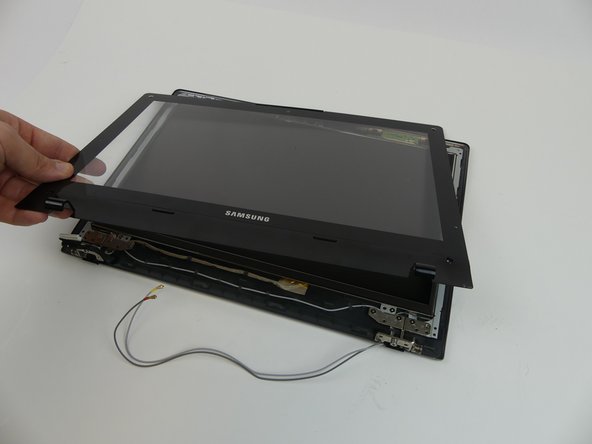
If there is no display on the screen or a black screen when the laptop is on, it may help to replace the screen using this guide. The optical drive, hard drive, and hinges must be removed first.
你所需要的
-
-
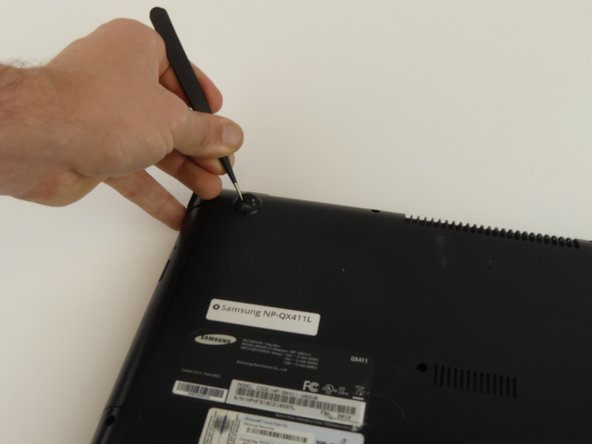
Flip the laptop over.
-
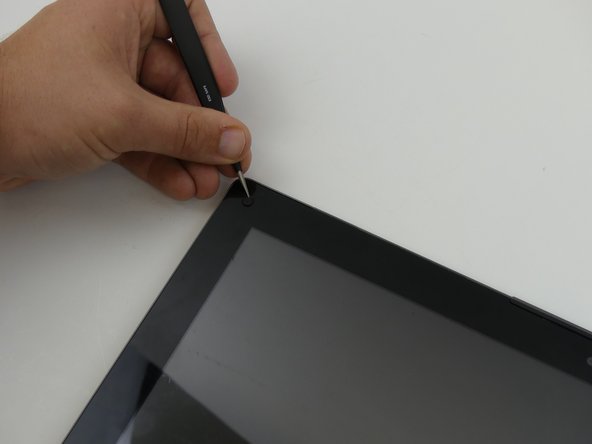
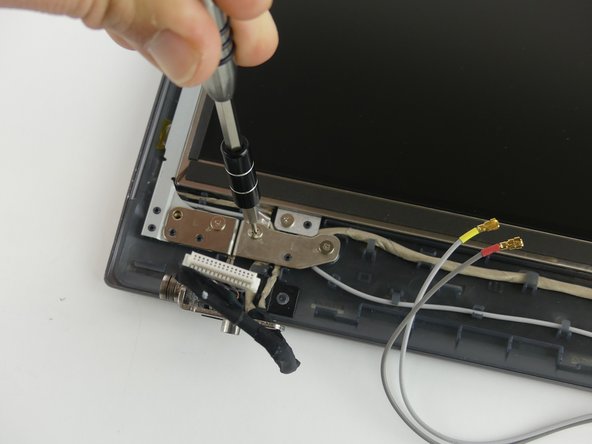
Remove the 6 mm screw with the Phillips #000 screwdriver.
-
-
-
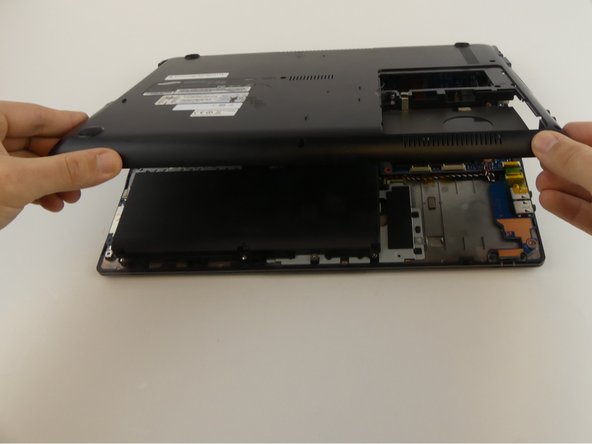
Flip the laptop.
-
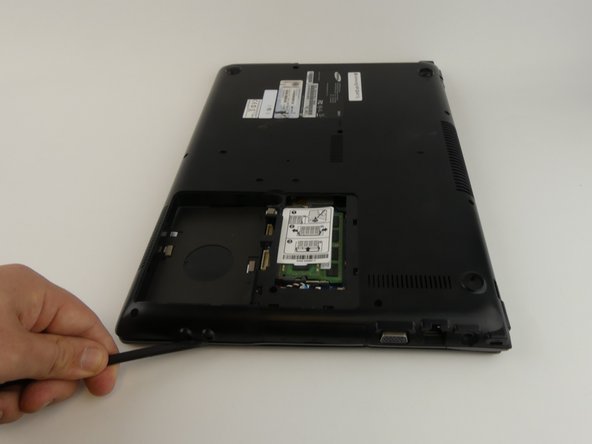
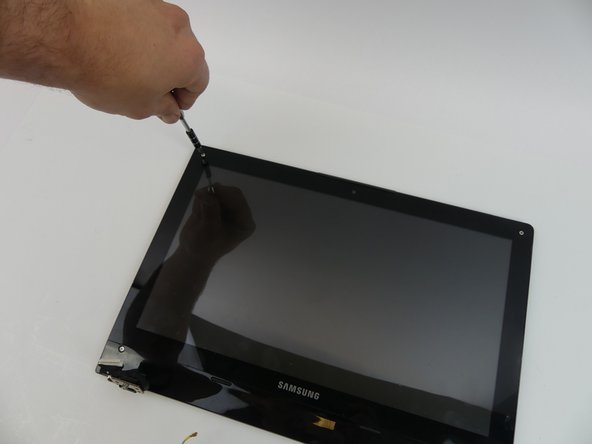
Use the Phillips #000 screwdriver to unscrew the 6 mm screw from the square panel.
-
-
-
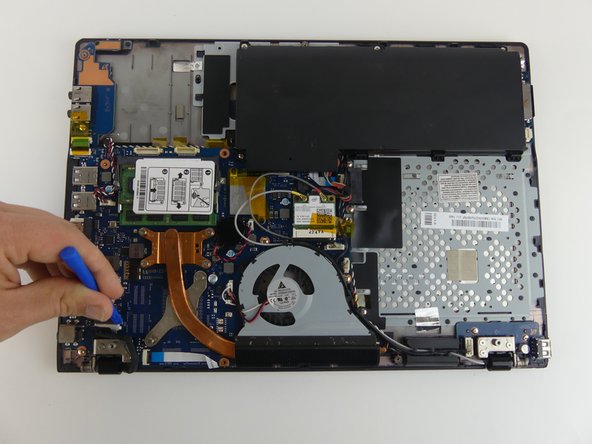
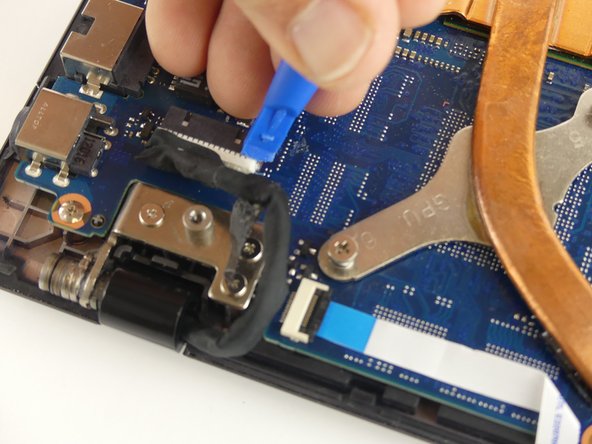
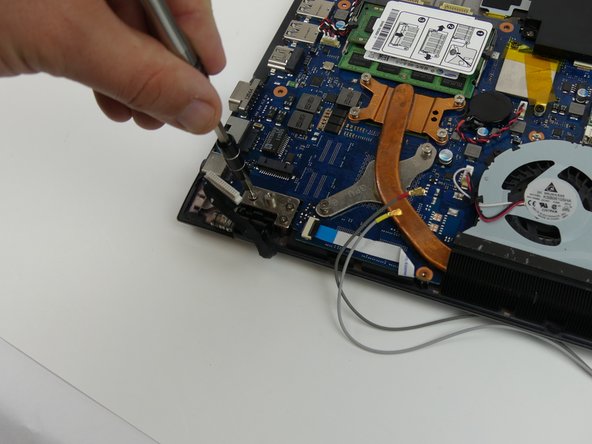
Disconnect the wire from the motherboard by pulling up and away from the laptop.
-
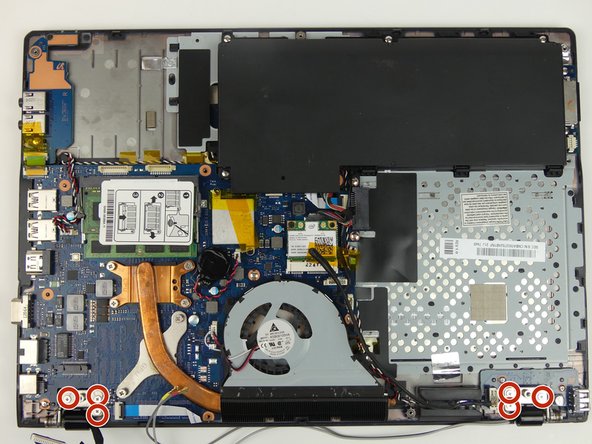
Remove the 6 mm screw with the Phillips #000 screwdriver.
-
-


To reassemble your device, follow these instructions in reverse order.
To reassemble your device, follow these instructions in reverse order.
团队

USF Tampa, Team S19-G3, Hoffman Spring 2017 USF Tampa, Team S19-G3, Hoffman Spring 2017 的会员
USFT-HOFFMAN-S17S19G3
4 名成员
创作了5篇指南