简介
Navigating your mobile device while it is connected is accomplished through the use of a trackpad on the side of the headset. If the user becomes unable to control their device the trackpad may have come disconnected or may need replacement. This guide will outline how to access the headset's trackpad for repair or replacement.
The motherboard partially sits on the inner mask piece of the headset and must be removed in order to remove the inner mask piece.
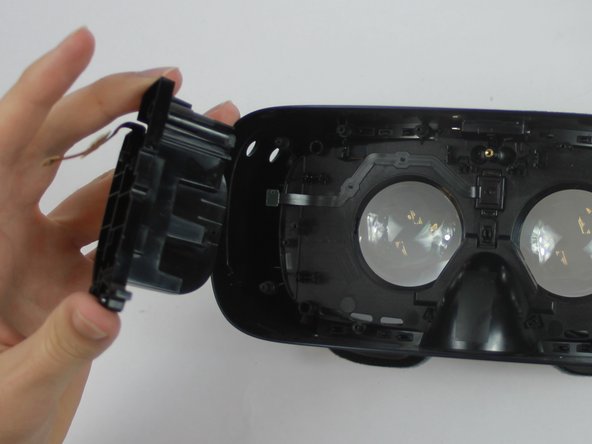
Caution is required while working on the headset as a wire harness connects the USB adapter to the motherboard. Care should be taken not to put any strain on the wire and to open the headset from right to left.
你所需要的
-
-
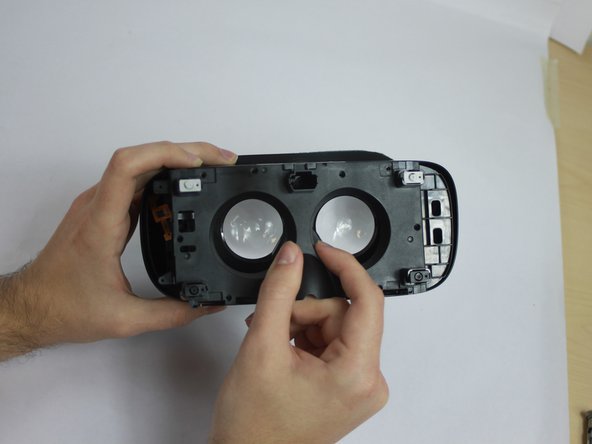
Remove the front cover to access a plate that holds the phone in place during use.
-
Remove the four corner screw covers with a metal spudger to reveal four screws.
-
Remove the sticker located at the top center to reveal two additional screws.
-
-
-
-
Use the blue plastic opening tool to remove the rest of the the pop connectors from the motherboard.
-
-
-
Using the PH000 tip remove the eight 0.5 cm screws from the Inner Mask
-
Carefully remove the Inner Mask by pulling it from the inner side of the lenses socket.
-


To reassemble your device, follow these instructions in reverse order.
To reassemble your device, follow these instructions in reverse order.
团队

USF Tampa, Team S4-G6, Eyestone Fall 2017 USF Tampa, Team S4-G6, Eyestone Fall 2017 的会员
USFT-EYESTONE-F17S4G6
4 名成员
创作了7篇指南