当前版本的文档还未经巡查,您可以查看最新的已查核版本。
你所需要的
-
-
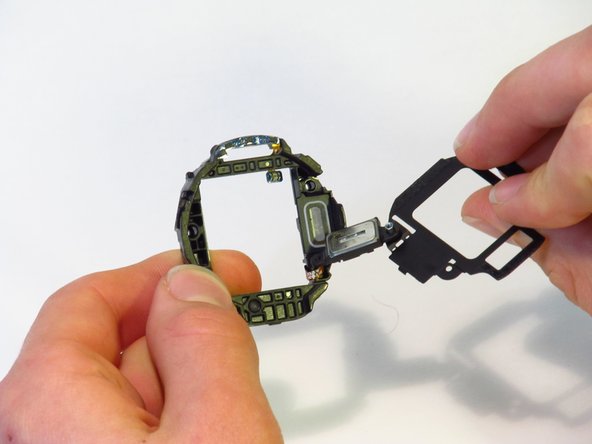
这个步骤还没有翻译 帮忙翻译一下
-
When reassembling, place the battery into the plastic assembly first. Don’t stick it to the adhesive first. This way, it’s easy to position the battery cable.
-
When securing the battery cable, make sure the hole that the peg goes through is round. The hole on your replacement battery’s cable could be malformed. You may want to widen the hole before securing the cable.
-
To widen the hole, use the Pro Tech Toolkit’s SIM tool, a small paperclip or similar fine-tipped tool. The tool can also be used to gently press the battery cable into the correct position. Do this carefully to avoid damage.
-
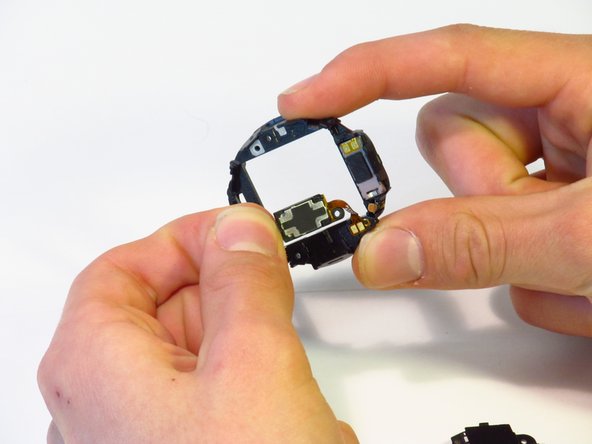
Follow steps 8-1 in reverse order to reassmble.
-


另外一个人完成了本指南。
团队

Cal Poly, Team S15-G2, White Fall 2018 Cal Poly, Team S15-G2, White Fall 2018 的会员
CPSU-WHITE-F18S15G2
4 名成员
创作了34篇指南
3条评论
For step 3, you should be able to also remove the rubber rectangle at the base of the back plate exposing that connector area… stick the spudger in there and lift off the back plate. I assume there may be a reason why you didn’t use this method.. but I just did and it opened the back part enough where I could separate the rest by hand.
Still, excellent tear down… it made my speaker repair that much easier!
i successfully accomplished the task, but did manage to damage the soft button while prying the mainboard from the frame. Be careful to pry on the upper layer of MB rather than deeper down towards the display face. i am now searching a way to replace this small button/ribbon, so my repaired watch will work properly again.