当前版本的文档还未经巡查,您可以查看最新的已查核版本。
-
-
-
-
-
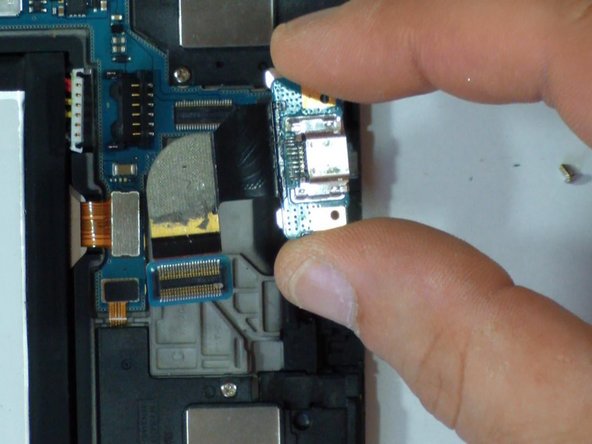
This step is only if you want to replace the micro USB port flex cable.
-
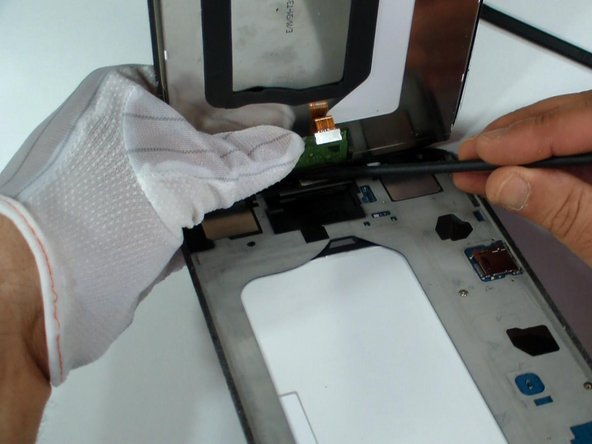
Remove the two screws and disconnect the charging port flex cable from the main board.
-
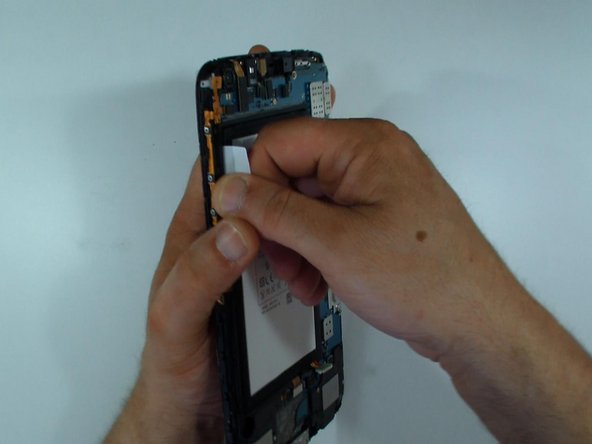
Use a plastic tool to unstick the flex cable from the middle frame.
-
-
-
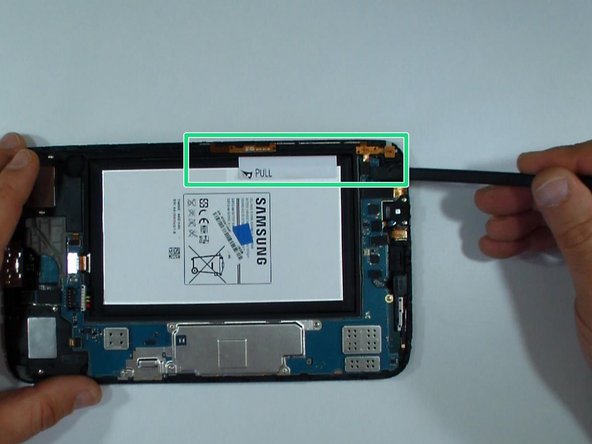
This step is for only if you want to change the battery.
-
The battery is stuck to the middle panel.
-
Use the white sticker to remove it.
-
-
-
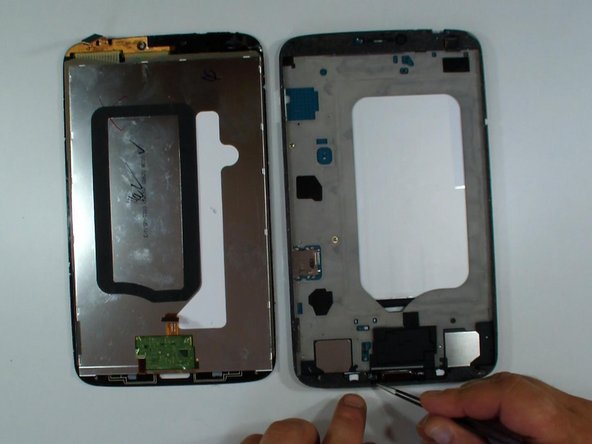
Front camera
-
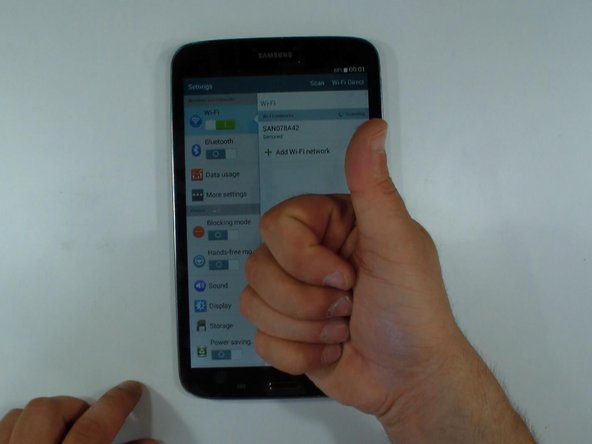
Wi-Fi antenna
-
-
-
-
-
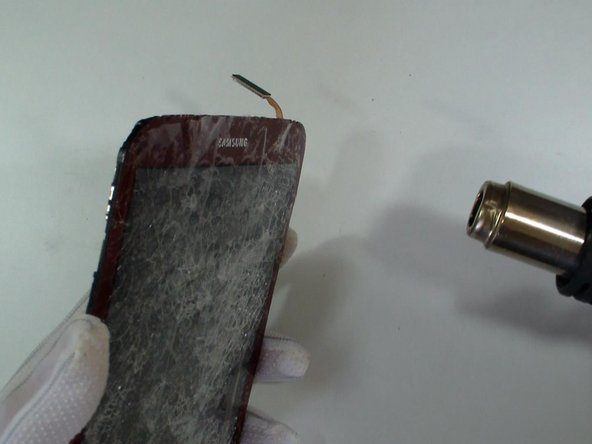
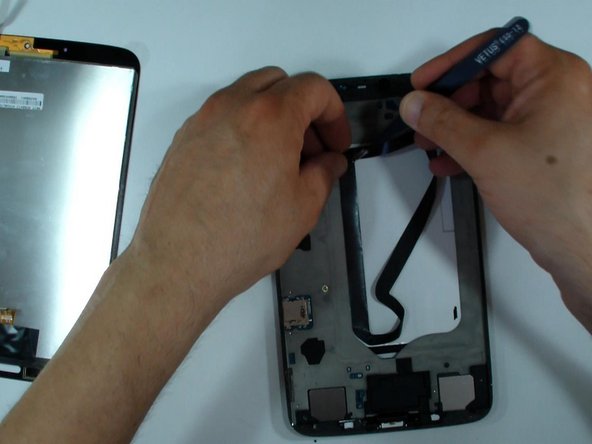
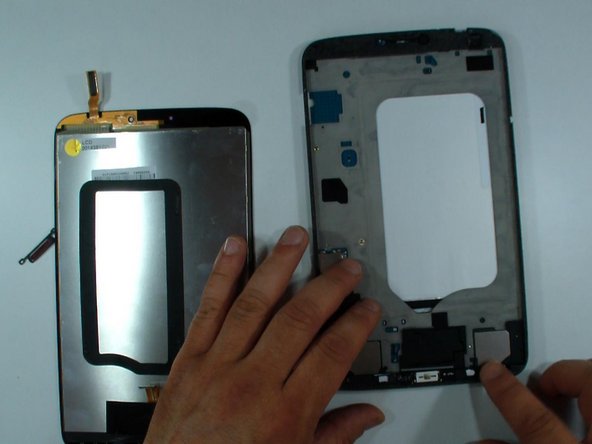
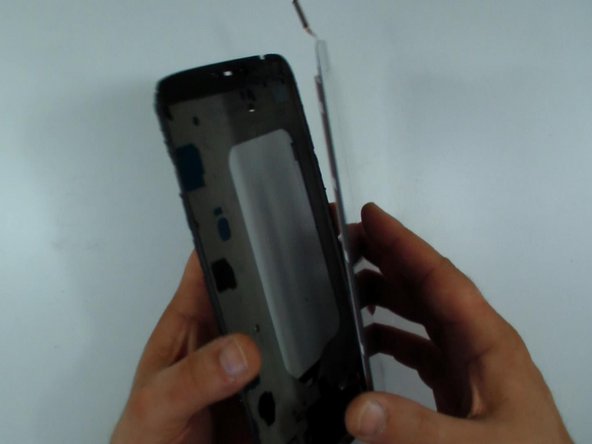
Transfer the black tape from the old display. It keeps the distance the display from the battery and protects it from overheat.
-
If the adhesive tape is not in good condition you must install a new one.
-
嵌入本指南
选择一个尺寸并复制下面的代码,将本指南作为一个小插件嵌入到你的网站/论坛中。
预览