跳转到主内容

当前版本的文档还未经巡查,您可以查看最新的已查核版本

已存档的指南
本指南只作为历史记录保留。请使用指南的最新版本来进行维修。

你所需要的

  1. 这个步骤还没有翻译 帮忙翻译一下

    : 步骤 1 中的图像 1,3 : 步骤 1 中的图像 2,3 : 步骤 1 中的图像 3,3
    • Peel off back of phone

  2. 这个步骤还没有翻译 帮忙翻译一下

    : 步骤 2 中的图像 1,3 : 步骤 2 中的图像 2,3 : 步骤 2 中的图像 3,3
    • Remove battery.

  3. 这个步骤还没有翻译 帮忙翻译一下

    : 步骤 3 中的图像 1,1
    • Remove all 8 screws

  4. 这个步骤还没有翻译 帮忙翻译一下

    : 步骤 4 中的图像 1,2 : 步骤 4 中的图像 2,2
    • Remove Speaker using a thin rigid plastic thing, starting from where the battery nail-hold is located.

  5. 这个步骤还没有翻译 帮忙翻译一下

    : 步骤 5 中的图像 1,3 : 步骤 5 中的图像 2,3 : 步骤 5 中的图像 3,3
    • Release clips on the outer rim

  6. 这个步骤还没有翻译 帮忙翻译一下

    : 步骤 6 中的图像 1,2 : 步骤 6 中的图像 2,2
    • Remove clip off of USB port with a flathead screwdriver.

  7. 这个步骤还没有翻译 帮忙翻译一下

    : 步骤 7 中的图像 1,2 : 步骤 7 中的图像 2,2
    • Use a platic knife or flathead srewdriver to gently unplug the cable.

  8. 这个步骤还没有翻译 帮忙翻译一下

    : 步骤 8 中的图像 1,2 : 步骤 8 中的图像 2,2
    • Use your flathead screwdrive to carefully detatch the Touch and Homescreen Flex cable

  9. 这个步骤还没有翻译 帮忙翻译一下

    : 步骤 9 中的图像 1,2 : 步骤 9 中的图像 2,2
    • Remove the cable

  10. 这个步骤还没有翻译 帮忙翻译一下

    : 步骤 10 中的图像 1,2 : 步骤 10 中的图像 2,2
    • Detach the flex cable

  11. 这个步骤还没有翻译 帮忙翻译一下

    : 步骤 11 中的图像 1,2 : 步骤 11 中的图像 2,2
    • Completely remove the flex cable

  12. 这个步骤还没有翻译 帮忙翻译一下

    : 步骤 12 中的图像 1,1
    • Remove the usb complete port

  13. 这个步骤还没有翻译 帮忙翻译一下

    : 步骤 13 中的图像 1,2 : 步骤 13 中的图像 2,2
    • Remove the 3G and GSM antenna cable from the motherboard.

  14. 这个步骤还没有翻译 帮忙翻译一下

    : 步骤 14 中的图像 1,2 : 步骤 14 中的图像 2,2
    • Lift ports from motherboard

  15. 这个步骤还没有翻译 帮忙翻译一下

    : 步骤 15 中的图像 1,2 : 步骤 15 中的图像 2,2
    • Detach this port from the motherboard

  16. 这个步骤还没有翻译 帮忙翻译一下

    : 步骤 16 中的图像 1,2 : 步骤 16 中的图像 2,2
    • Disconnect main screen cable

    • Don't forget to remove this screw.

  17. 这个步骤还没有翻译 帮忙翻译一下

    : 步骤 17 中的图像 1,1
    • Now you can take off the motherboard

终点

8等其他人完成本指南。

AhsAlexFerguson

于11/01/16注册

423 声望

撰写一个指南

2条评论

This sucked so baaaaaaad.

AhsAlexFerguson - 回复

I found it helpful, though you're right that it could use a lot of work.

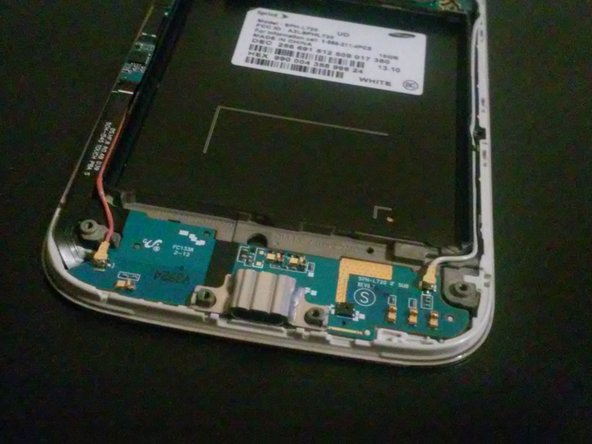
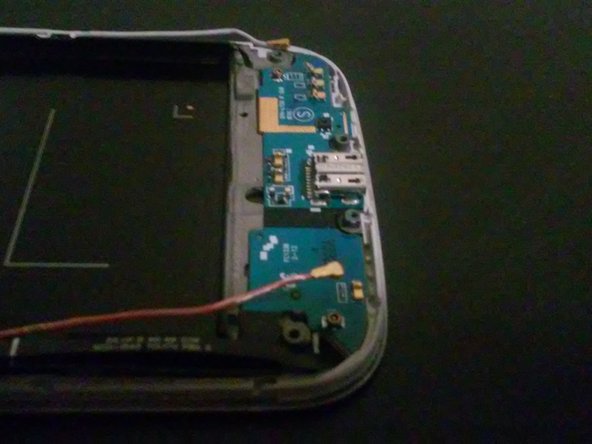
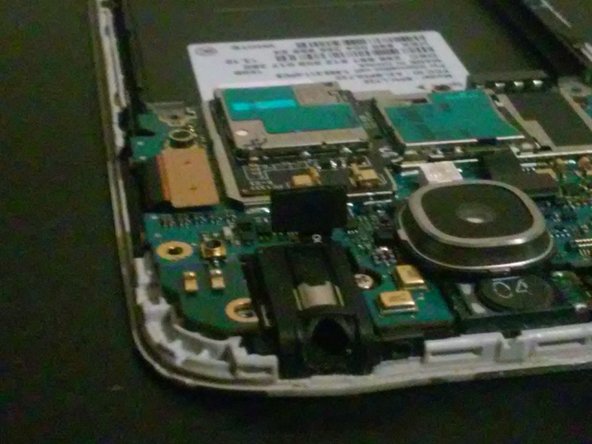
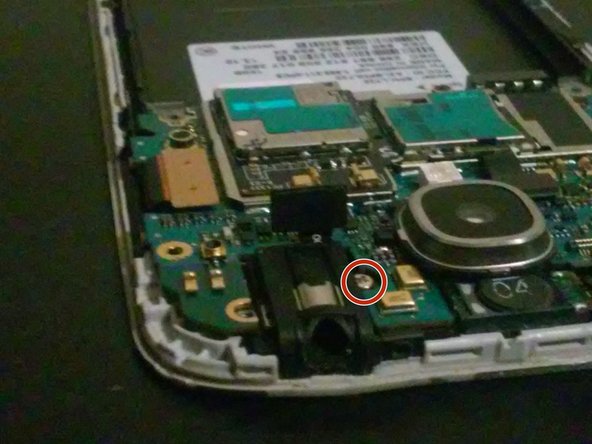
You neglected to mention a screw that holds the motherboard to the display assembly. It can be found to the lower right of the headphone jack and should be removed immediately prior to step 17.

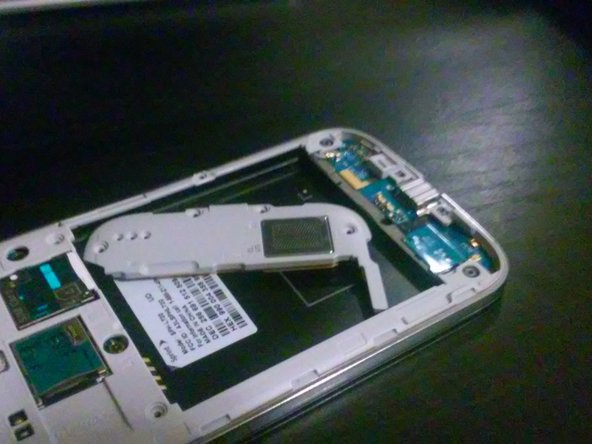
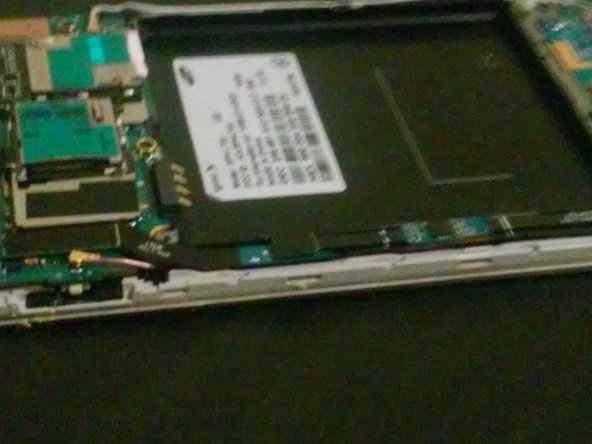
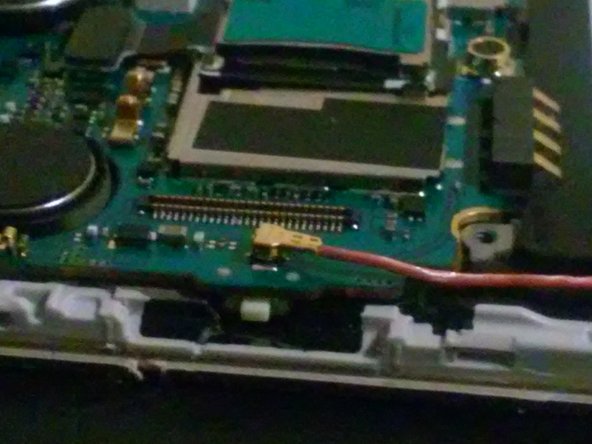
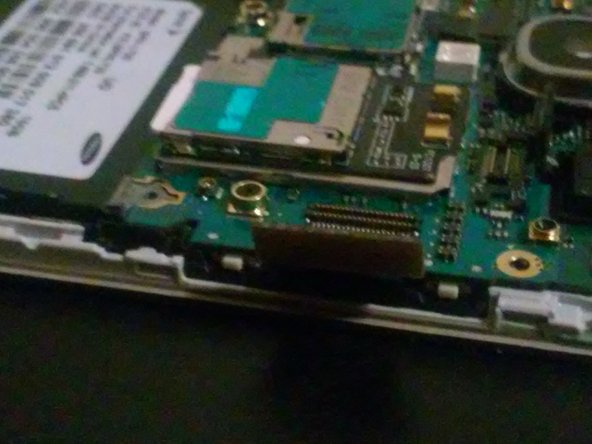
To others who may come along, the USB/daughterboard assembly is affixed to the display chassis with mild adhesive. The daughterboard is VERY flexible and should be removed with caution. I used the flat end of a spudger to gently pry the board up from the chassis by going underneath the cabling on the lefthand side.

Thanks!

E West -

添加评论

浏览统计数据:

过去 24 小时: 0

过去 7 天: 0

过去 30 天: 12

总计 3,198