当前版本的文档还未经巡查,您可以查看最新的已查核版本。
你所需要的


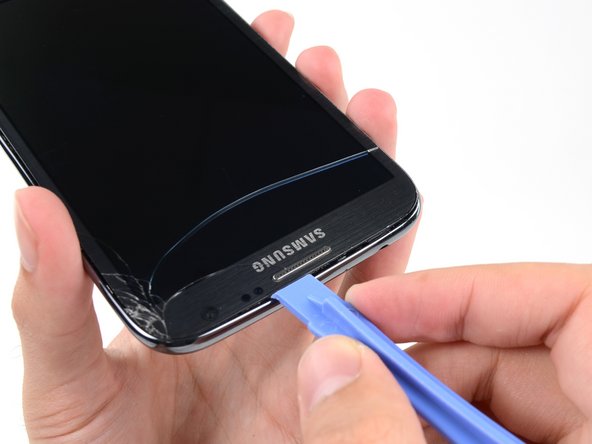


即将完成!
终点
9等其他人完成本指南。


一条评论
This is an awesome guide! Cheers Sam. I have never done any electrical fixes before so I was a phone fixing virgin. I bought both the tools and the speaker for £5.80 on ebay, followed your guide carefully and had no problems. It was an easy process. Thanks to the confidence I had in your guide I didn’t have to go and buy a new phone so you saved me the £180 I thought I was going to have to spend!
Cheers, Nick (UK)