Prepare an iOpener and heat the display along the left edge for about two minutes.
You may need to reheat and reapply the iOpener several times to get the phone warm enough. Follow the iOpener instructions to avoid overheating.
A hair dryer, heat gun, or hot plate may also be used, but be careful not to overheat the phone—the display and internal battery are both susceptible to heat damage.
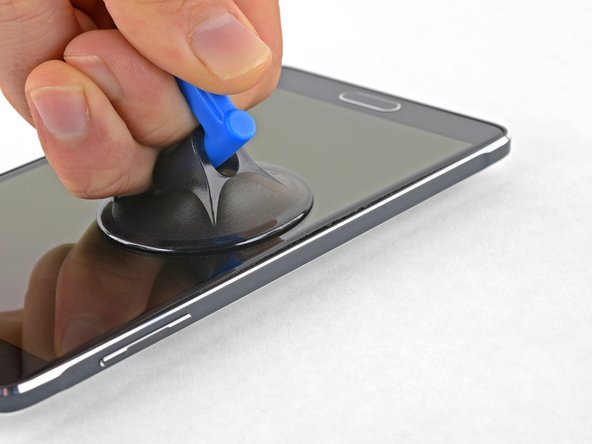
Once the screen is warm to the touch, apply a suction cup as close to the heated edge of the phone as you can.
If your display is badly cracked, the suction cup may not stick. Try lifting the display with strong tape, or superglue the suction cup in place and allow it to cure so you can proceed.
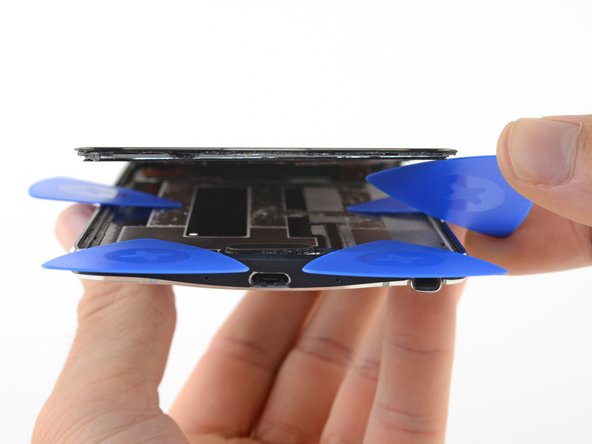
Lift on the suction cup, and insert an opening pick under the display assembly.
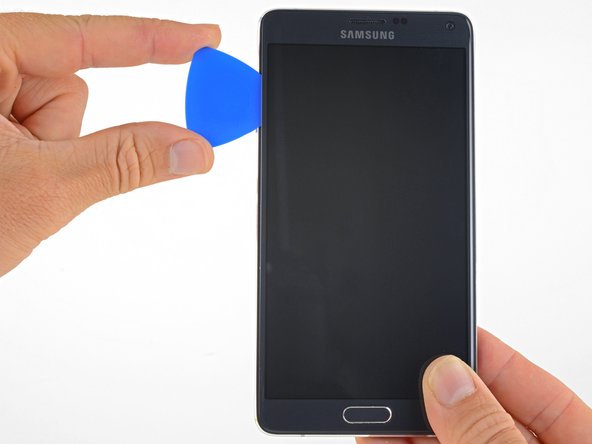
Apply a heated iOpener to the bottom of the phone.
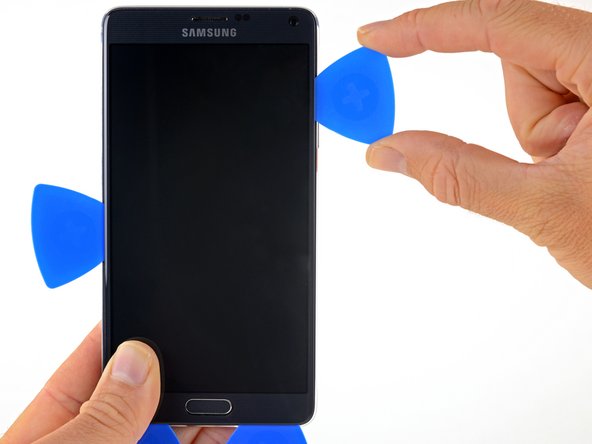
Slide an opening pick along the bottom of the phone.
Only insert the pick about 0.25 inches (6 mm) to avoid damage to the home button or either of the delicate capacitive buttons at the bottom of the phone.
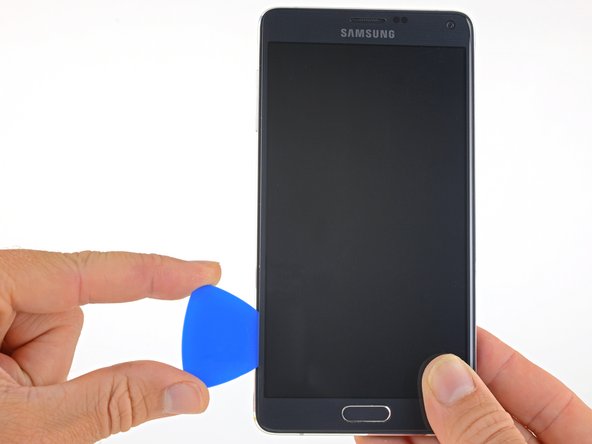
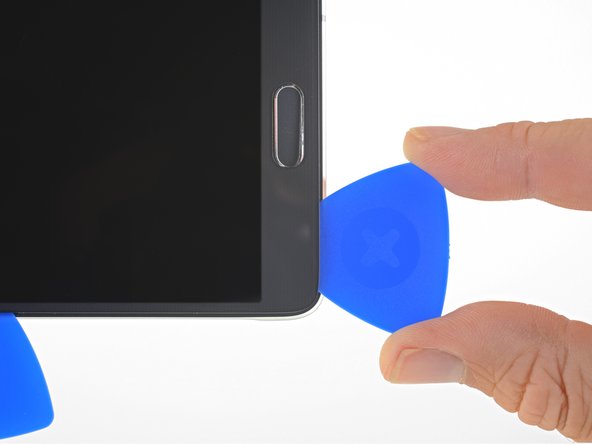
Insert an opening pick 0.5 inches (12.5mm) into the left side of the bottom edge of the phone.
Push the pick in slowly and gently to avoid tearing the delicate capacitive button ribbon cable underneath the display. Reapply an iOpener if it's difficult to insert the pick.
Once the pick has cut through the adhesive, leave it in place to prevent the adhesive from resealing.
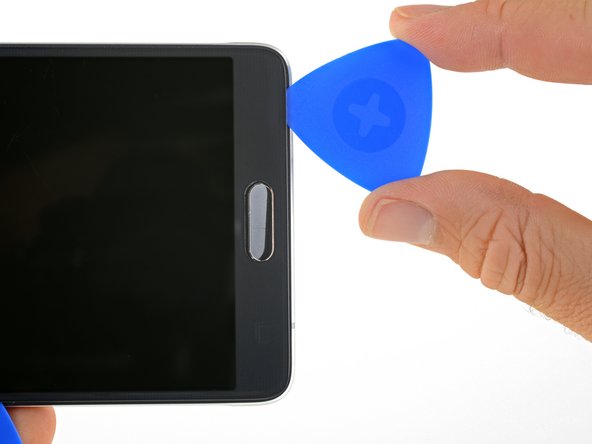
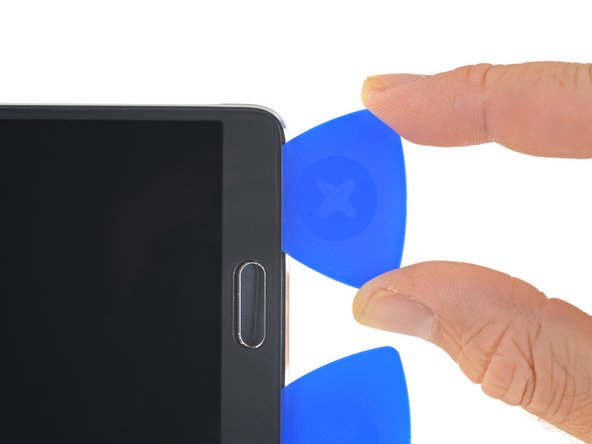
Insert an opening pick 0.5 inches (12.5mm) into the right side of the bottom edge of the phone.
Push the pick in slowly and gently to avoid tearing the delicate capacitive button ribbon cable underneath the display. Reapply an iOpener if it's difficult to insert the pick.
Once the pick has cut through the adhesive, leave it in place to prevent the adhesive from resealing.
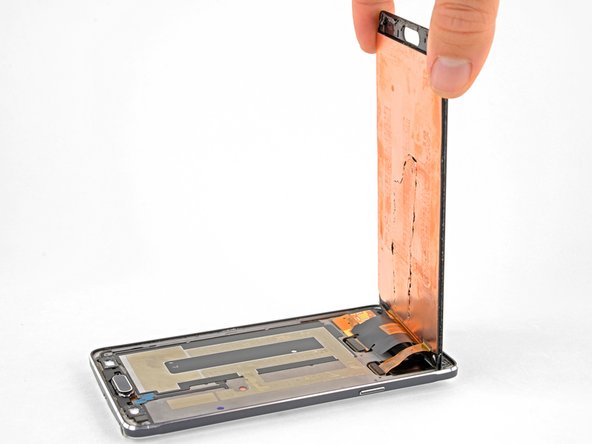
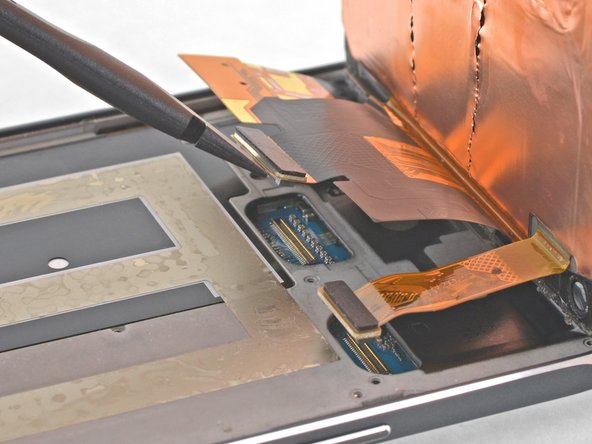
Gently slide an opening pick under the top edge of the display to separate the adhesive underneath.
Only insert the pick about 0.25 inches (6 mm) under the display.
Don't pry too aggressively or you may damage the front-facing sensors and speaker assembly. You can come back to finish separating this section after the rest of the display is loose.
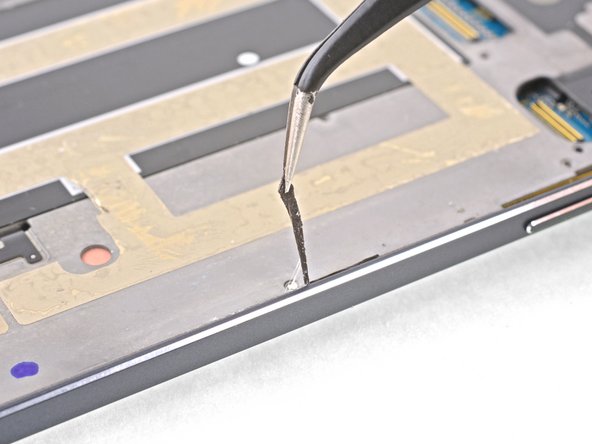
Before installing a new display, it's very important to remove all traces of the old adhesive from the frame, while taking special care to remove any small glass fragments.
After removing all traces of glue and glass from the frame, clean the adhesion areas with 90% (or higher) isopropyl alcohol and a lint-free cloth or coffee filter. Swipe in one direction only, not back and forth.
If the frame is bent, or if any glue or glass remnants are left behind, the new display will not mount correctly and may be damaged.
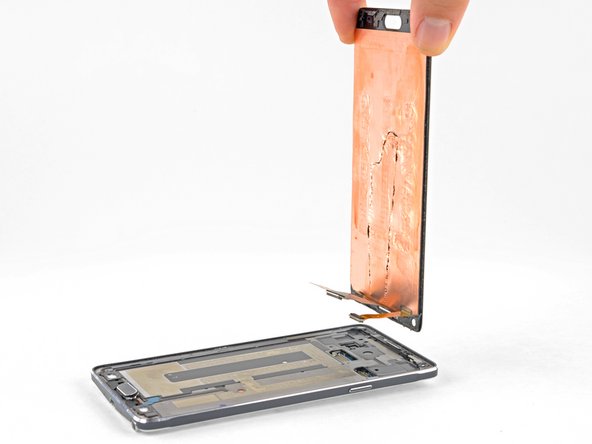
The best way to secure the new screen is with a sheet of custom-cut double-sided tape. Apply the tape to the back of the screen, then carefully feed the display cable through the frame. Align the screen and press it into place.
Merci, en prenant bien le temps et avec les outils ça la fait. Une bouillotte a la place du Iopenit mais le pack Pro Teck Toolkit est suffisant pour cette ouvrage. c'est clairement pas une course, j'étais pas loin des 2 heures mais j'ai récupéré un bon écran sur un tel hs pour remplacer l'écran cassé de mon vieux Note 4. il a reprit vie comme en 2019...J'ai encore du mal a le croire. Merci beaucoup, je n'aurai pas osé me lancer sans ce tuto. ps:la parti recollage manque de détails et de photos selon moi