跳转到主内容

Samsung Galaxy J3 (2016) LCD Replacement

已存档的指南
本指南只作为历史记录保留。请使用指南的最新版本来进行维修。

你所需要的

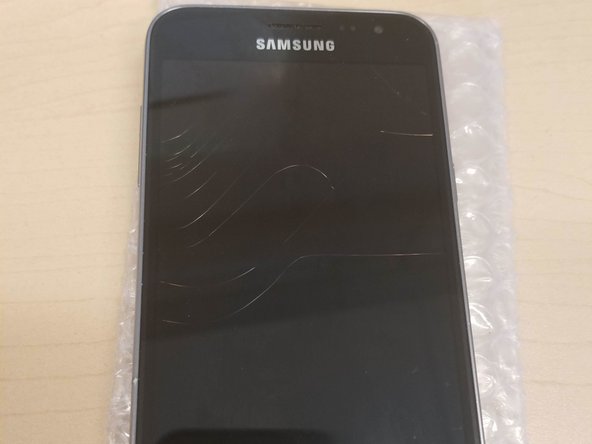
  1. Samsung Galaxy J3 (2016) LCD Replacement, Prepping the device: 步骤 1 中的图像 1,1
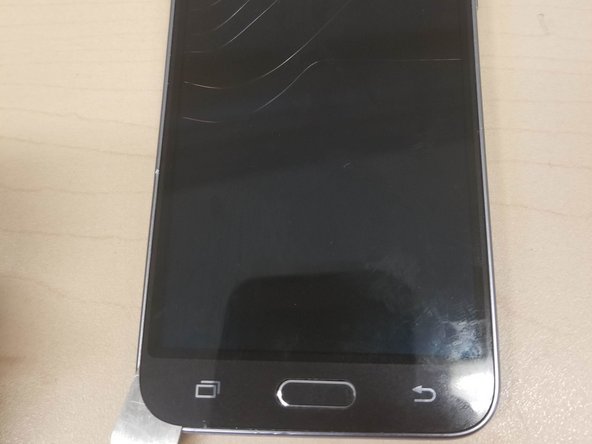
    • It's always good practice to prepare the device before any repairs

    • If the glass is broken or craked I suggest adding tape on the surface in order to prevent risks

    • This device, the glass was fine but the LCD has craked due to unfortunate Flex.

  2. Samsung Galaxy J3 (2016) LCD Replacement, Removing the back cover: 步骤 2 中的图像 1,2 Samsung Galaxy J3 (2016) LCD Replacement, Removing the back cover: 步骤 2 中的图像 2,2
    • In order to remove the back cover. Flip the device around and lift the back cover by the little slit on the upper left side

  3. Samsung Galaxy J3 (2016) LCD Replacement, Removing the Battery: 步骤 3 中的图像 1,2 Samsung Galaxy J3 (2016) LCD Replacement, Removing the Battery: 步骤 3 中的图像 2,2
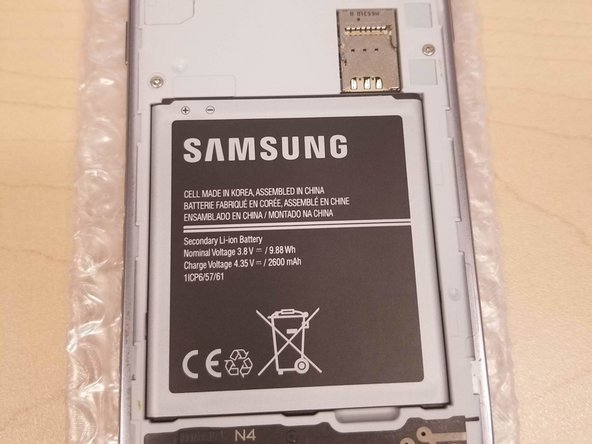
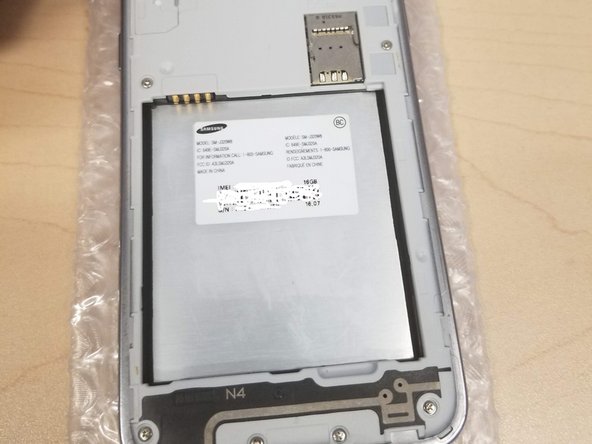
    • An unfortunately rare sight nowadays of a removable battery. Remove it by lifting from the lower right corner when there is a little notch

  4. Samsung Galaxy J3 (2016) LCD Replacement, Remove SIM & SD (optional): 步骤 4 中的图像 1,1
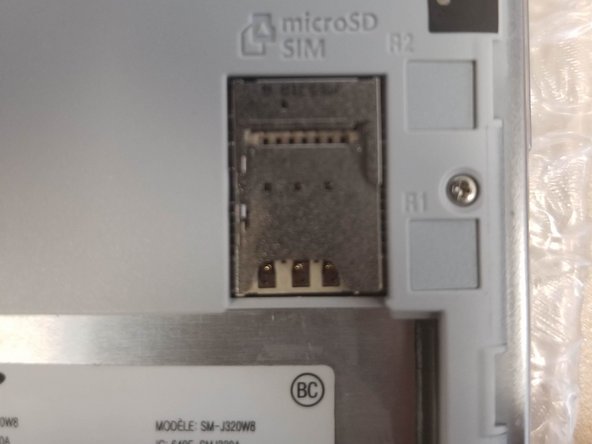
    • This is optional as the cards will not interfere with the replacement.

    • Since the device will be subjet to massive heat. I would still recommand to remove them (just in case)

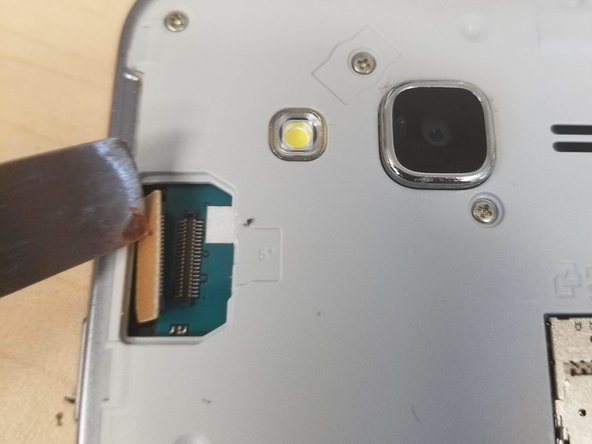
  5. Samsung Galaxy J3 (2016) LCD Replacement, Detaching the LCD connection: 步骤 5 中的图像 1,2 Samsung Galaxy J3 (2016) LCD Replacement, Detaching the LCD connection: 步骤 5 中的图像 2,2
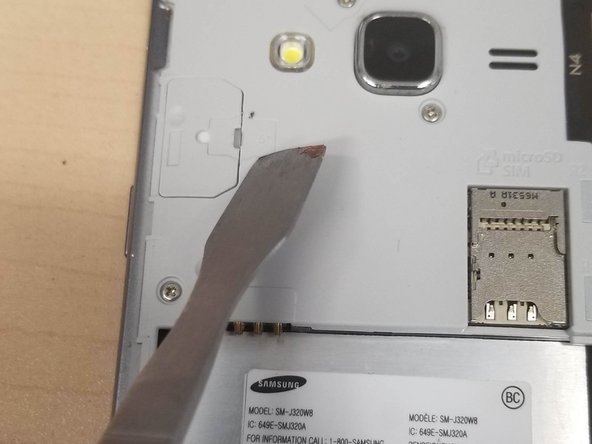
    • The LCD ribbon is very easy to access. Just pop that little door open and you will have access to it.

    • Like always with such device, be careful not to force anything out. You will damage the board if the connector is uncorrectly detached.

    • You can see the water damage indicator there (the white square)

    • There is a another one inside the cover that protect that zone.

  6. Samsung Galaxy J3 (2016) LCD Replacement, Removing the LCD: 步骤 6 中的图像 1,2 Samsung Galaxy J3 (2016) LCD Replacement, Removing the LCD: 步骤 6 中的图像 2,2
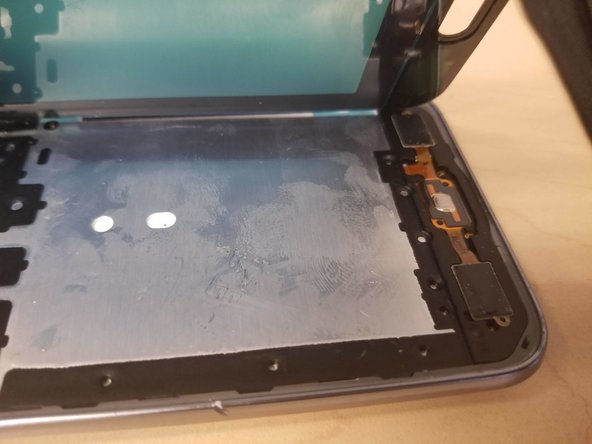
    • Heat with a heatgun the surrounding of the device. Be careful there are very fragile ribbons hidden away.

    • I suggest starting from the bottom corner and lift the heated glass with a pry tool.

    • It is better to go from left to right as the main LCD ribbon is located on the right top corner

    • I strongly suggest NOT using metal tools (like pictured) as it cut thru the digitizer ribbon when I was around the left top corner

  7. Samsung Galaxy J3 (2016) LCD Replacement, Removing the LCD (2): 步骤 7 中的图像 1,1
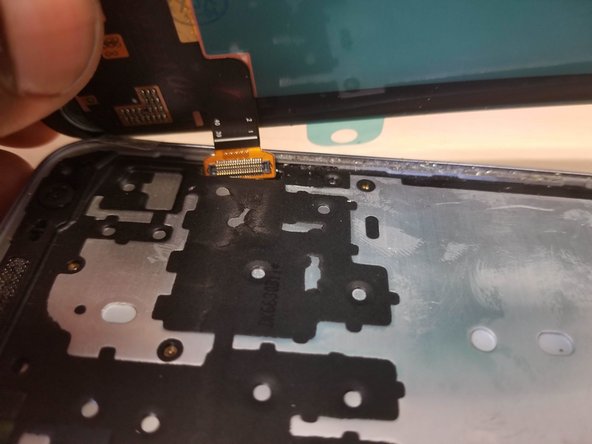
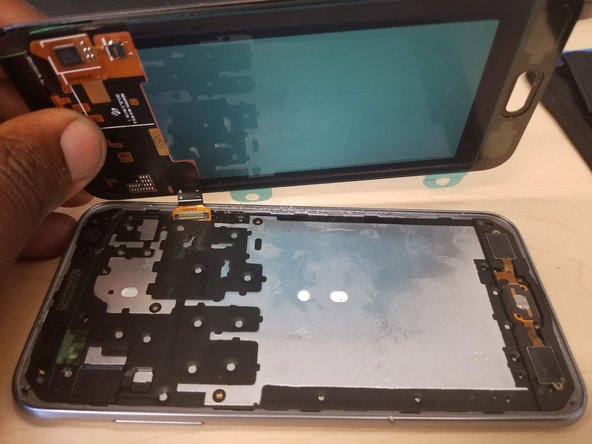
    • You can now detach the assembly from the body by passing thru the connector on the designed whole on the side.

    • The LCD is held by a VERY strong adhesive. Be careful when handling that part.

  8. Samsung Galaxy J3 (2016) LCD Replacement, Placing the new screen: 步骤 8 中的图像 1,3 Samsung Galaxy J3 (2016) LCD Replacement, Placing the new screen: 步骤 8 中的图像 2,3 Samsung Galaxy J3 (2016) LCD Replacement, Placing the new screen: 步骤 8 中的图像 3,3
    • As the reverse of the last step slide the connector in the designed slit.

    • Be careful to make a test fit before adding any adhesive

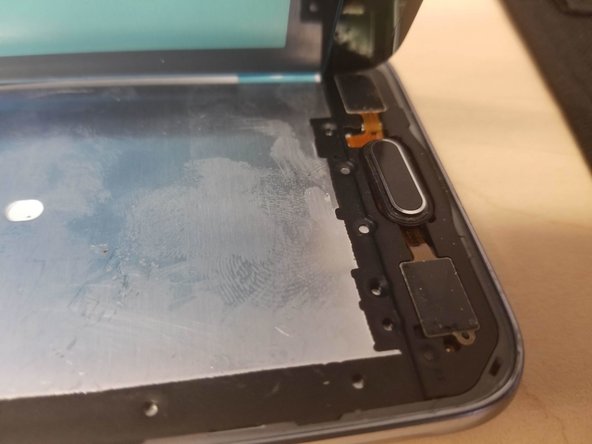
    • Don't forget to add or align the center key before closing down anything

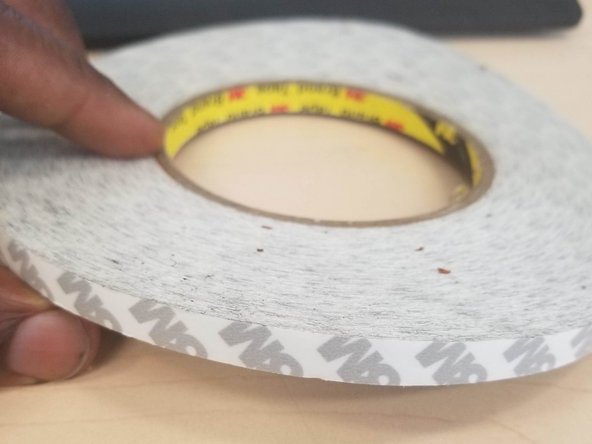
    • Once placed I suggest adding additional adhesive on the center place to further secure the screen.

  9. Samsung Galaxy J3 (2016) LCD Replacement, Done !: 步骤 9 中的图像 1,1
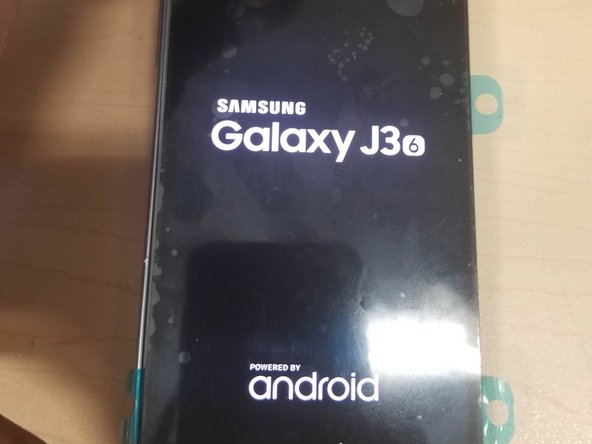
    • After re-attaching the LCD. Test the device by powering it back up.

结论

Enjoy your newly repaired device!

另外一个人完成了本指南。
Hans

于10/20/14注册

1,920 声望

创作了6篇指南

团队

Mero IT Services Mero IT Services 的会员

Business

1 名成员

创作了6篇指南

0条评论

添加评论

浏览统计数据:

过去 24 小时: 0

过去 7 天: 0

过去 30 天: 0

总计 54