本指南有最近更改,您可查看未经巡查的最新版本。
简介
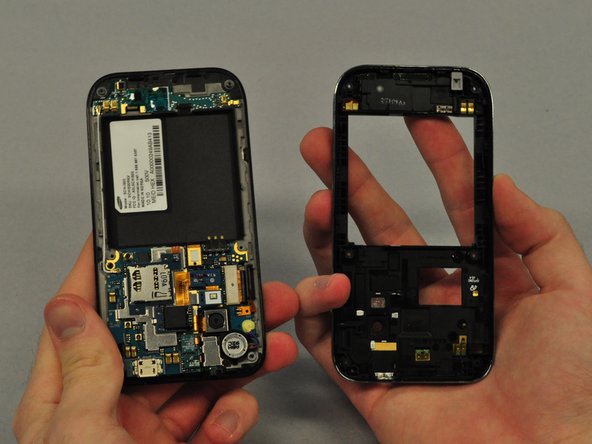
This guide will show you how to get access to the motherboard of the Samsung Galaxy S so that you can remove and/or replace it.
你所需要的
-
-
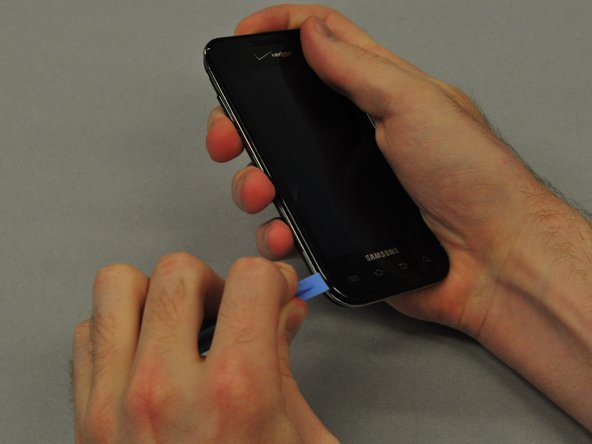
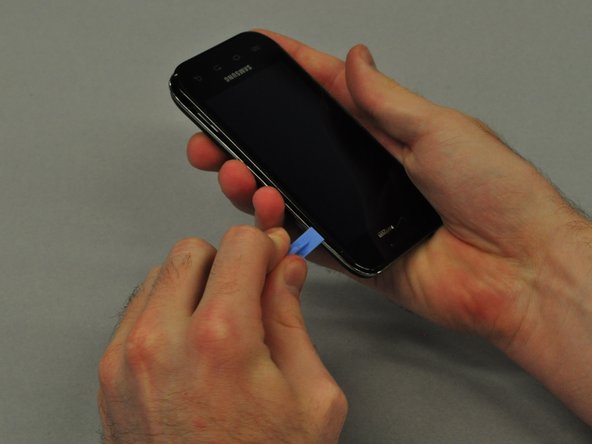
To remove the back case of the Samsung Galaxy S, you may need a spudger.
-
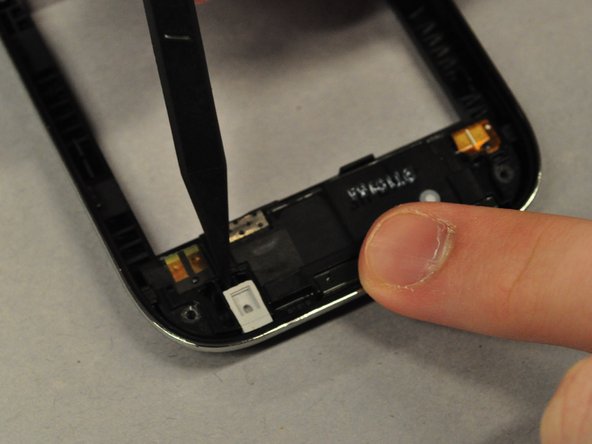
Identify the slit which is at the bottom edge of the phone.
-
-
-
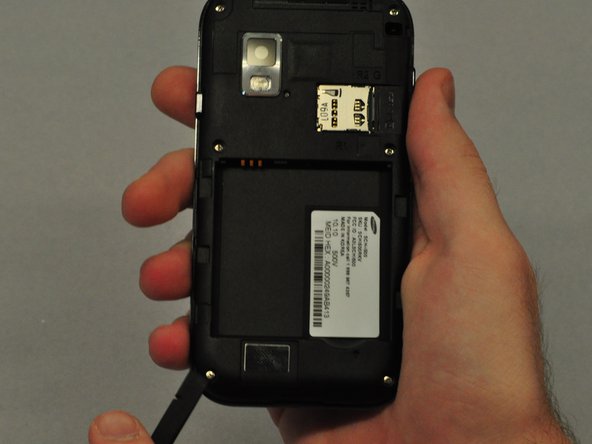
Insert the spudger into the space between the battery and the phone and pry the battery out as you slide it along the underside the battery.
-
-
-
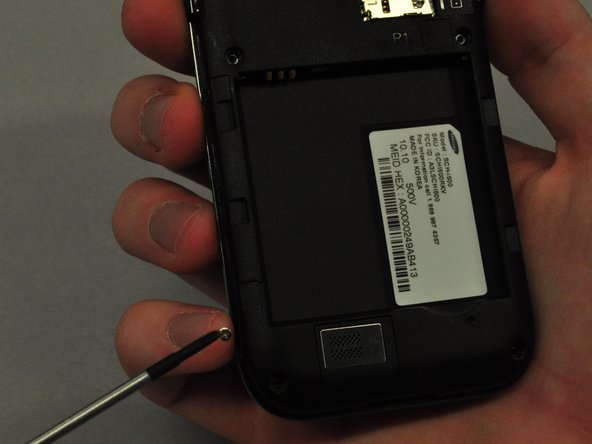
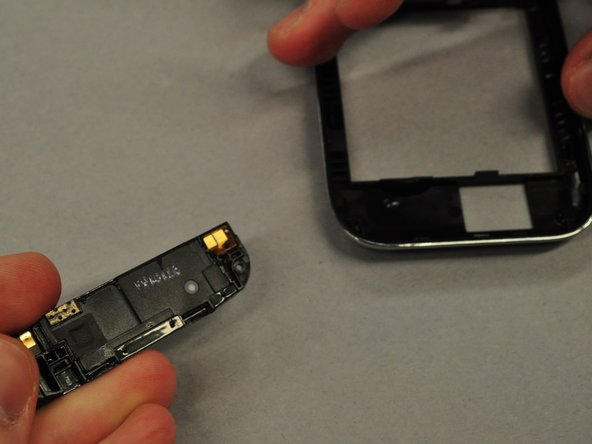
Use the screwdriver to unscrew each of the 6 silver screws holding the main case to the LCD touchscreen.
-
If the screws are stuck, use the spudger to pry them out.
-
-
-
-
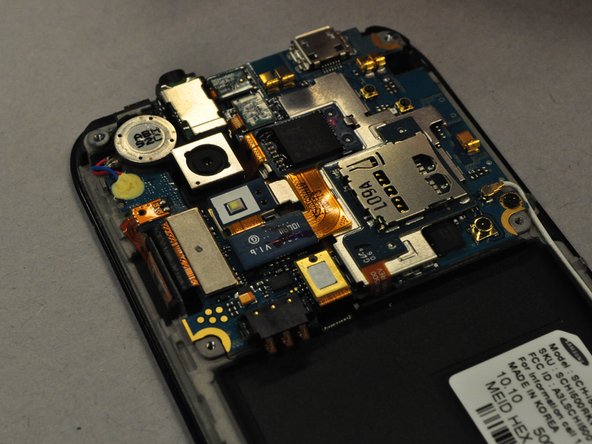
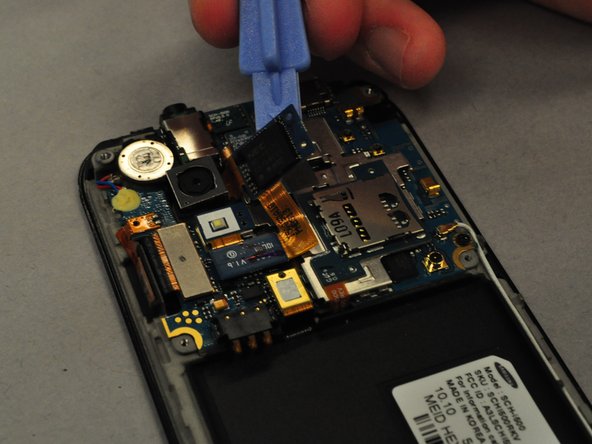
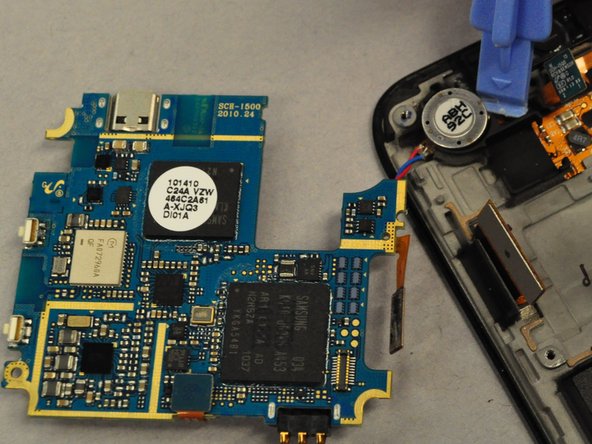
Using the plastic opening tool, you will need to detach the black square component which is boxed in blue.
-
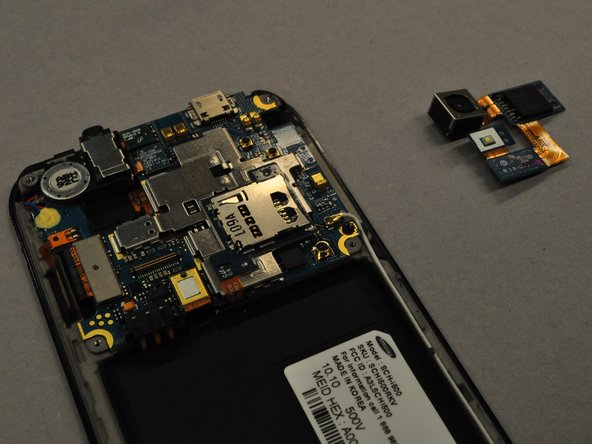
Pry camera unit attached to it off the motherboard.
-
-
-
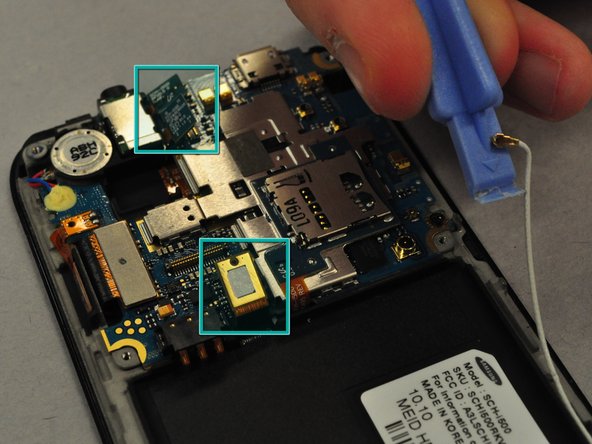
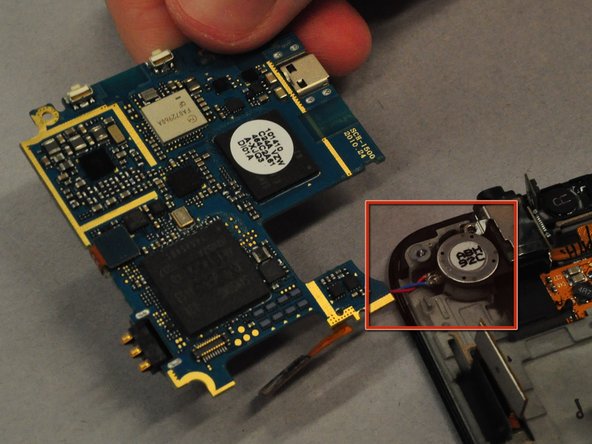
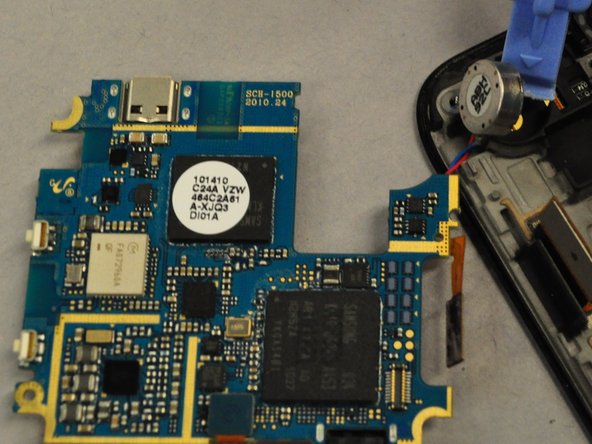
Use the plastic opening tool to disconnect the white wire boxed in red.
-
Carefully disconnect the green and golden boxed components from the motherboard.
-


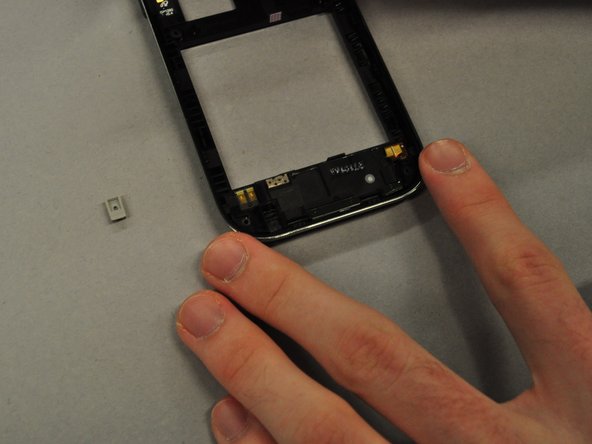


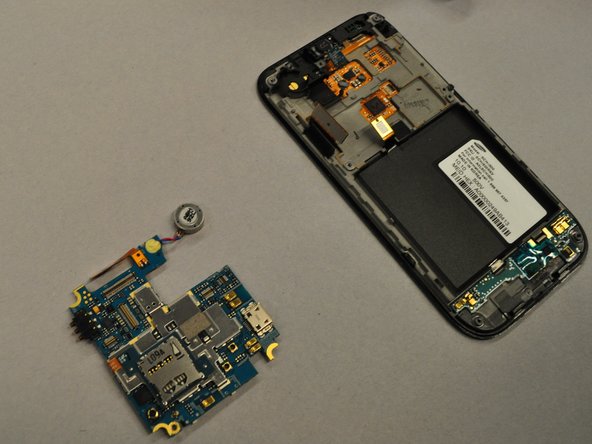
To reassemble your device, follow these instructions in reverse order.
To reassemble your device, follow these instructions in reverse order.
2等其他人完成本指南。
团队

Cal Poly, Team 25-25, Garner Spring 2011 Cal Poly, Team 25-25, Garner Spring 2011 的会员
CPSU-GARNER-S11S25G25
4 名成员
创作了6篇指南