本指南有最近更改,您可查看未经巡查的最新版本。
简介
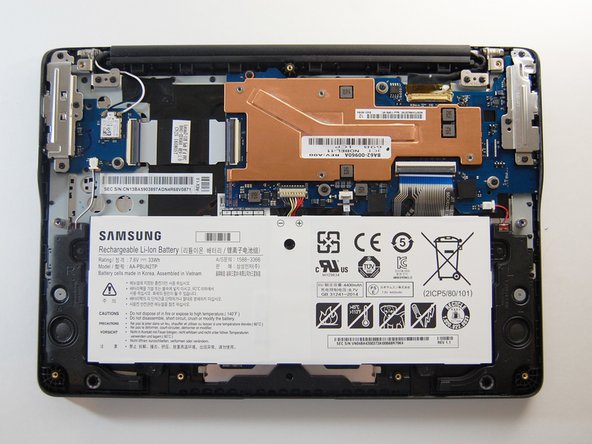
This guide will illustrate a step by step process to replace the display on the Samsung Chromebook 3 XE500C13-K02US. You will need to remove the bottom case and battery prior to replacing the display.
你所需要的
-
-
Place the laptop back cover facing up to expose the screws.
-
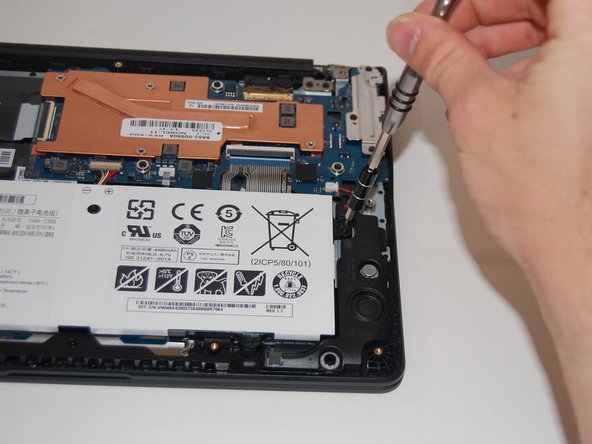
Using a Phillips #00 screwdriver, remove nine 4.6mm screws from the back casing.
-
-
-
-
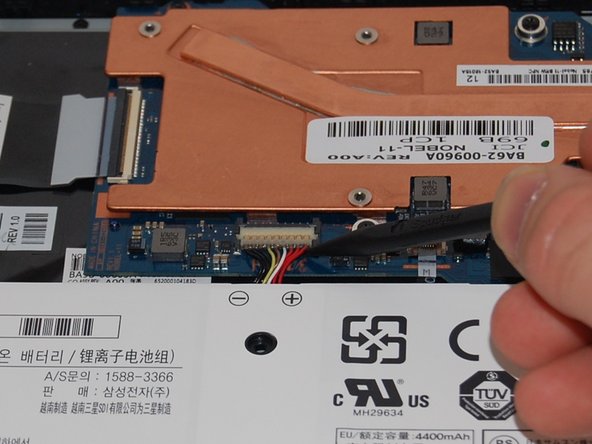
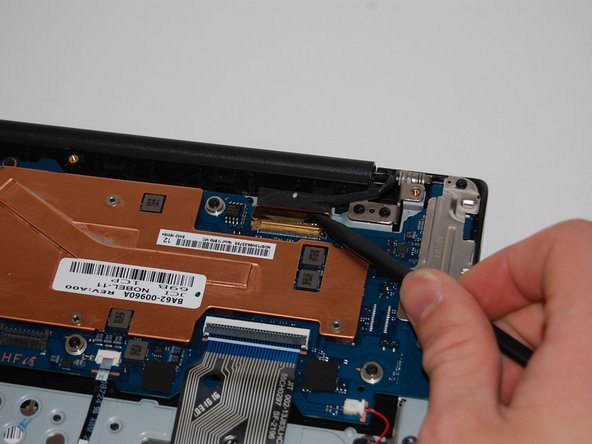
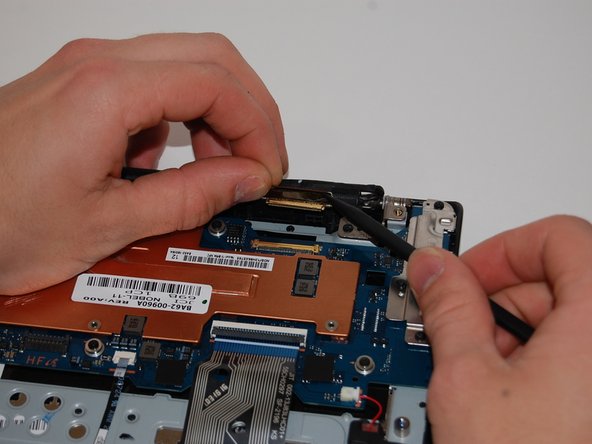
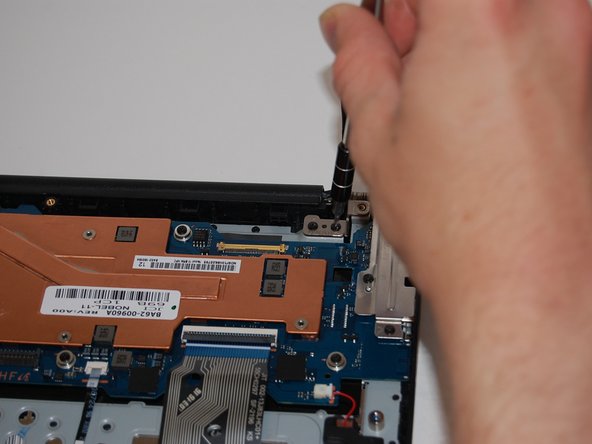
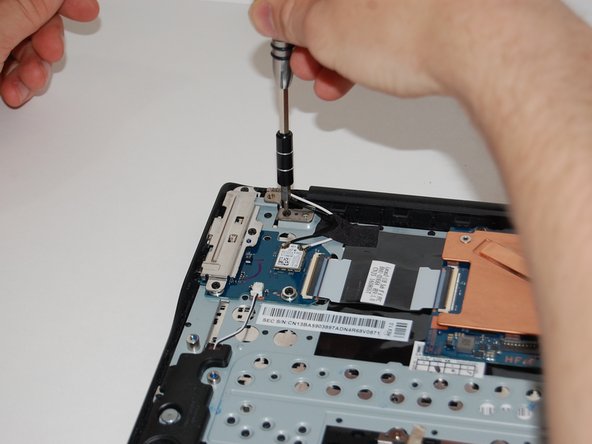
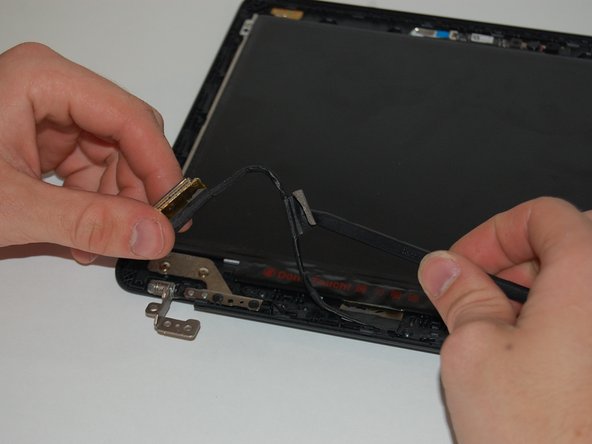
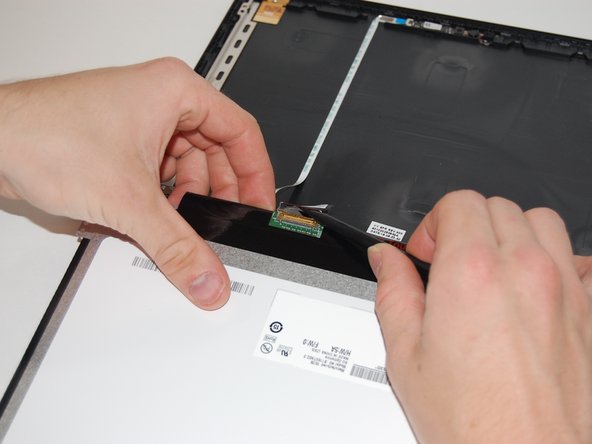
Use the spudger to lift the hinge locking the gold colored display cable in place.
-
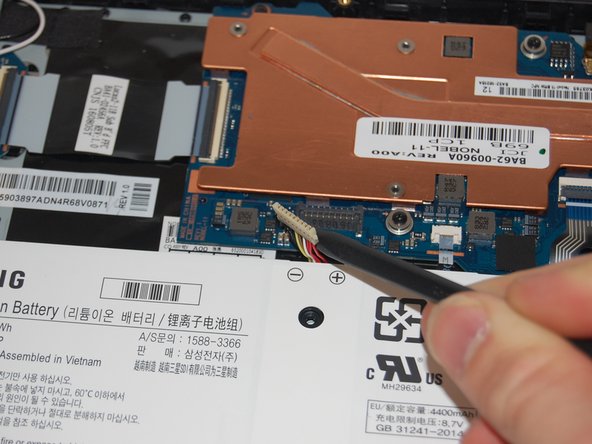
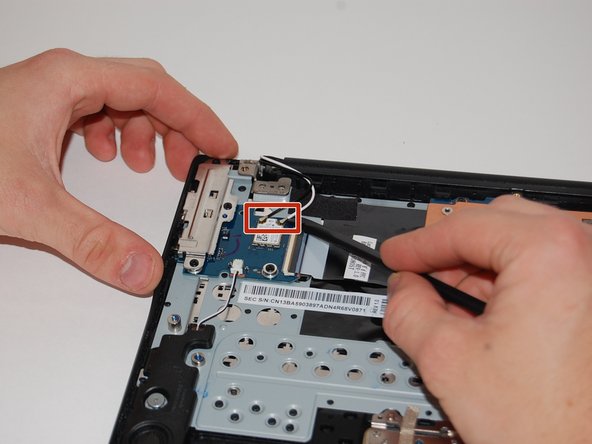
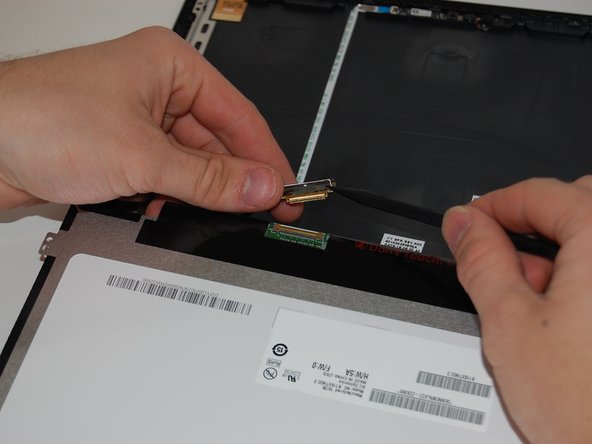
Slide the cable out to remove it from the motherboard.
-


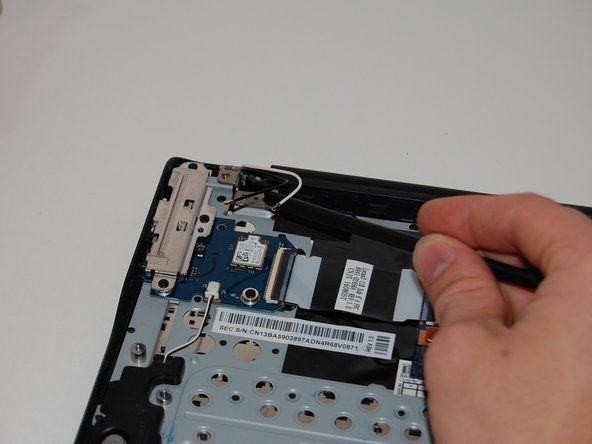


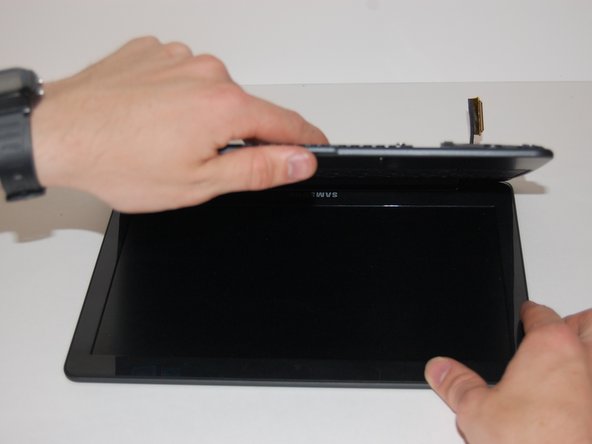


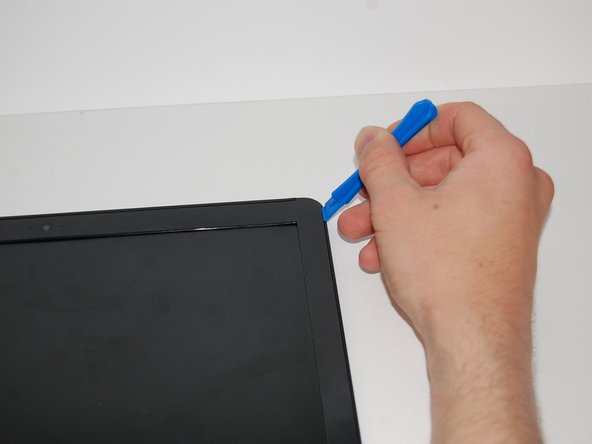


To reassemble your device, follow these instructions in reverse order.
To reassemble your device, follow these instructions in reverse order.
8等其他人完成本指南。
团队

University of Memphis, Team S1-G24, Kim Spring 2019 University of Memphis, Team S1-G24, Kim Spring 2019 的会员
UM-KIM-S19S1G24
3 名成员
创作了6篇指南
4条评论
It was more challenging than I thought. Reconnecting the antenna wires wasn’t easy. I needed better vision and dexterity to find it easier. Don’t forget to reuse the adhesive tape or you may be disappointed.
Great guide!
Very accurate!
Just to confirm. You have to tear apart the bottom just to replace the led screen? Can't just remove the bezel?
Xe501c13-k02us