跳转到主内容

Samsung Chromebook 3 Motherboard Replacement

你所需要的

  1. Samsung Chromebook 3 Motherboard Replacement, Bottom Case: 步骤 1 中的图像 1,2 Samsung Chromebook 3 Motherboard Replacement, Bottom Case: 步骤 1 中的图像 2,2
    • Place the Chromebook face down so that the bottom case is exposed.

    • Using a Phillips #00 screwdriver, remove nine 4.6mm screws from the back casing.

  2. Samsung Chromebook 3 Motherboard Replacement: 步骤 2 中的图像 1,3 Samsung Chromebook 3 Motherboard Replacement: 步骤 2 中的图像 2,3 Samsung Chromebook 3 Motherboard Replacement: 步骤 2 中的图像 3,3
    • Use a iFixit opening tool to gently pry the case up from the vent on the hinge side of the Chromebook.

    • You should hear a popping sound as the connectors disengage inside the case.

  3. Samsung Chromebook 3 Motherboard Replacement: 步骤 3 中的图像 1,1
    • Lift the case up and off the device

  4. Samsung Chromebook 3 Motherboard Replacement, Battery: 步骤 4 中的图像 1,2 Samsung Chromebook 3 Motherboard Replacement, Battery: 步骤 4 中的图像 2,2
    • Locate the battery and remove the four 4.6mm screws at the corners which attach it to case using a Phillips #00 screwdriver.

  5. Samsung Chromebook 3 Motherboard Replacement: 步骤 5 中的图像 1,2 Samsung Chromebook 3 Motherboard Replacement: 步骤 5 中的图像 2,2
    • Use a spudger to gently pry the power cable cord upwards from the motherboard.

  6. Samsung Chromebook 3 Motherboard Replacement: 步骤 6 中的图像 1,1
    • Lift the battery up and out from the case.

  7. Samsung Chromebook 3 Motherboard Replacement, Motherboard: 步骤 7 中的图像 1,3 Samsung Chromebook 3 Motherboard Replacement, Motherboard: 步骤 7 中的图像 2,3 Samsung Chromebook 3 Motherboard Replacement, Motherboard: 步骤 7 中的图像 3,3
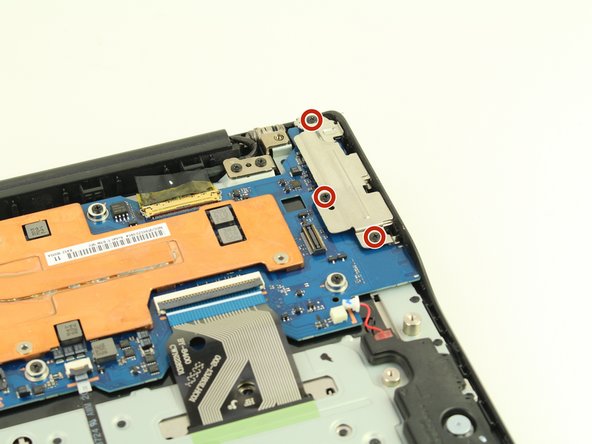
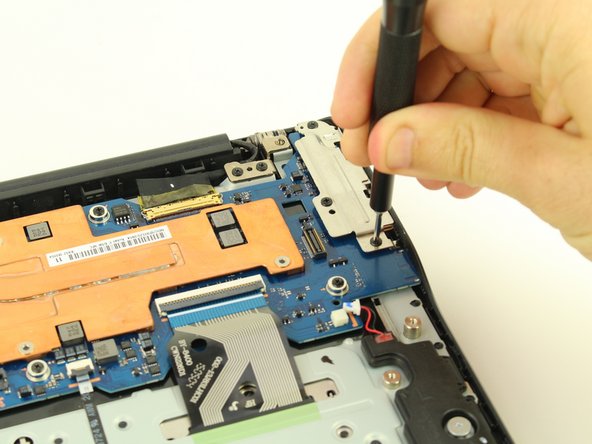
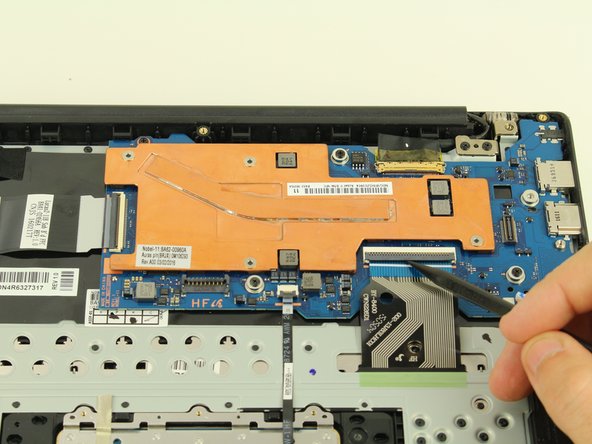
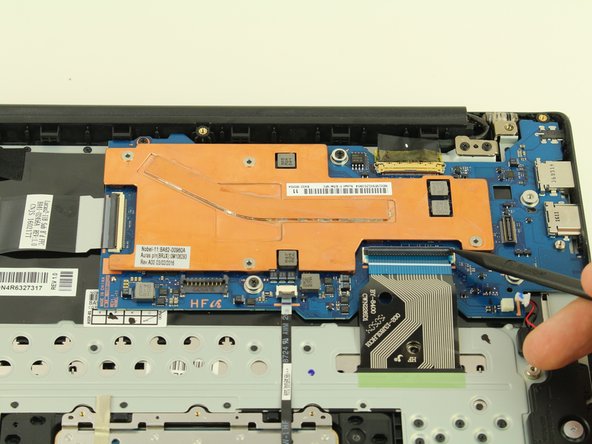
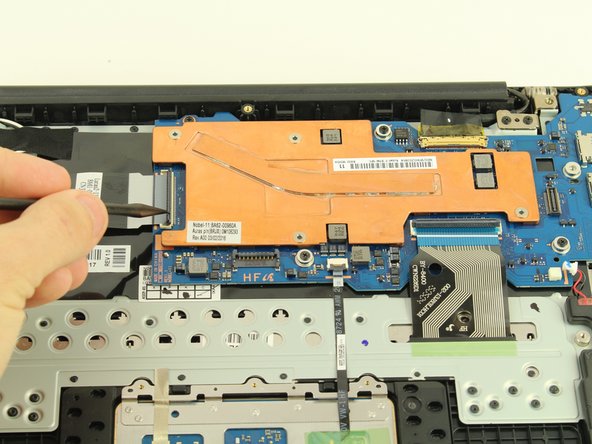
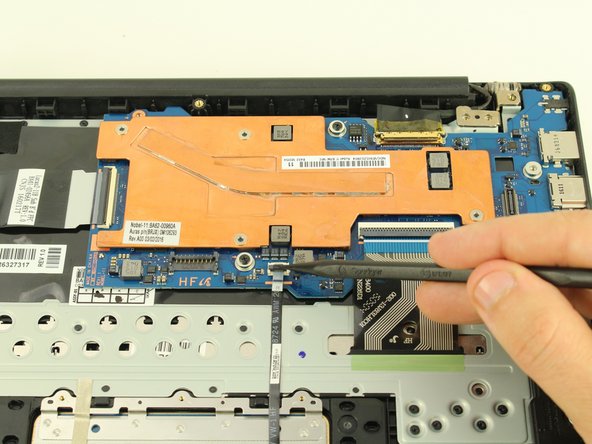
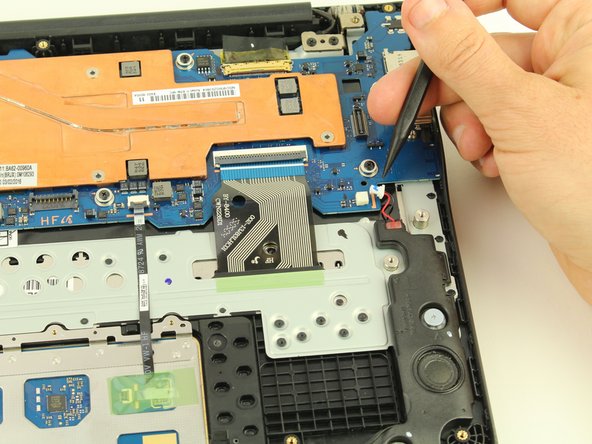
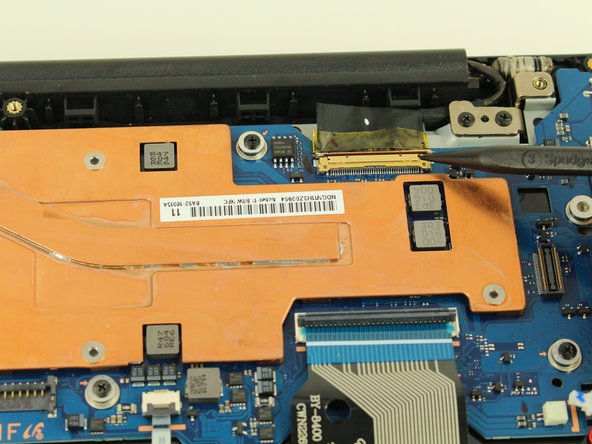
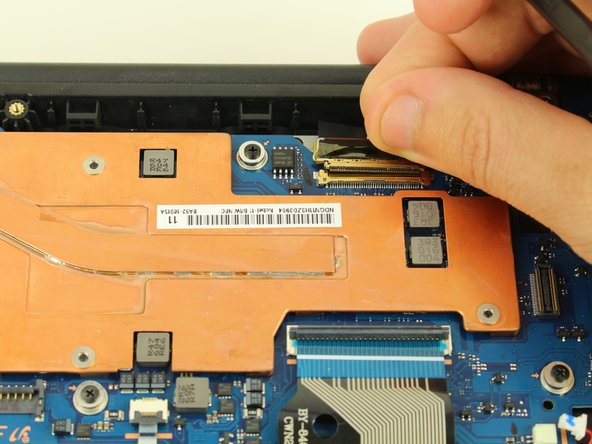
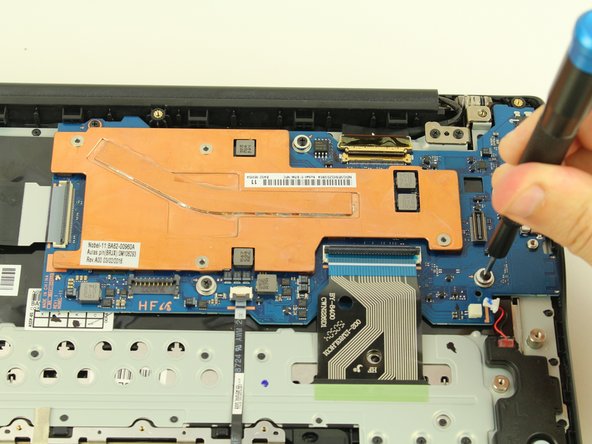
    • Before you can get to the motherboard, remove the three 4.6mm screws from the port cover using a Phillips #00 screwdriver.

  8. Samsung Chromebook 3 Motherboard Replacement: 步骤 8 中的图像 1,3 Samsung Chromebook 3 Motherboard Replacement: 步骤 8 中的图像 2,3 Samsung Chromebook 3 Motherboard Replacement: 步骤 8 中的图像 3,3
    • Then, use a spudger to begin flipping up the grey covers on the ZIF connectors.

  9. Samsung Chromebook 3 Motherboard Replacement: 步骤 9 中的图像 1,3 Samsung Chromebook 3 Motherboard Replacement: 步骤 9 中的图像 2,3 Samsung Chromebook 3 Motherboard Replacement: 步骤 9 中的图像 3,3
    • Two more ZIF connectors to go!

  10. Samsung Chromebook 3 Motherboard Replacement: 步骤 10 中的图像 1,2 Samsung Chromebook 3 Motherboard Replacement: 步骤 10 中的图像 2,2
    • Use a spudger to disconnect the cables going to the speaker by prying outward to the right.

  11. Samsung Chromebook 3 Motherboard Replacement: 步骤 11 中的图像 1,3 Samsung Chromebook 3 Motherboard Replacement: 步骤 11 中的图像 2,3 Samsung Chromebook 3 Motherboard Replacement: 步骤 11 中的图像 3,3
    • Use a spudger to lift the hinge locking the gold colored display cable in place.

    • Then gently coax the display cable from its connector using your fingers or a spudger.

  12. Samsung Chromebook 3 Motherboard Replacement: 步骤 12 中的图像 1,2 Samsung Chromebook 3 Motherboard Replacement: 步骤 12 中的图像 2,2
    • Use your Phillips #00 screwdriver to remove four 4.6mm screws from the motherboard.

  13. Samsung Chromebook 3 Motherboard Replacement: 步骤 13 中的图像 1,1
    • Ensure all cables are clear and remove the motherboard.

结论

To reassemble your device, follow these instructions in reverse order.

4等其他人完成本指南。

Austin Blakely

于03/11/19注册

19,506 声望

创作了53篇指南

团队

iFixit iFixit 的会员

Staff

135 名成员

创作了16,817篇指南

一条评论

Thanks for the great guide! I used it to remove the write protection screw on the back of the motherboard.

My Chromebook is model number XE501C13. The only difference I noticed is that there is one less screw on the outer plastic cover. Everything else is exactly the same!

Edward Fernandez - 回复

添加评论

浏览统计数据:

过去 24 小时: 0

过去 7 天: 3

过去 30 天: 47

总计 2,917