简介
This guide is used to replace the M.2 SSD on your SGIN X15S. If you need to upgrade the storage or if the current SSD is malfunctioning, it is possible to replace the M.2 SSD on this laptop. If possible, backup or export files you wish to keep. While working on your device, if you notice that the battery is swollen, stop your replacement and follow the swollen battery disposal guide. Before working on your device, ensure that it is turned off and completely unplugged from any power sources.
你所需要的
-
-
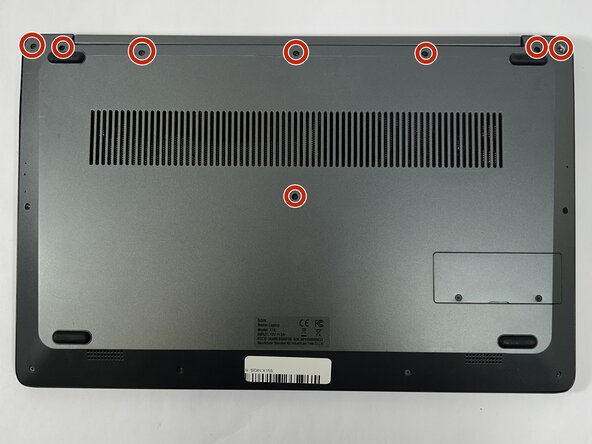
Remove the eight top and middle 7.3 mm screws using the Phillips #0 screwdriver.
-
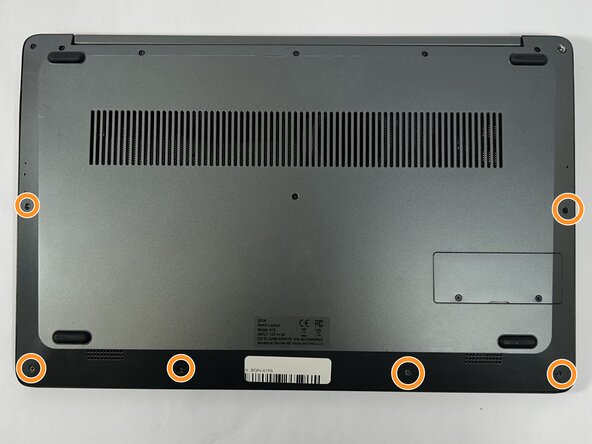
Remove the six bottom and side 4.4 mm screws using the Phillips #0 screwdriver.
-
-
-
-
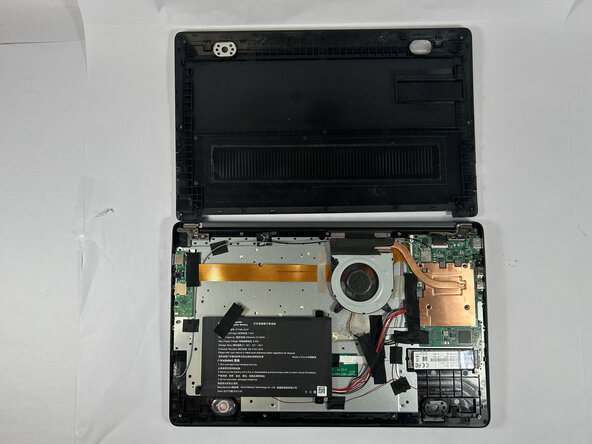
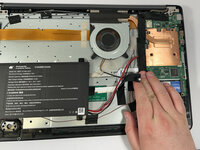
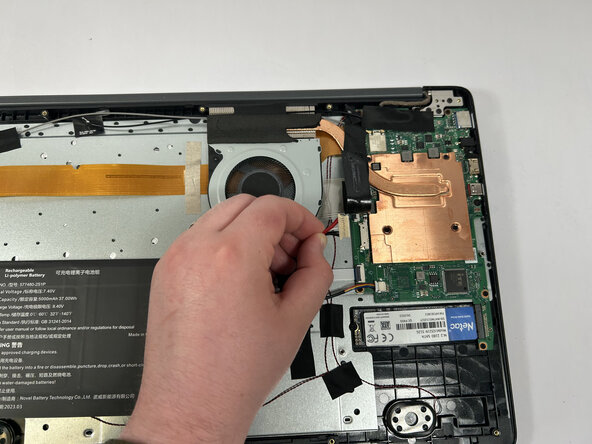
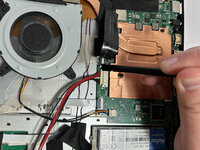
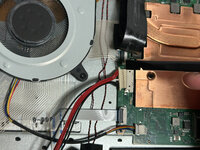
Gently remove the tape holding the battery's cord to the motherboard, followed by the tape in the middle of the cord.
-
-
-
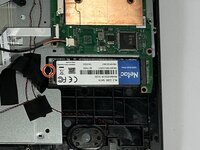
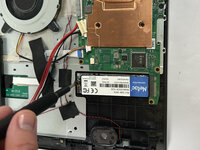
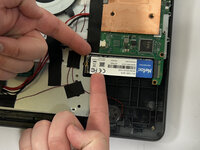
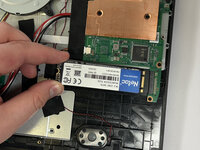
Remove the single 3 mm screw holding the SSD in place using a Phillips #0 screwdriver.
-


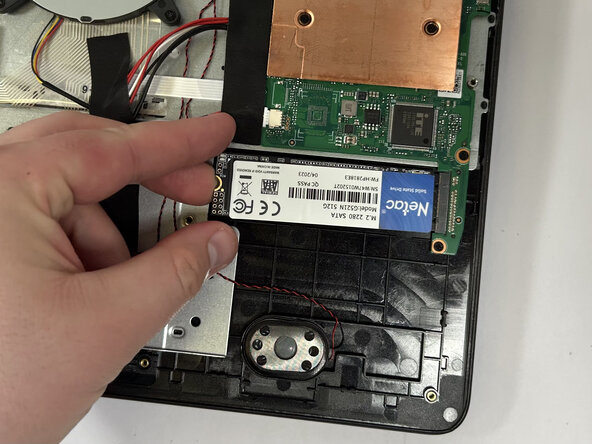
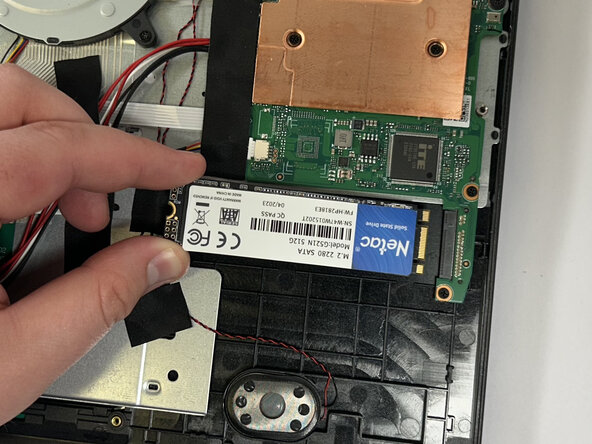

To reassemble your device, follow these instructions in reverse order.
团队

Idaho State University, Team 1-1, Watkins Spring 2025 Idaho State University, Team 1-1, Watkins Spring 2025 的会员
ISU-WATKINS-S25S1G1
3 名成员
创作了9篇指南