简介
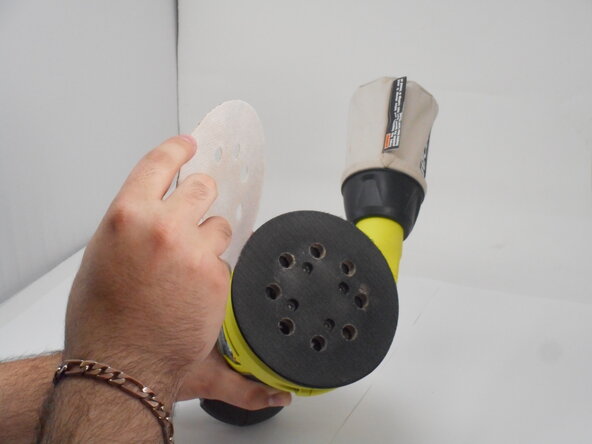
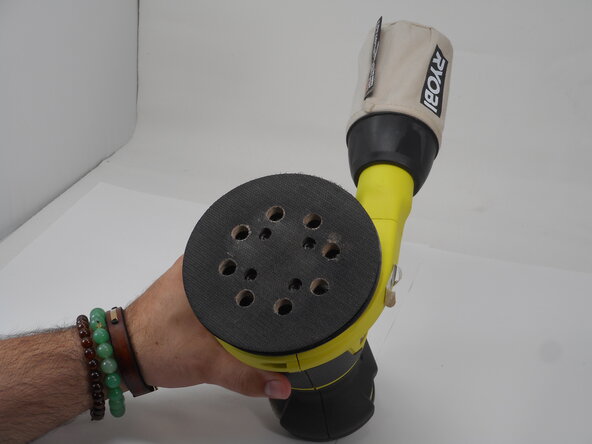
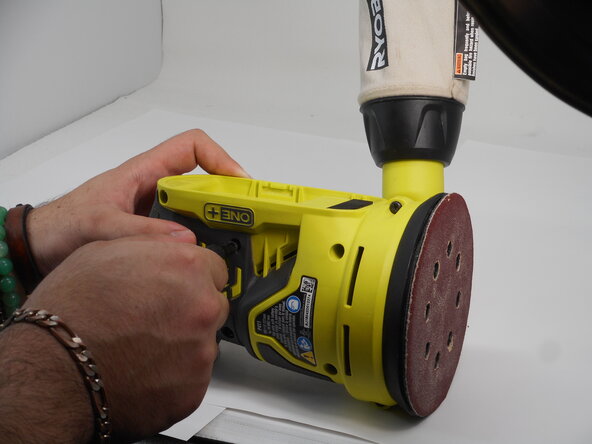
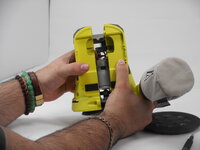
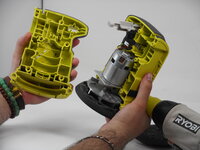
Use this guide to open up the casing on your Ryobi P411. The casing is the outside of the sander that protects the essential parts that make the sander function properly. It is easily distinguished since the plastic casing is a lime green and grey color. In order to replace any part of the Ryobi P411, use this replacement guide first. Make sure to remove the battery before you begin.
你所需要的
-
-
-
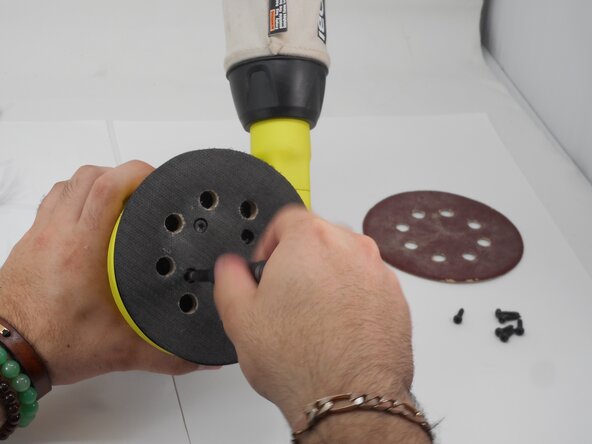
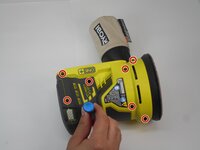
Use a Phillips #1 screwdriver to remove the eight M4 x 18.5mm screws from the side of the casing.
-


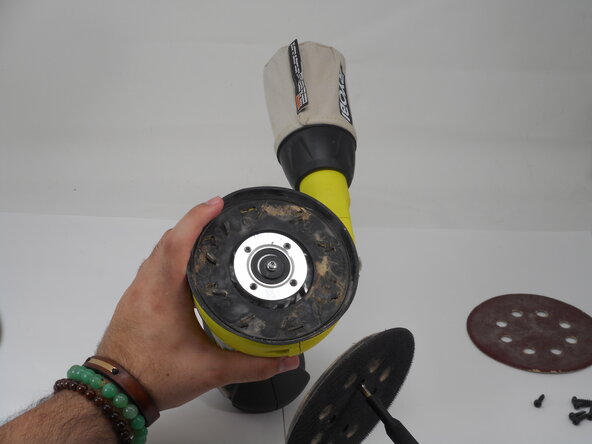


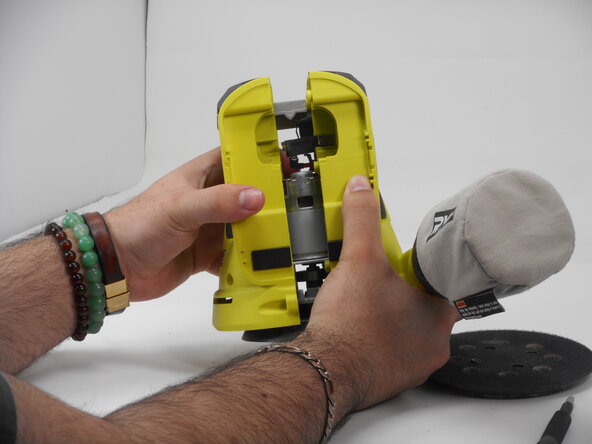

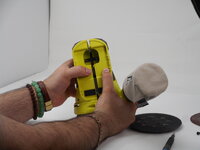
To reassemble your device, follow these instructions in reverse order.
另外一个人完成了本指南。

团队

University of Memphis, Team 3-4, Sneed Spring 2025 University of Memphis, Team 3-4, Sneed Spring 2025 的会员
UM-SNEED-S25S3G4
4 名成员
创作了11篇指南