跳转到主内容

Right Temple

仅作为前提条件
本指南仅提供前提条件!本指南是另一个程序的一部分,不能单独使用。

你所需要的

  1. Right Temple, Remove the screw covers: 步骤 1 中的图像 1,2 Right Temple, Remove the screw covers: 步骤 1 中的图像 2,2
    在这个步骤中使用的工具:
    Tweezers
    $4.99
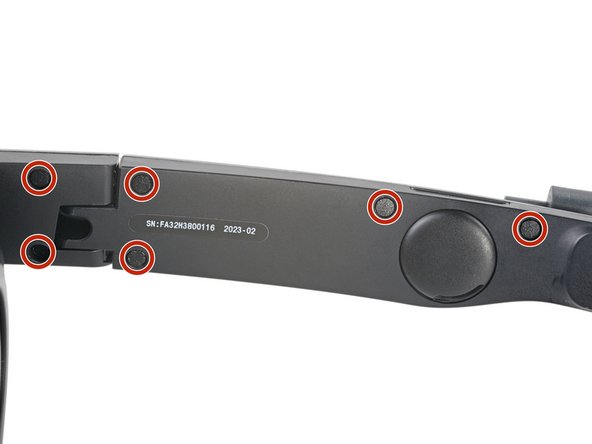
    • Use tweezers to remove the six screw covers from the right temple.

  2. Right Temple, Unfasten the right temple: 步骤 2 中的图像 1,2 Right Temple, Unfasten the right temple: 步骤 2 中的图像 2,2
    • Use a T5 Torx screwdriver to remove the six 4.9 mm‑long screws securing the two right temple halves.

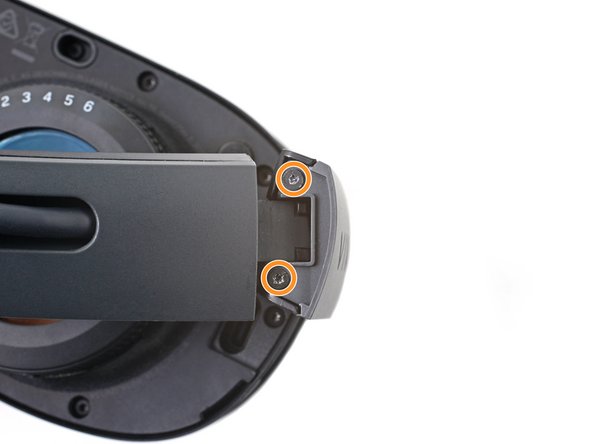
    • Use a T5 Torx screwdriver to remove the two 3.5 mm‑long screws securing the right hinge cover.

  3. Right Temple, Remove the outer hinge cover: 步骤 3 中的图像 1,3 Right Temple, Remove the outer hinge cover: 步骤 3 中的图像 2,3 Right Temple, Remove the outer hinge cover: 步骤 3 中的图像 3,3
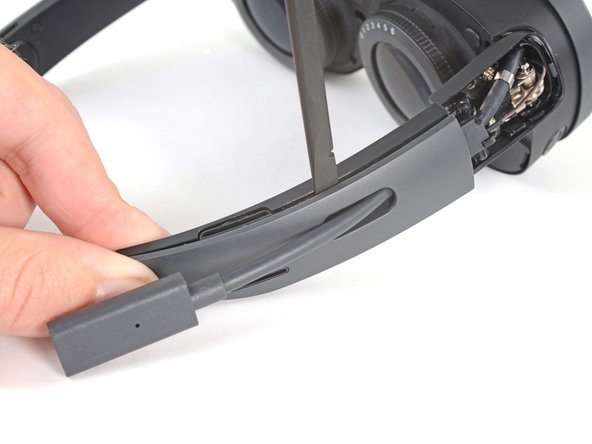
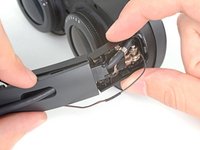
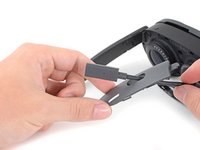
    • Insert the flat end of a spudger in the gap between the right outer and inner hinge covers.

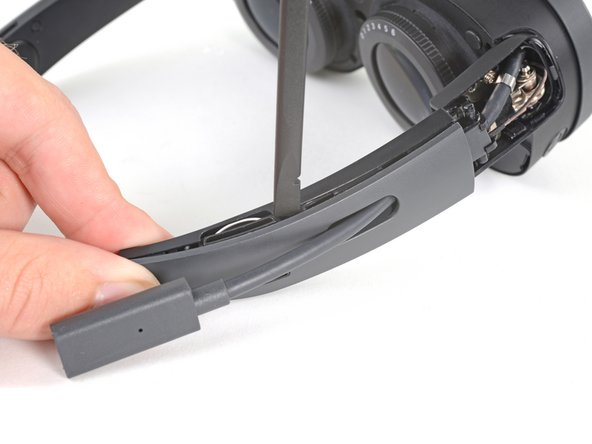
    • Slide the spudger along the gap to separate the clips securing the outer hinge cover.

    • Remove the outer hinge cover.

  4. Right Temple, Remove the outer temple: 步骤 4 中的图像 1,3 Right Temple, Remove the outer temple: 步骤 4 中的图像 2,3 Right Temple, Remove the outer temple: 步骤 4 中的图像 3,3
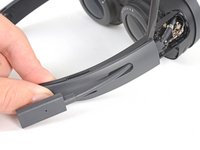
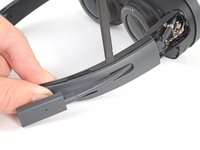
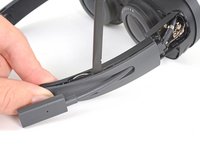
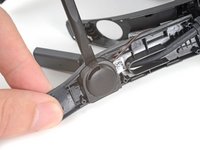
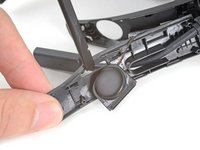
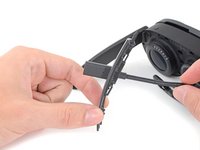
    • Insert the flat end of a spudger in the gap between the outer and inner temple.

    • Slide the spudger along the gap to separate the clips securing the outer temple.

  5. Right Temple: 步骤 5 中的图像 1,3 Right Temple: 步骤 5 中的图像 2,3 Right Temple: 步骤 5 中的图像 3,3
    • Slide the top of the outer temple out of its slot in the hinge.

  6. Right Temple: 步骤 6 中的图像 1,2 Right Temple: 步骤 6 中的图像 2,2
    在这个步骤中使用的工具:
    Tesa 61395 Tape
    $6.99
    • The speaker is lightly adhered to the outer temple.

    • Rotate the outer temple towards you to access the speaker.

    • Slide the flat end of a spudger under the speaker to separate its adhesive.

    • During reassembly, if your speaker adhesive isn't sticky, use double-sided tape to re-adhere the speaker to the outer temple.

  7. Right Temple: 步骤 7 中的图像 1,3 Right Temple: 步骤 7 中的图像 2,3 Right Temple: 步骤 7 中的图像 3,3
    • Thread the outer temple off of the USB‑C cable and remove it.

  8. Right Temple: 步骤 8 中的图像 1,2 Right Temple: 步骤 8 中的图像 2,2
    • Pull the inner temple out of its slot in the hinge and remove it.

  9. Right Temple, Peel the hinge tape: 步骤 9 中的图像 1,2 Right Temple, Peel the hinge tape: 步骤 9 中的图像 2,2
    • Use tweezers to peel back the black tape covering one of the inner hinge cover screws.

  10. Right Temple, Unfasten the inner hinge cover: 步骤 10 中的图像 1,1
    • Use a T5 Torx screwdriver to remove the two screws securing the inner hinge cover:

    • One 3.1 mm‑long screw

    • One 4.9 mm‑long screw

  11. Right Temple, Remove the inner hinge cover: 步骤 11 中的图像 1,3 Right Temple, Remove the inner hinge cover: 步骤 11 中的图像 2,3 Right Temple, Remove the inner hinge cover: 步骤 11 中的图像 3,3
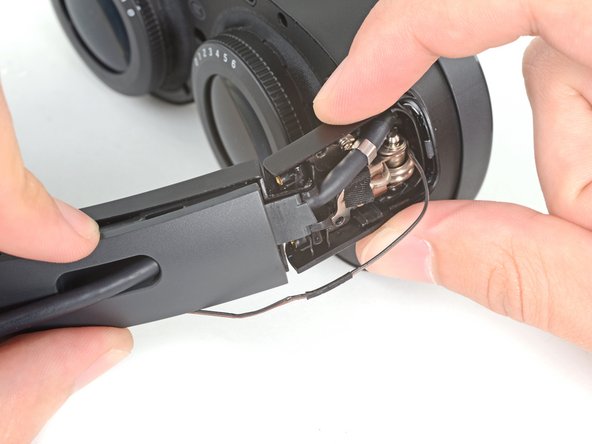
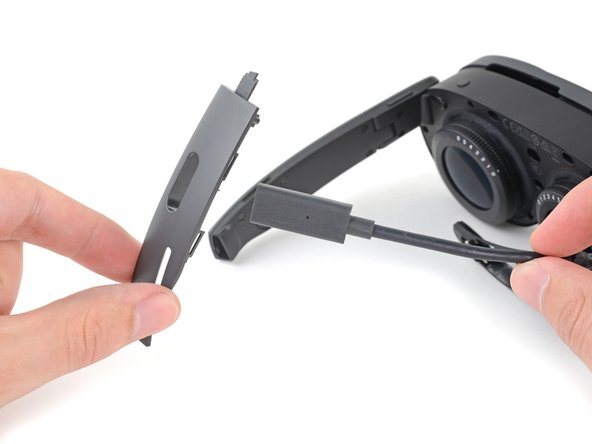
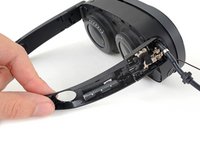
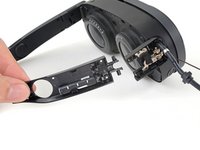
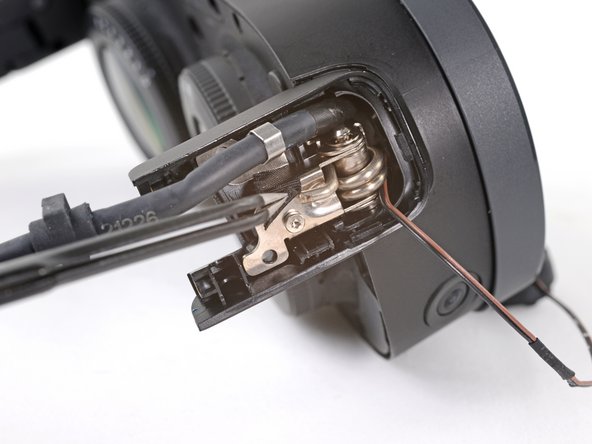
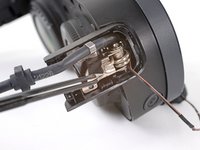
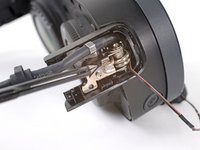
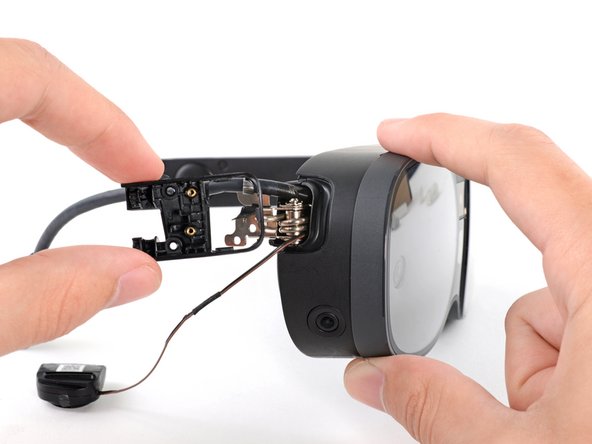
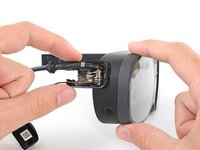
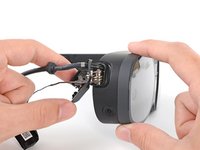
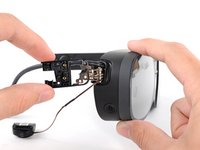
    • Rotate the inner hinge cover off its groove in the frame.

    • Thread the inner hinge cover off of the USB-C and speaker cables and remove it.

结论

To reassemble your device, follow these instructions in reverse order.

Alex Diaz-Kokaisl

于01/16/22注册

215,654 声望

创作了1,046篇指南

团队

iFixit iFixit 的会员

Staff

123 名成员

创作了23,828篇指南

0指南评论

添加评论

浏览统计数据:

过去 24 小时: 0

过去 7 天: 0

过去 30 天: 2

总计 70