跳转到主内容

Ridgid GEN5X R8653 Lever and Lever Spring Replacement

你所需要的

  1. Ridgid GEN5X R8653 Lever and Lever Spring Replacement, Lever and Lever Spring: 步骤 1 中的图像 1,1
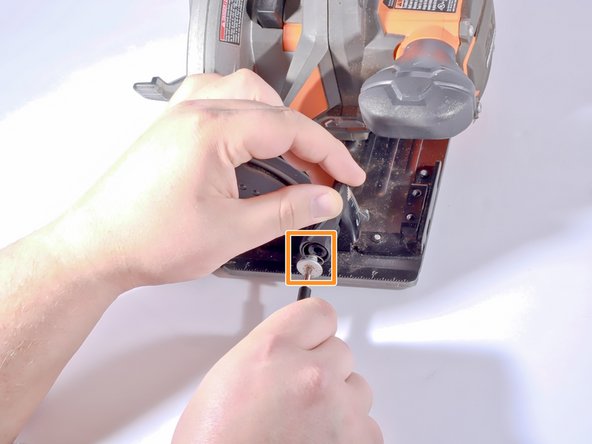
    • Remove the battery by pressing both buttons on either side of battery and pull away from the saw.

    • If there is a blade currently mounted on your saw, wear gloves.

  2. Ridgid GEN5X R8653 Lever and Lever Spring Replacement: 步骤 2 中的图像 1,2 Ridgid GEN5X R8653 Lever and Lever Spring Replacement: 步骤 2 中的图像 2,2
    • Determine which lever needs to be replaced. The blade depth and cut angle levers are identical part numbers, but located in different areas on this saw.

    • The blade angle lever is located on the front left of the saw and connects to the base assembly.

    • The blade depth lever is located toward the rear of the left side of the saw behind the motor shroud.

  3. Ridgid GEN5X R8653 Lever and Lever Spring Replacement: 步骤 3 中的图像 1,3 Ridgid GEN5X R8653 Lever and Lever Spring Replacement: 步骤 3 中的图像 2,3 Ridgid GEN5X R8653 Lever and Lever Spring Replacement: 步骤 3 中的图像 3,3
    • Slowly loosen the 7mm Torx T20 screw holding the blade angle guide lever in place. There is a compression spring between this screw and the lever.

    • After the screw is loose from the last thread, slowly back the screw away from the lever gradually releasing pressure in the spring.

  4. Ridgid GEN5X R8653 Lever and Lever Spring Replacement: 步骤 4 中的图像 1,2 Ridgid GEN5X R8653 Lever and Lever Spring Replacement: 步骤 4 中的图像 2,2
    • Slowly loosen the 7mm Torx T20 screw holding the blade angle guide lever in place.

    • There is a compression spring between this screw and the lever.

    • After the screw is loose from the last thread, slowly back the screw away from the lever gradually releasing pressure in the spring.

  5. Ridgid GEN5X R8653 Lever and Lever Spring Replacement: 步骤 5 中的图像 1,3 Ridgid GEN5X R8653 Lever and Lever Spring Replacement: 步骤 5 中的图像 2,3 Ridgid GEN5X R8653 Lever and Lever Spring Replacement: 步骤 5 中的图像 3,3
    • Align the new lever on the mounting post.

    • Rest spring inside the lever mounting hole and fasten in place with the 7mm Torx T20 mounting screw.

终点

0条评论

添加评论

浏览统计数据:

过去 24 小时: 0

过去 7 天: 0

过去 30 天: 5

总计 157