简介
The Apple IIGS was released in 1986, marking a new chapter in the aging Apple II line, it had vastly improved graphics and sound (hence the GS!), and with it, came new power supplies. There were two models, one made by Dyna-Comp, and one made by Astec. This guide will cover the disassembly and recapping of the Astec “Variant 4” power supply. Disassembly procedures still apply to the other 3 variants but capacitor values may be different.
你所需要的
-
-
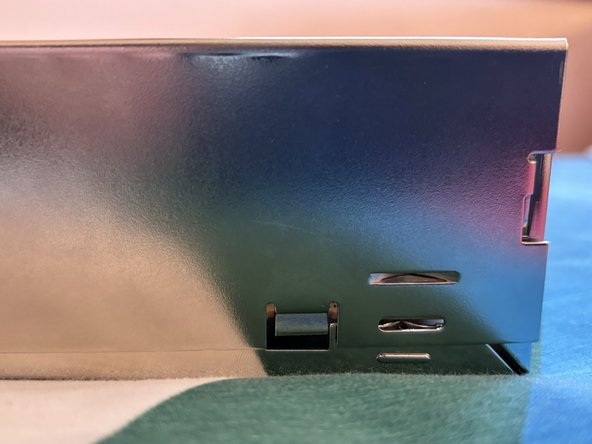
Carefully pry the top cover until the 2 clips near the cable grommet come free from the sides of the case. Repeat for the other side.
-
-
-
-
Remove the top cover.
-
WARNING! High Voltages are present inside of the power supply, and may be present even after the power supply has been switched off and unplugged. Apple in no way designed this to be serviced by the average consumer, operate at your own risk.
-
-
-
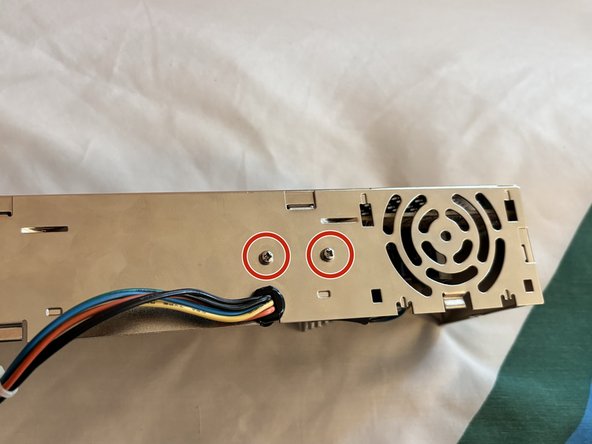
Remove the 2 screws securing the board to the case and the 2 screws securing the heatsink to the case.
-
-
-
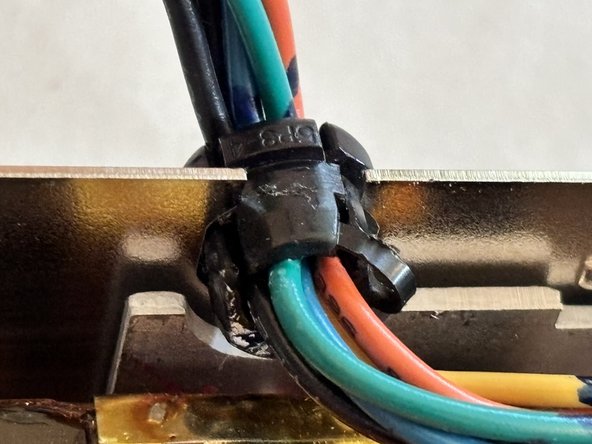
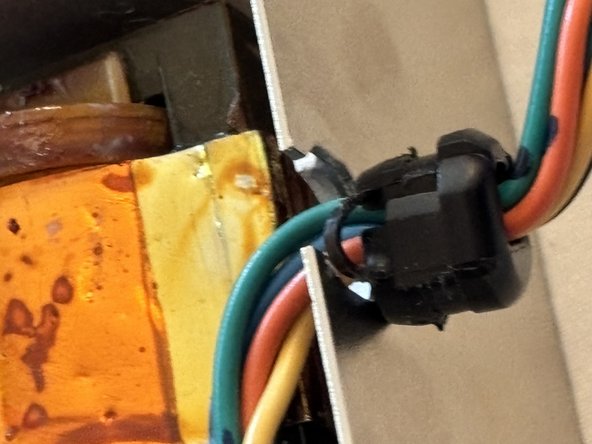
Grab the cable grommet and rotate it 90° away from the power inlet and pull it straight out of the case through the cable cutout.
-
-
-
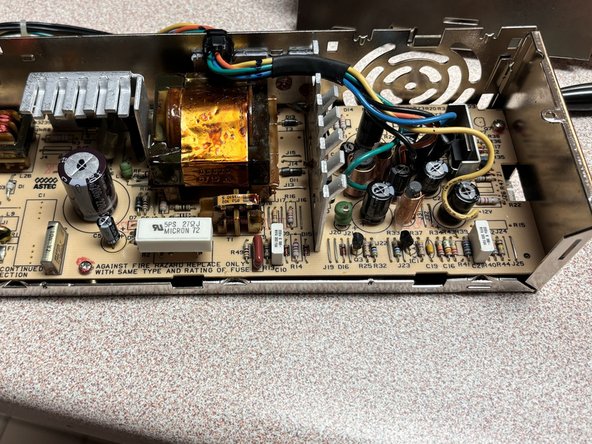
Grab the large heatsink and gently lift the board out of the shell, hinging it along the mains power cables.
-
The large heatsink is electrically isolated so there is no risk of electric shock.
-
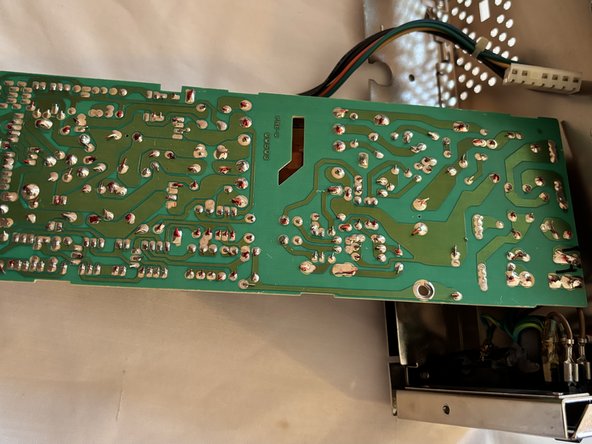
You are now ready to replace the capacitors! Be careful while working on the board as any sudden pull on the board may pull out the 2 mains input wires from the board.
-
-
-
It’s always a good idea to replace capacitors on your power supplies, especially since these are approaching 40 years old, the capacitors have likely failed and/or leaked.
-
Some capacitors may be hot glued to a wire or other components, a precision blade must be used to cut them free from the hot glue without damaging components. In addition, most of the capacitors have their leads bent parallel to the board, requiring you to unbend them before removing the capacitor.
-
There are 11 capacitors total, there are 4 variants of the Astec power supply, all with different capacitor values, check this list to see what variant you have and order the correct capacitors. Along with capacitors, there is thermal compound on the large heatsink that contacts the metal case that also will need replacing.
-


To reassemble your device, follow these instructions in reverse order.
To reassemble your device, follow these instructions in reverse order.
另外一个人完成了本指南。
