你所需要的
-
-
Open the latch of the accumulator on the left side.
-
Open the battery latch on the right side.
-
Remove the accumulator by simultaneously holding the right-hand latch open.
-
-
-
-
Use the Philips screwdriver to remove the two screws at the bottom of the cover.
-
Lift the cover at the bottom right with the iFixit Opening Tool
-
Lift the cover at the bottom left with the iFixit Opening Tool
-
Finally, remove the cover to gain access to the most important components.
-
-
-
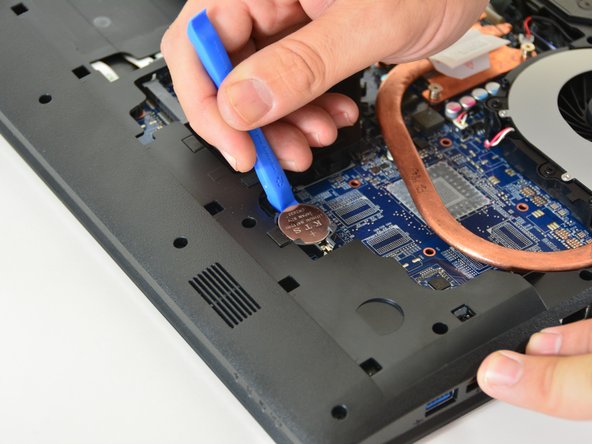
Be careful removing the BIOS battery from its holder.
-
Please do not throw the battery in the garbage. In Switzerland, the electrical shops are obliged to accept all batteries and accumulators for disposal.
-
Replacing the W670SZQ1 BIOS Battery
Replacing the W670SZQ1 BIOS Battery
由衷感谢以下译者:
100%
Corey Meyer正在帮助我们修复这个世界! 您也想加入吗?
开始翻译 ›


