跳转到主内容

Repairing a Clogged MakerBot Smart Extruder+

你所需要的

  1. Repairing a Clogged MakerBot Smart Extruder+, Repairing a Clogged MakerBot Smart Extruder+: 步骤 1 中的图像 1,1
    • Place the extruder on a flat surface with the connection pins facing up.

  2. Repairing a Clogged MakerBot Smart Extruder+: 步骤 2 中的图像 1,1
    • Remove the 4 screws on the outer edge of the extruder using the 2 mm hex wrench.

  3. Repairing a Clogged MakerBot Smart Extruder+: 步骤 3 中的图像 1,2 Repairing a Clogged MakerBot Smart Extruder+: 步骤 3 中的图像 2,2
    • Remove the fan shroud from the extruder.

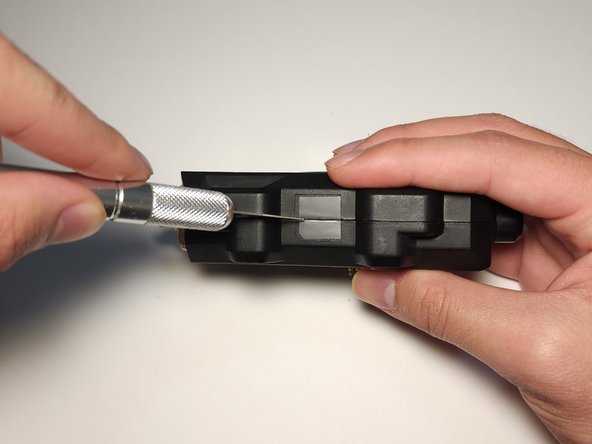
  4. Repairing a Clogged MakerBot Smart Extruder+: 步骤 4 中的图像 1,2 Repairing a Clogged MakerBot Smart Extruder+: 步骤 4 中的图像 2,2
    • Turn the extruder on its side and cut through the black seal using the X-ACTO Knife.

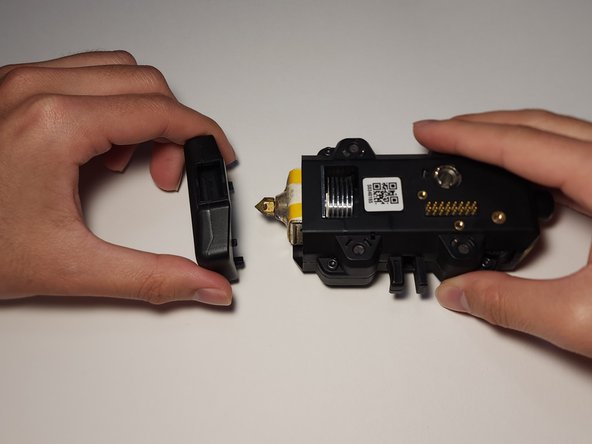
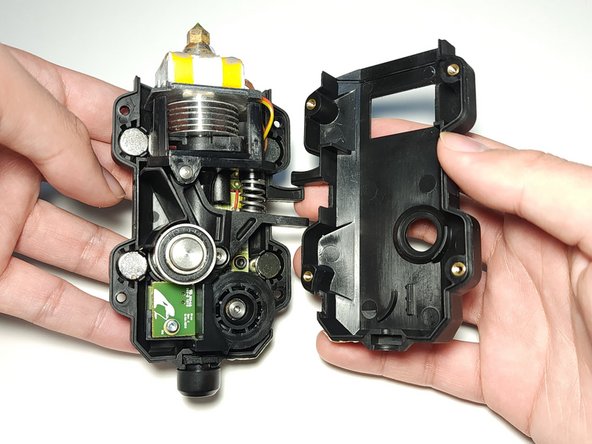
  5. Repairing a Clogged MakerBot Smart Extruder+: 步骤 5 中的图像 1,2 Repairing a Clogged MakerBot Smart Extruder+: 步骤 5 中的图像 2,2
    • Gently pull the two halves of the extruder apart.

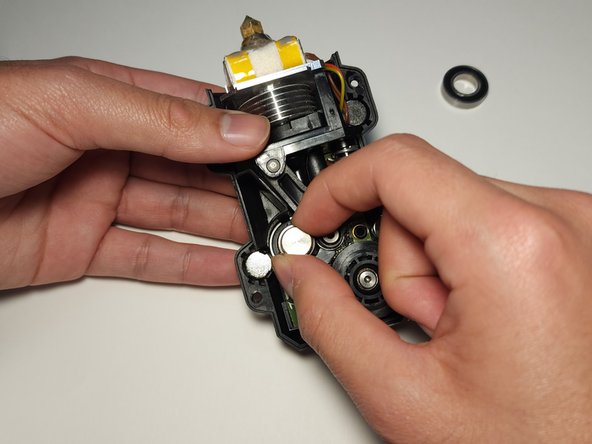
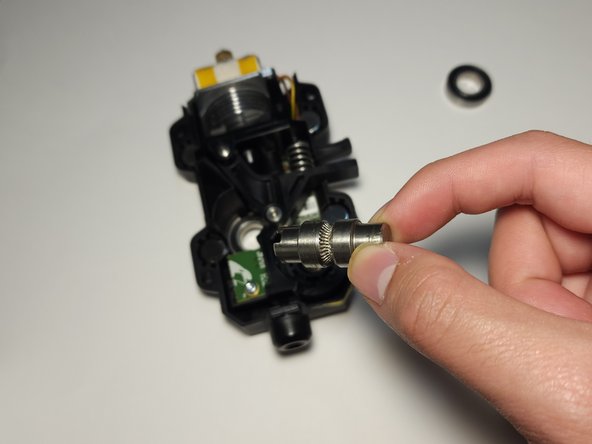
  6. Repairing a Clogged MakerBot Smart Extruder+: 步骤 6 中的图像 1,3 Repairing a Clogged MakerBot Smart Extruder+: 步骤 6 中的图像 2,3 Repairing a Clogged MakerBot Smart Extruder+: 步骤 6 中的图像 3,3
    • Remove the bearing and the hobbed bolt.

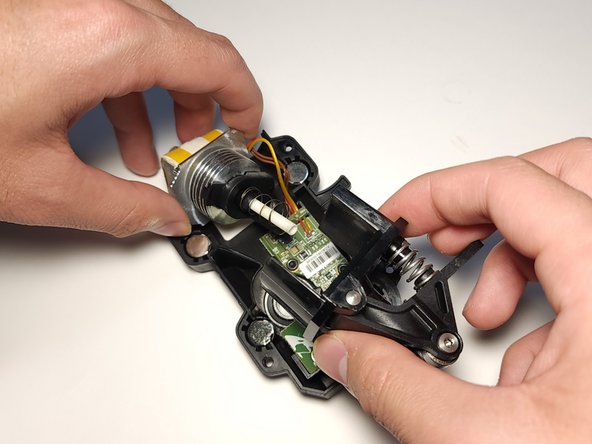
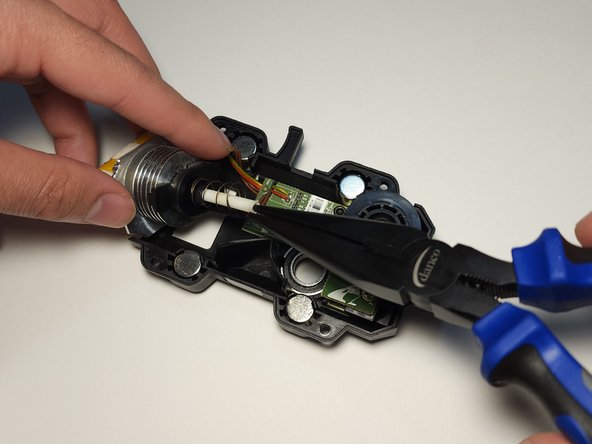
  7. Repairing a Clogged MakerBot Smart Extruder+: 步骤 7 中的图像 1,3 Repairing a Clogged MakerBot Smart Extruder+: 步骤 7 中的图像 2,3 Repairing a Clogged MakerBot Smart Extruder+: 步骤 7 中的图像 3,3
    • Remove the freed nozzle and use needle nose pliers to pull out the filament that is clogging the extruder.

结论

To reassemble your device, follow these instructions in reverse order.

Aidan Tadeo

于01/26/23注册

145 声望

撰写一个指南

团队

UC Davis, Team 1-6, Morris Winter 2023 UC Davis, Team 1-6, Morris Winter 2023 的会员

UCD-MORRIS-W23S1G6

2 名成员

创作了2篇指南

0条评论

添加评论

浏览统计数据:

过去 24 小时: 0

过去 7 天: 9

过去 30 天: 45

总计 447